What is Data Exchange Local Services?
The Data Exchange Local Service provides connectivity between different departments or locations within your business or to provide access to trusted customers, partners and businesses. There are two different types of extranet services supported in the Graphiant Portal.
Whether your business is looking to share knowledge or collaborate on projects, Data Exchange is here to connect you!
To allow traffic between LAN segments:
Be sure to configure a Zone-Based Firewall policy.
Step 1: Locating Data Exchange Local Services in the Graphiant Portal
From the Graphiant Portal Landing Page, click ‘Services’ in the sidebar; select ‘Data Exchange’; choose ‘Local Services’.'.
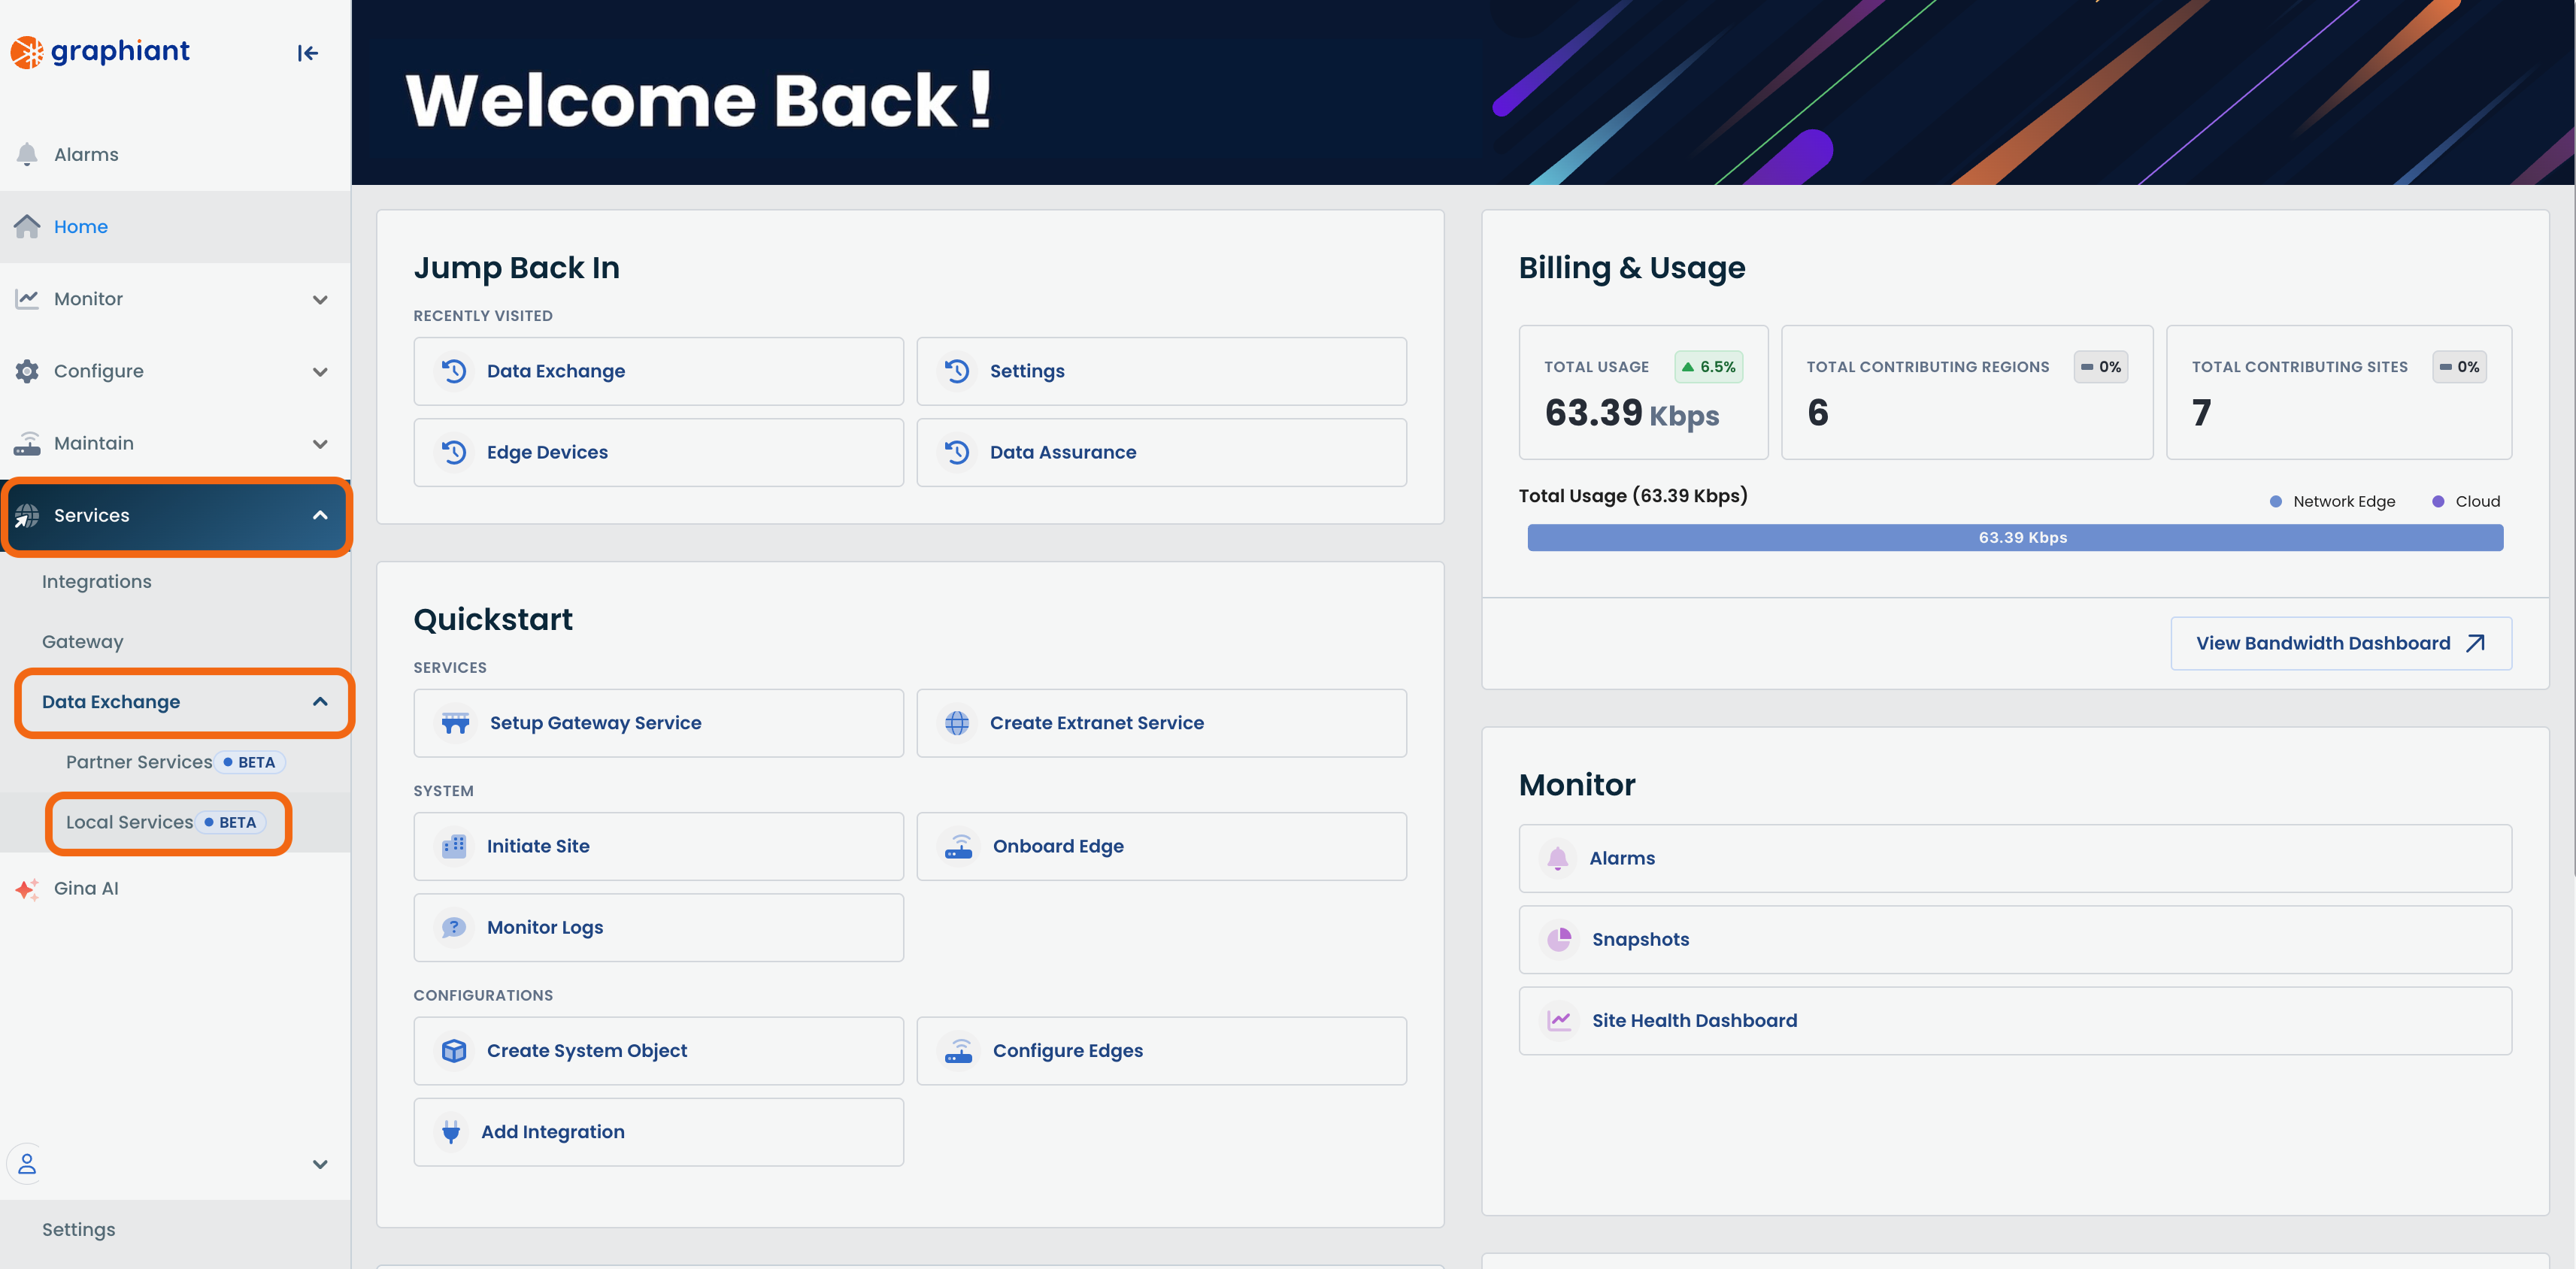
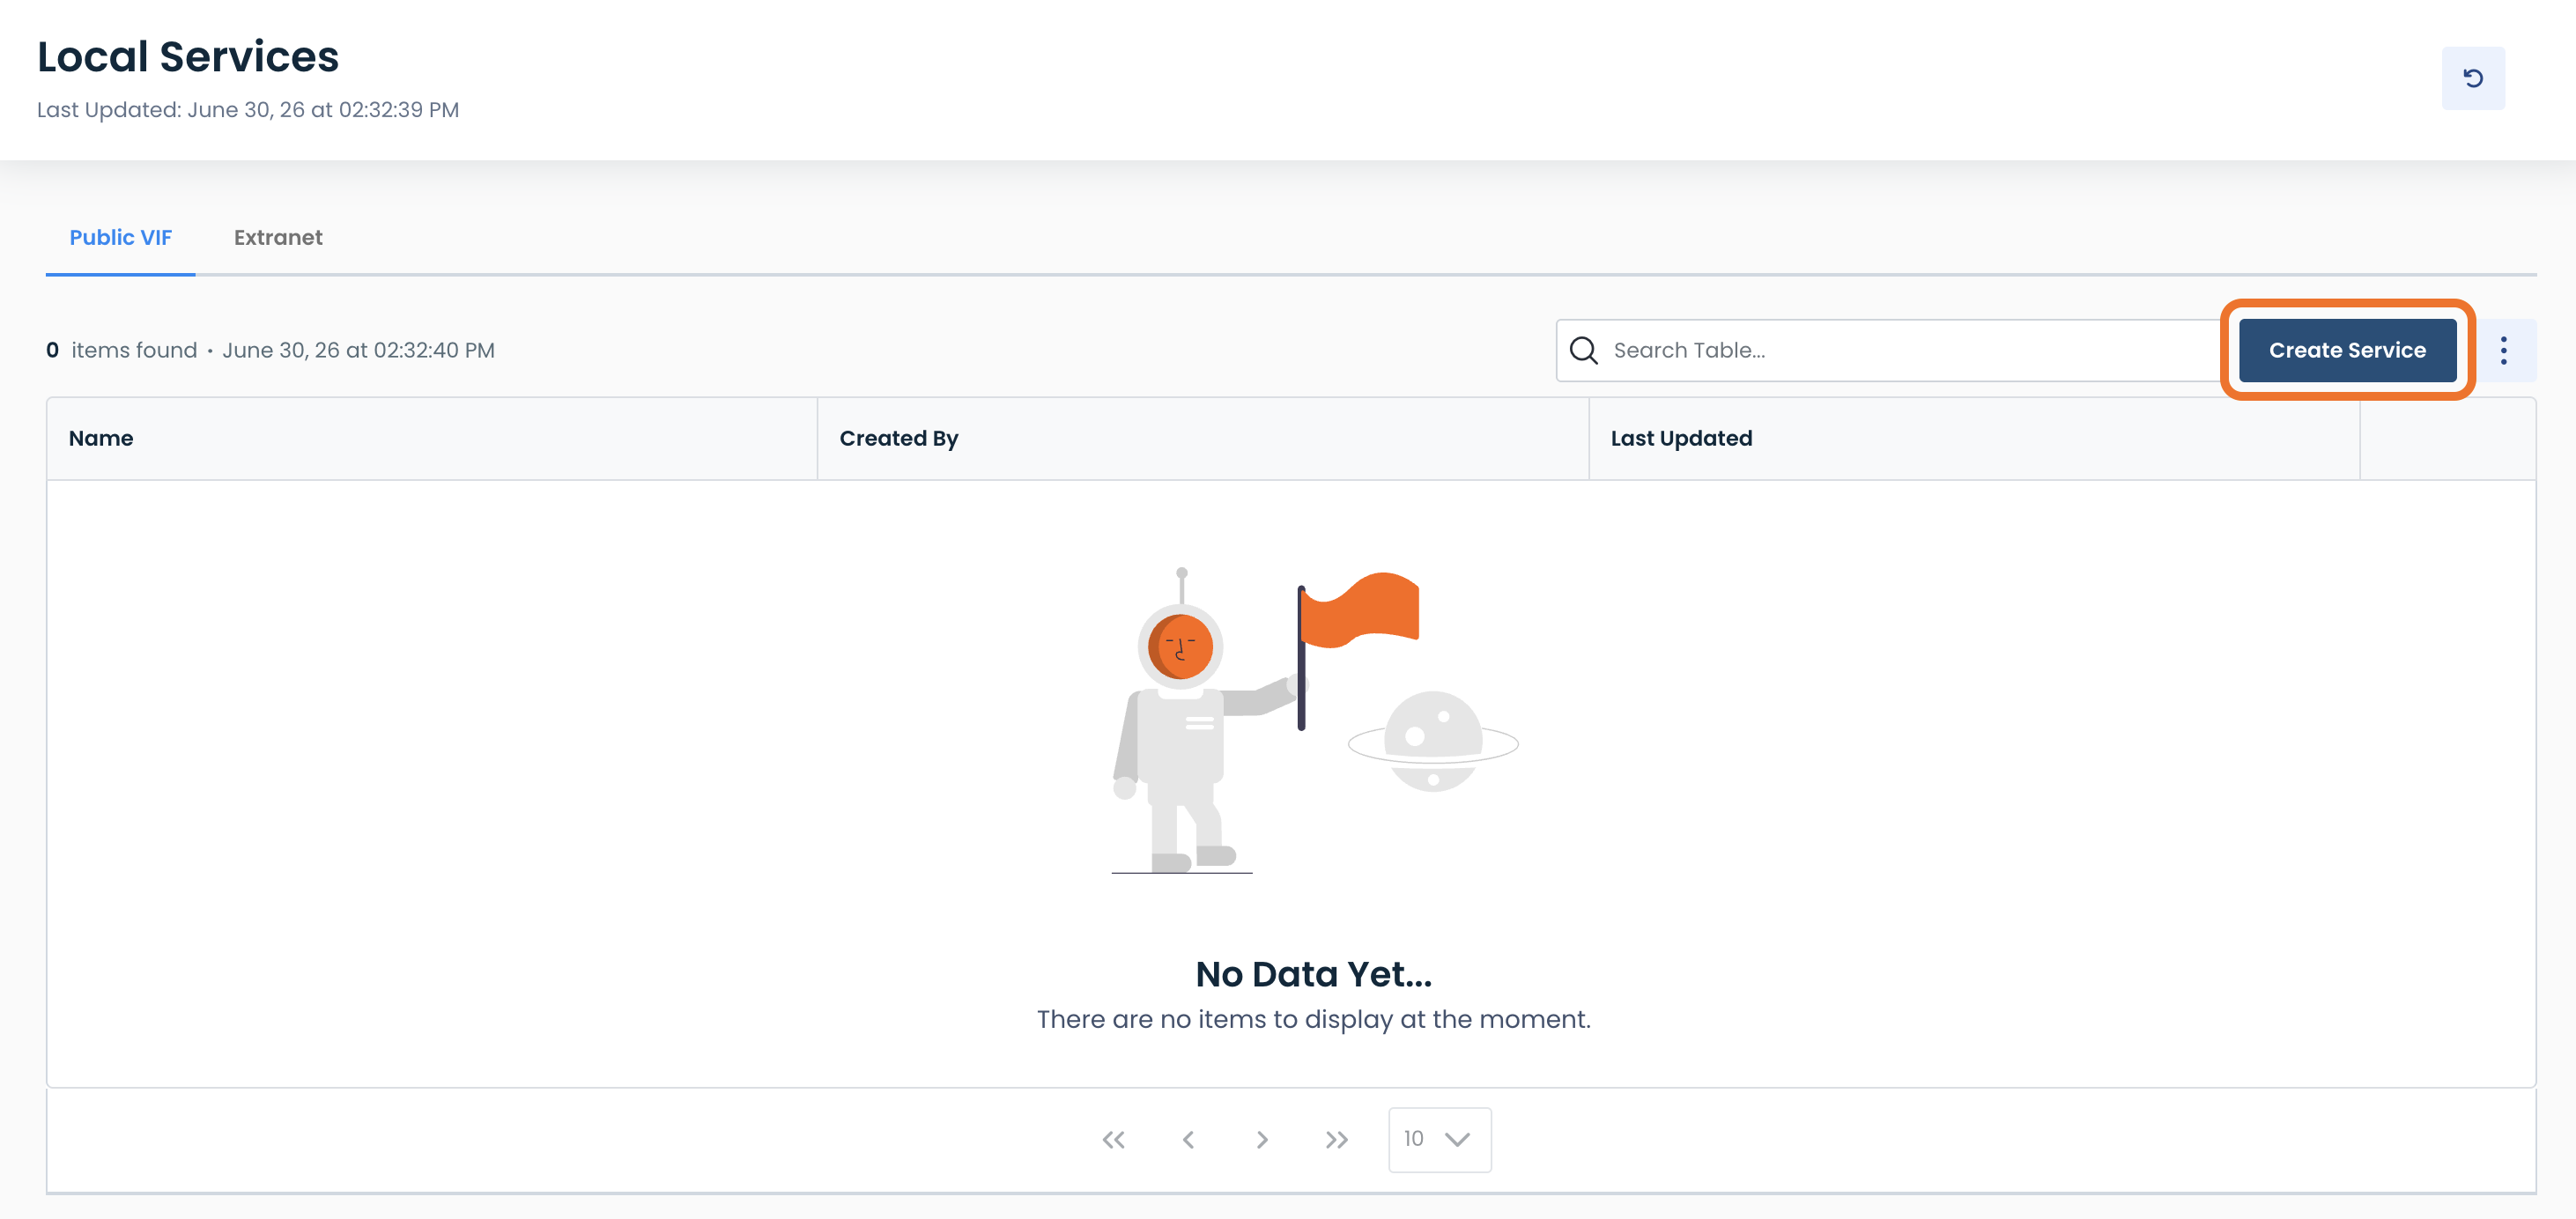
This will take you to the Data Exchange Local Services page of the Graphiant Portal where you will be able to view existing Data Exchange policies as well as create new ones.

Creating a Data Exchange Local Service in the Graphiant Portal
Graphiant supports multiple methods for extending network connectivity beyond your own environment. Use Extranet to establish secure private connectivity with another organization, or configure a Public VIF to access supported public cloud services through BGP. Although both configurations extend connectivity outside your organization, they serve different purposes and require different configuration parameters.
Public VIF
Creating a Public VIF Service
To connect your Graphiant network to public cloud services over a Public Virtual Interface (VIF), click ‘Create Service’.
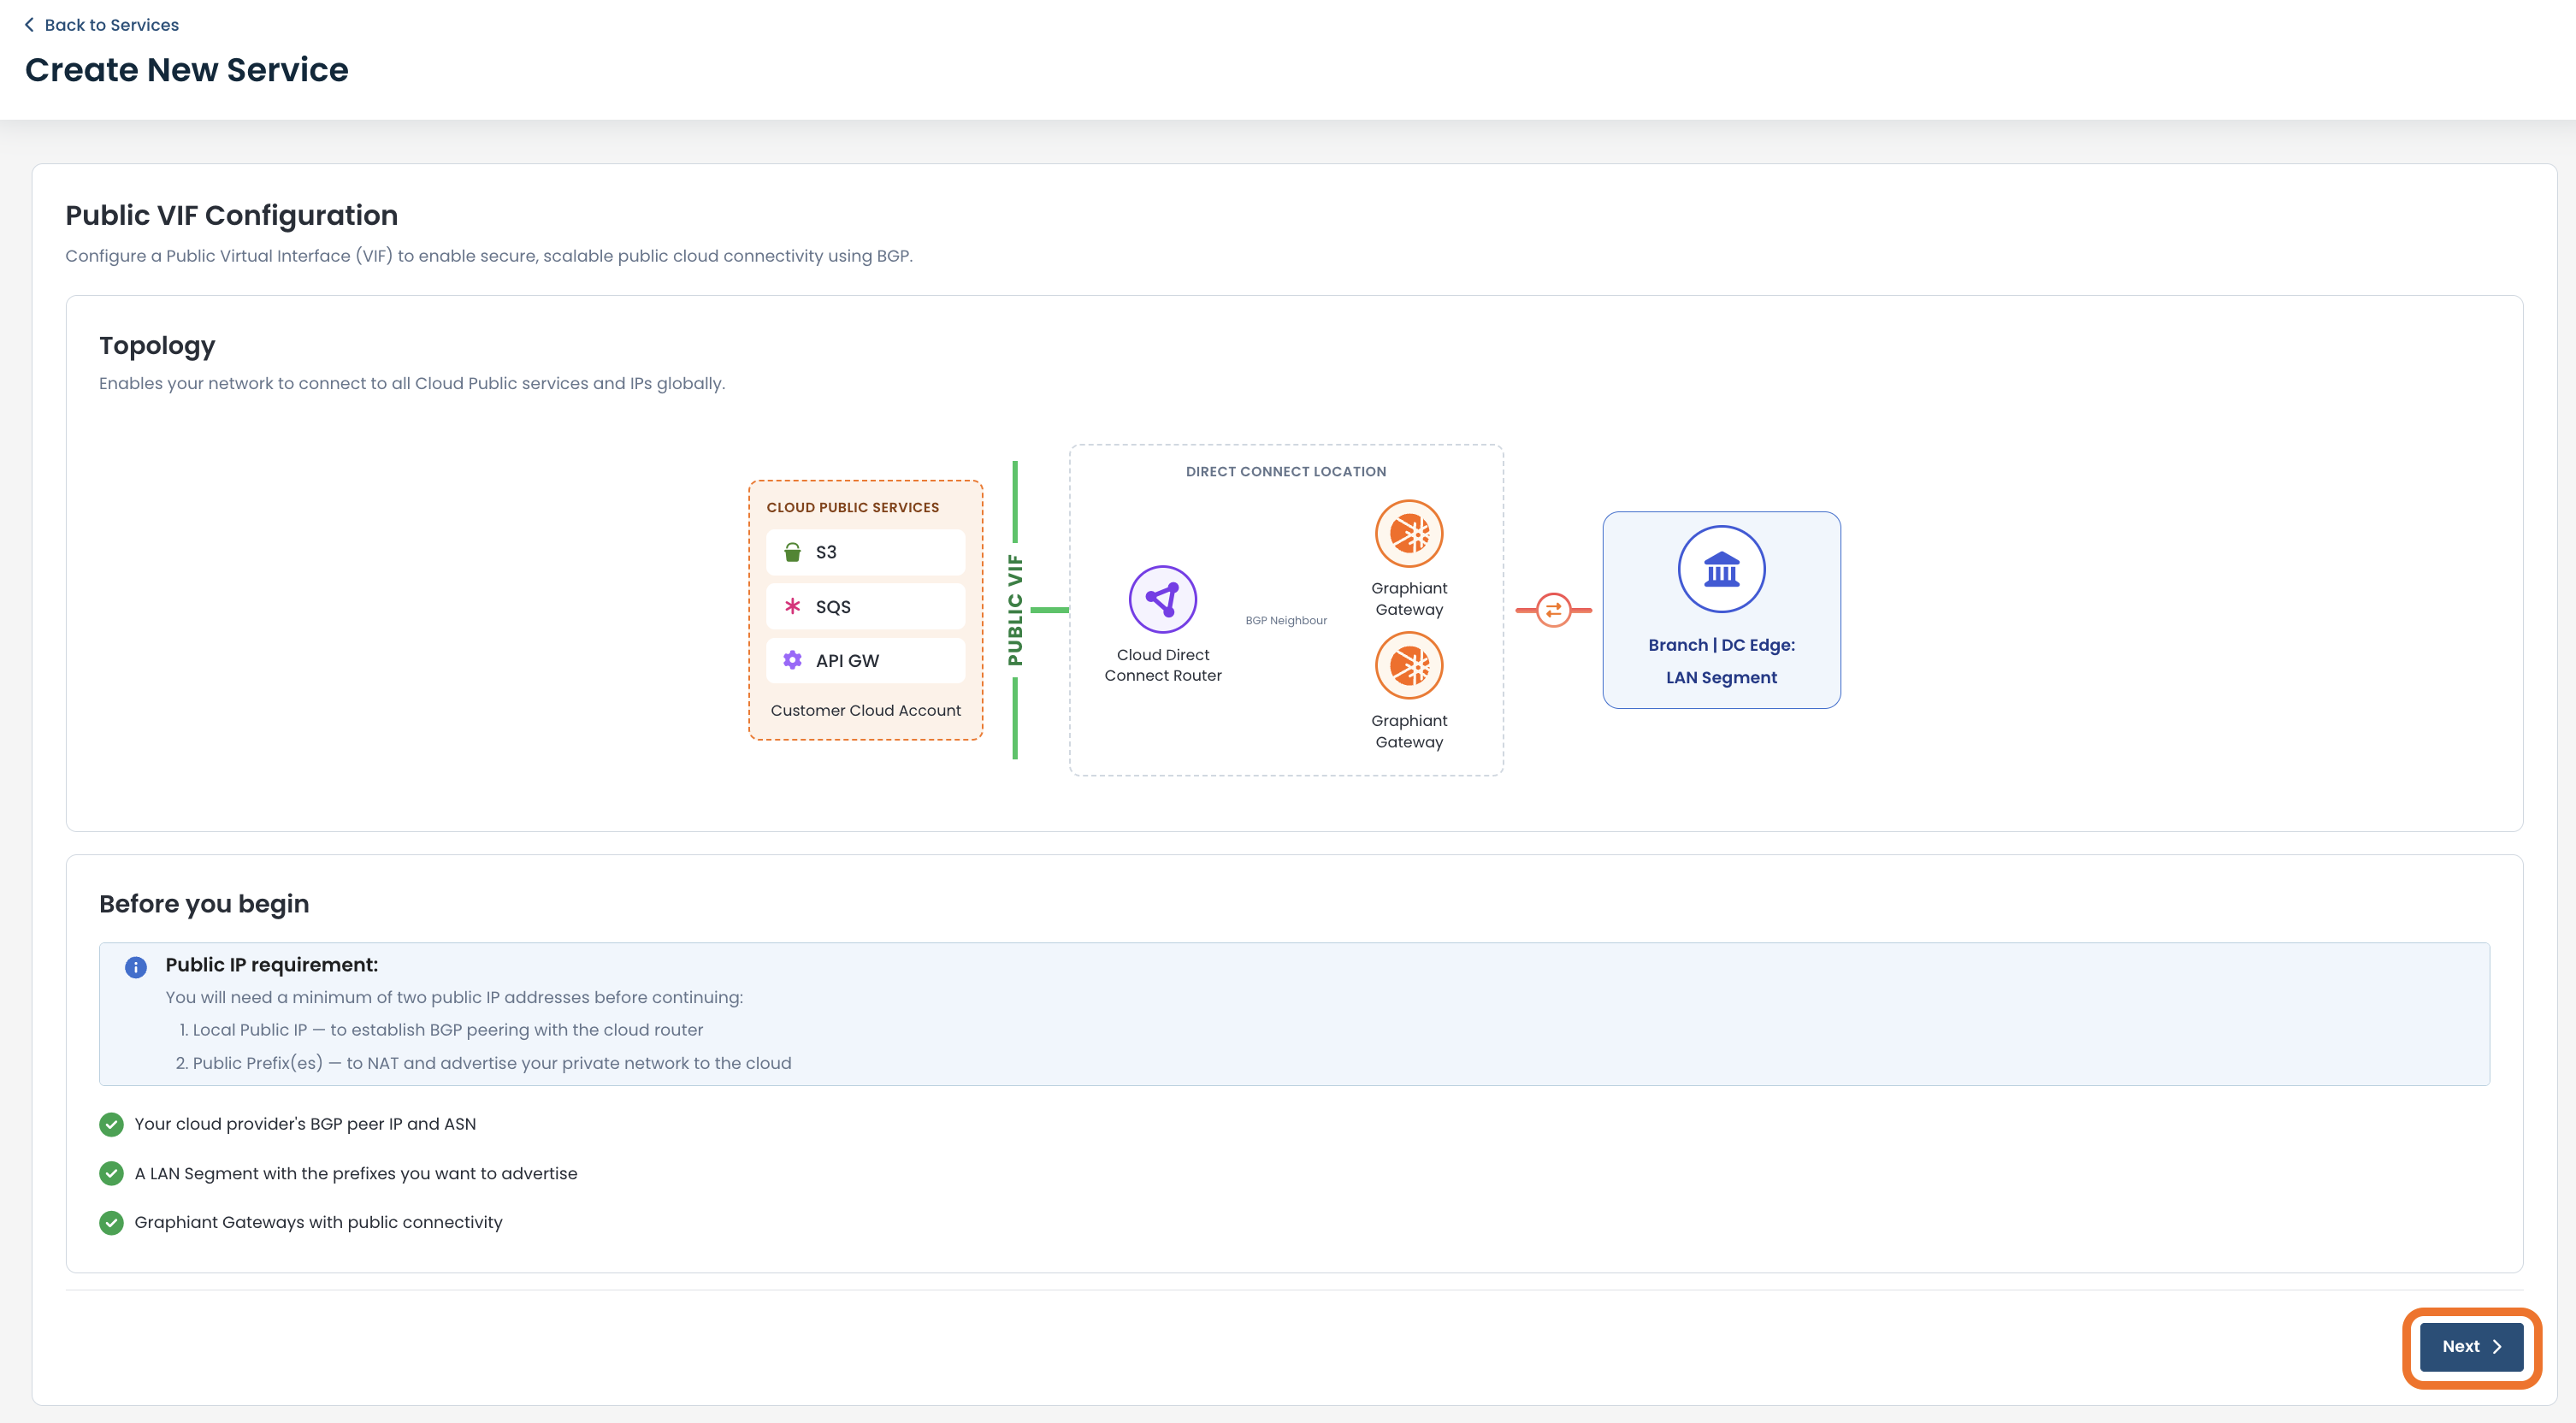
Here you will see an overview of what you are going to be configuring.
Before you begin:
Ensure that all requirements listed at the bottom have been met.
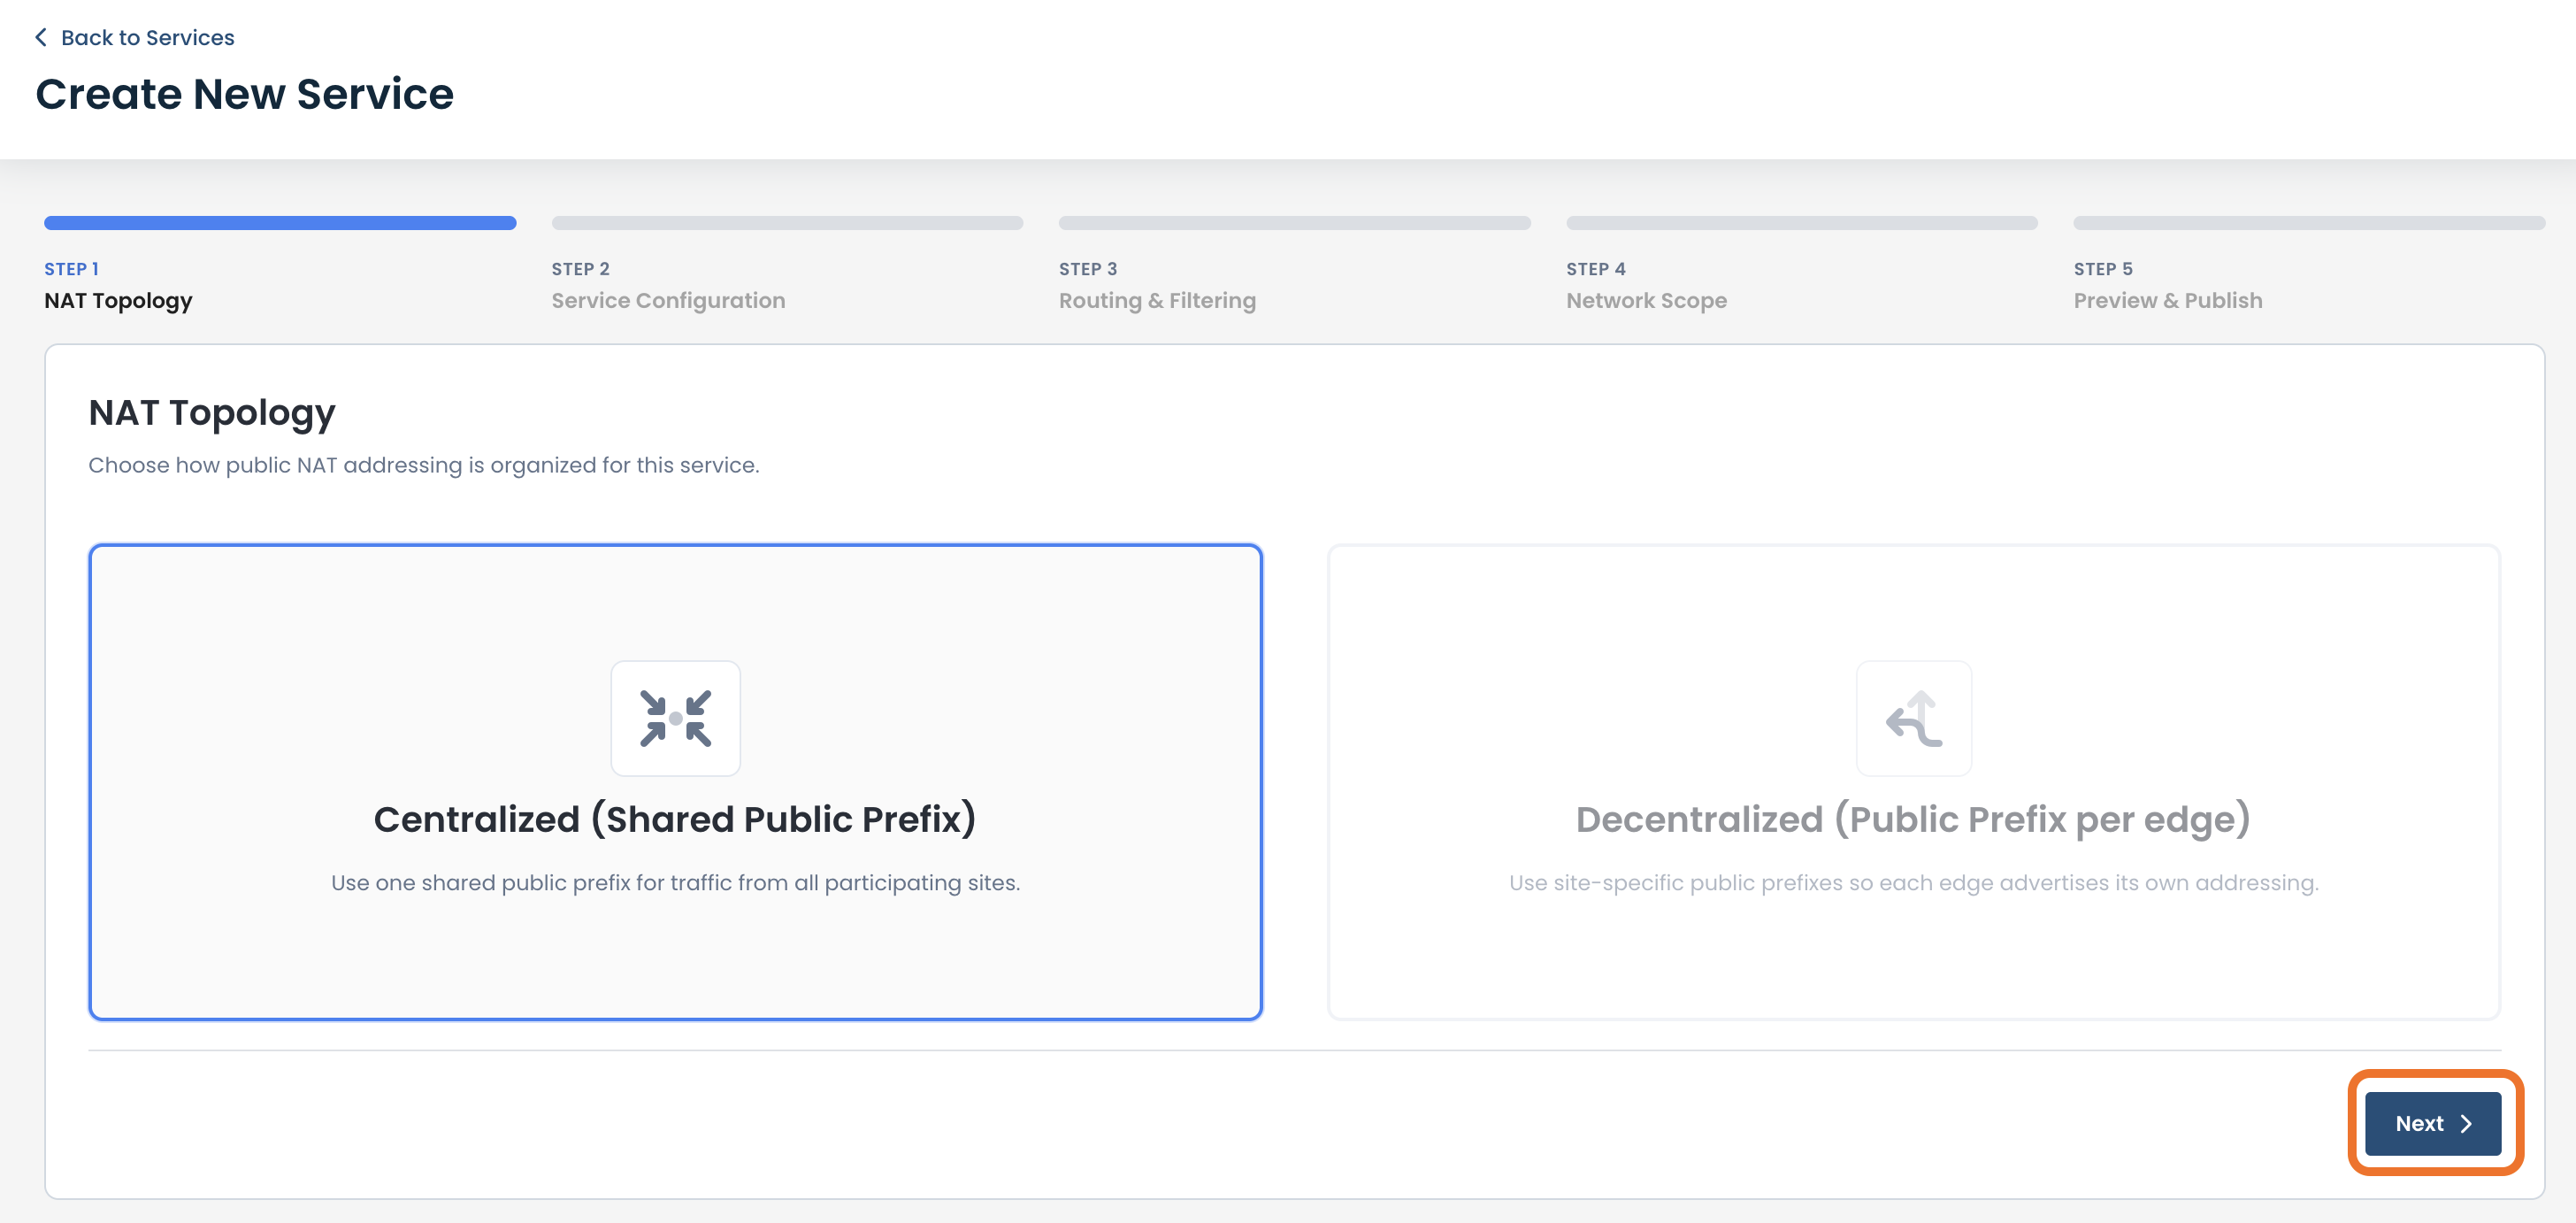
NAT Topology
At the moment, Graphiant only supports Centralized Public VIF; click ‘Next’.
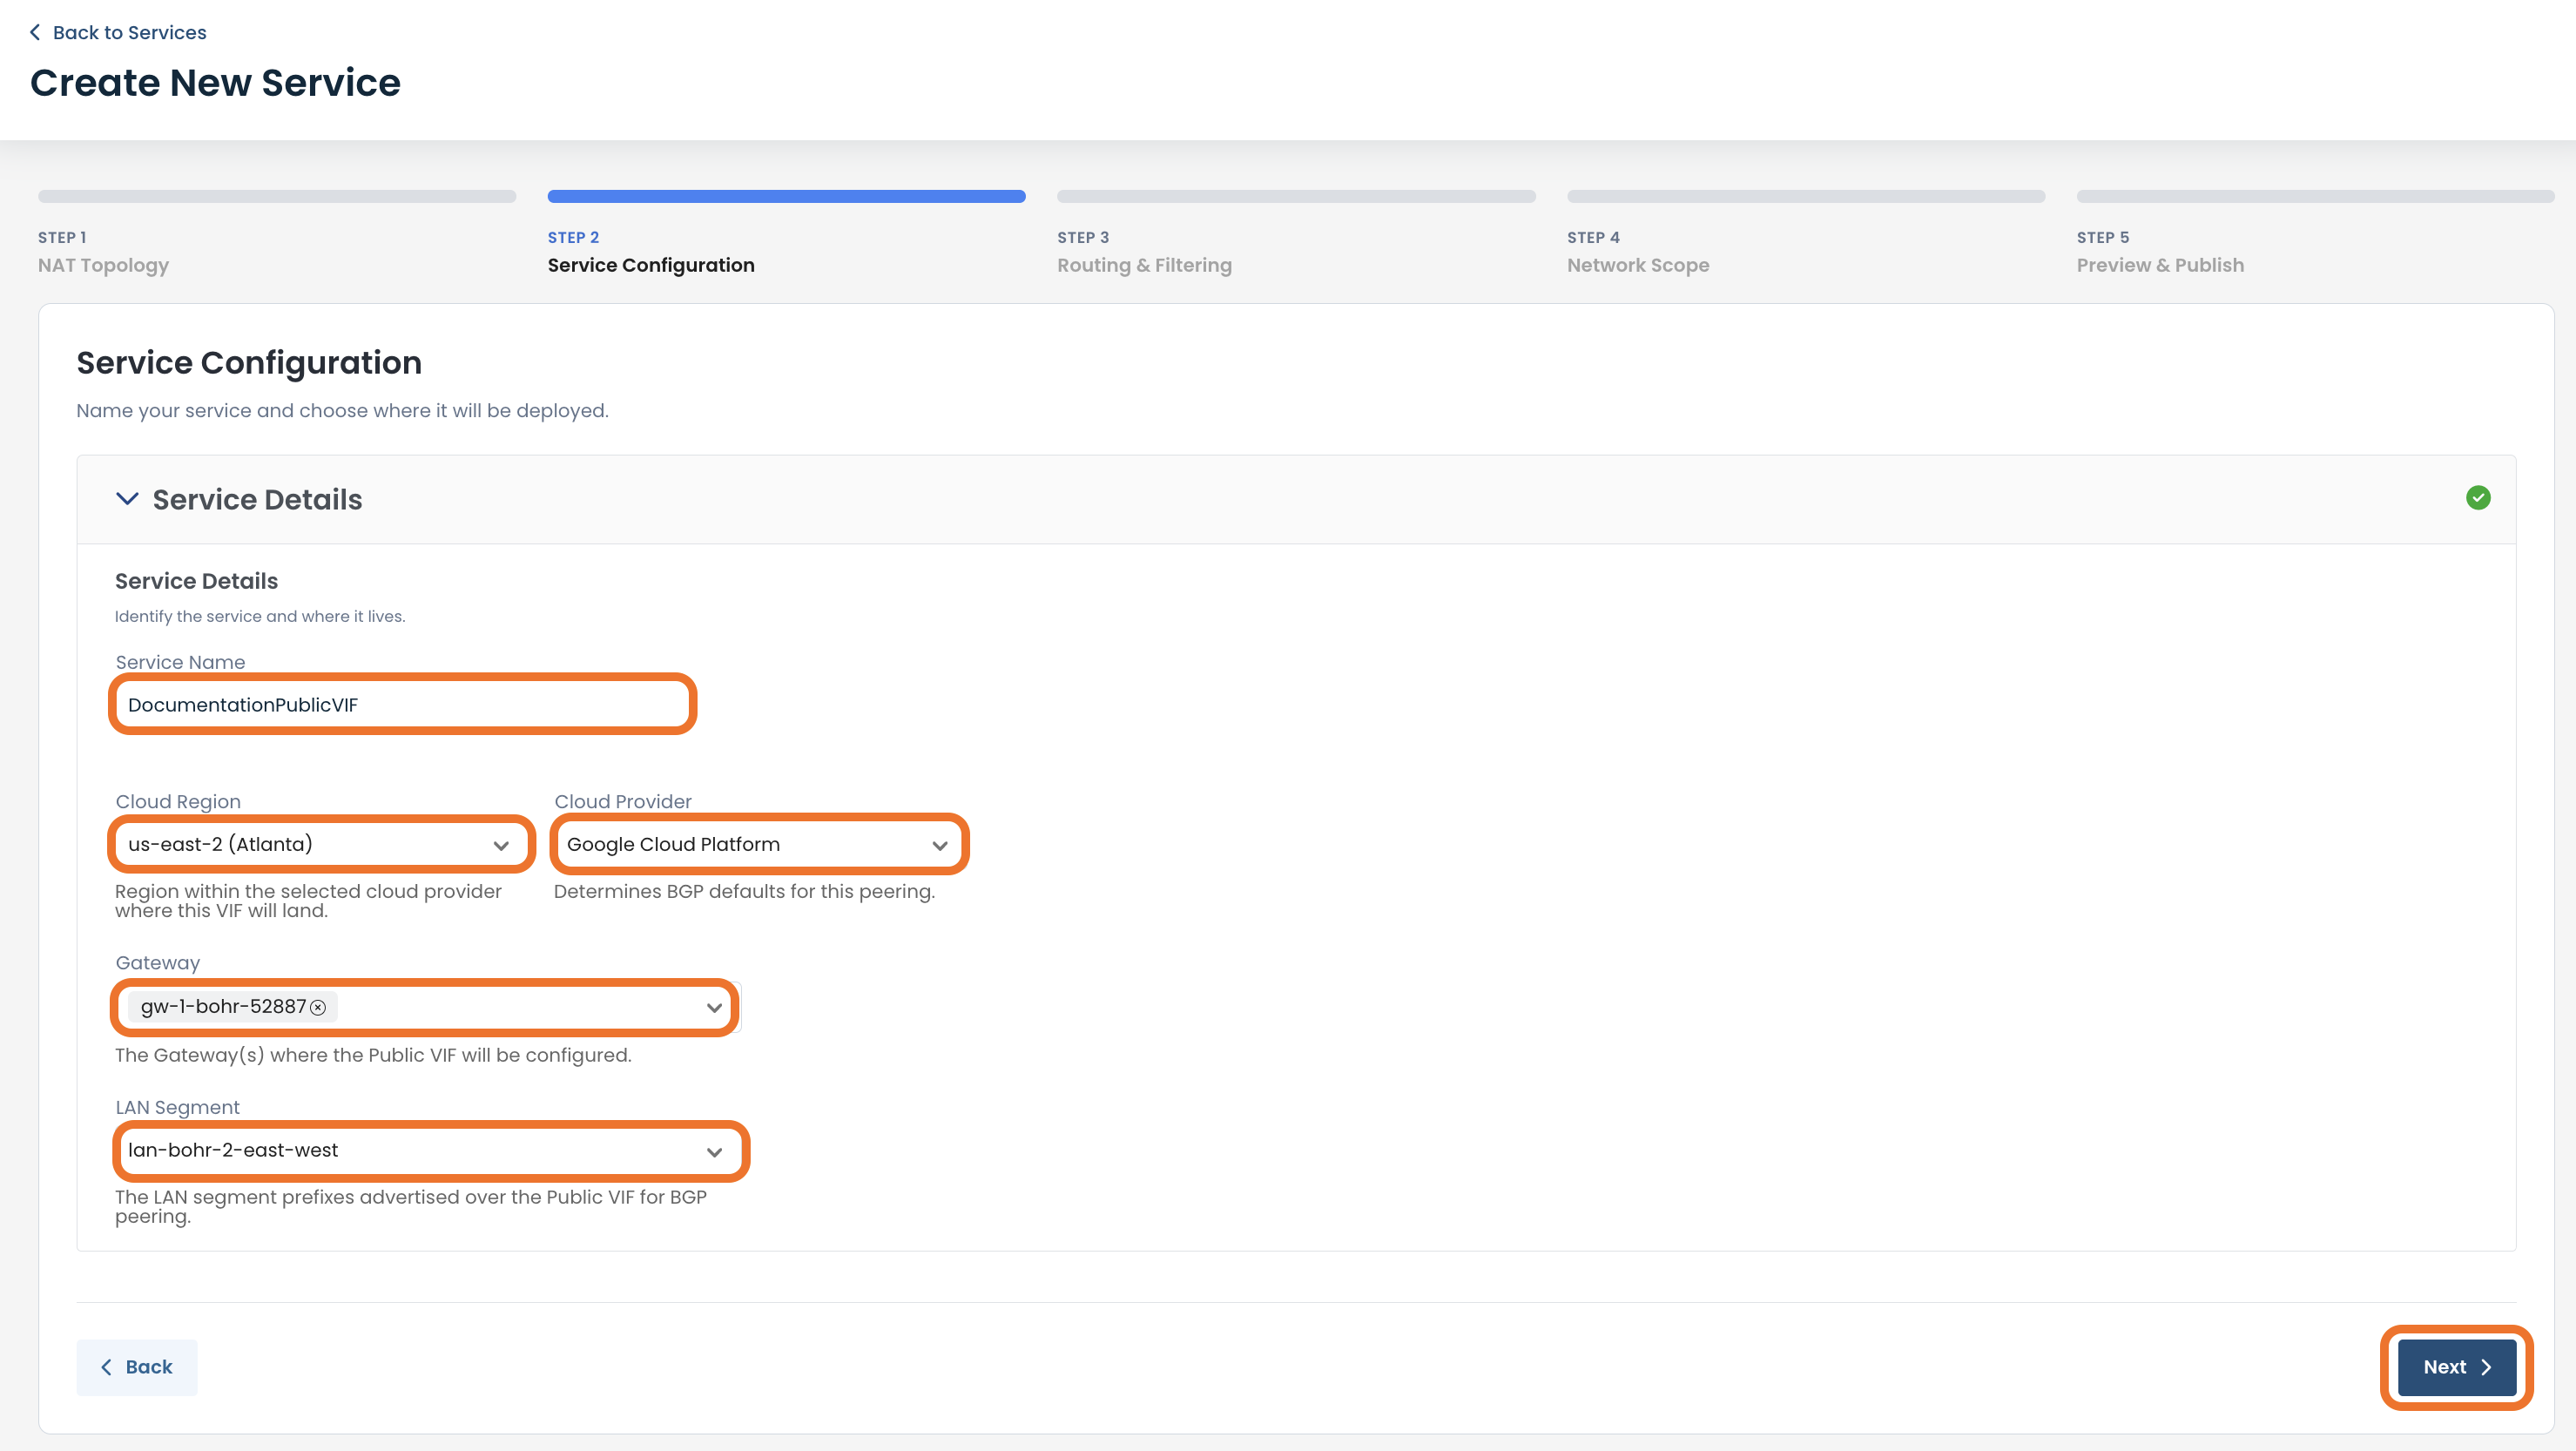
Service Configuration
Complete the following fields:
Service Name: Descriptive name to identify this Public VIF service within the Graphiant Portal.
Cloud Region: Cloud provider region where the Public VIF will be established. This determines the geographic location of the cloud connection.
Cloud Provider: Cloud provider for this Public VIF. The provider determines the BGP defaults and configuration options used for the connection.
Gateway: The Graphiant Gateway where the Public VIF will be configured. The gateway terminates the cloud connection and exchanges BGP routes with the cloud provider.
Note:
This will pre-populate with the options of 2 gateways; at least 1 must be selected to continue.
You can decrease to 1 gateway, but not zero.
LAN Segment: The LAN segment whose IP prefixes will be advertised to the cloud provider over the Public VIF through BGP.
Click ‘Next’.
Routing and Filtering
Complete the following fields:
Route Advertisement
Covering Prefixes: Enter one or more CIDR summarized IP prefixes (for example, 10.1.0.0/22) that cover the LAN routes to be advertised over the Public VIF.
BGP Configuration
Neighbor:
Local:
Interfaces: Select the interface used for the Public VIF. Only interfaces supported by your selected device are available.
Peer:
Peer IP Address: Enter the IP address of the remote BGP peer provided by your cloud provider.
Peer ASN: Enter the Autonomous System Number (ASN) assigned to the remote BGP peer.
Filters: (Optional)
Inbound: Select a route filter to control which routes are accepted from the BGP peer.
Outbound: Select a route filter to control which routes are advertised to the BGP peer.
Path Manipulation: Enable as many as desired.
AS Override: Replace the peer's AS number in advertised routes to allow connectivity when both networks use the same ASN.
Remote Private AS: Allow the use of a private Autonomous System Number (ASN) on the remote BGP peer.
Allow AS In: Permit routes that contain your own ASN in the AS path, to prevent valid routes from being rejected.
Allow AS In Occurrences: Specify the maximum number of times your local ASN is permitted to appear in the received AS path before the route is rejected.
Advanced Settings (Optional):
Session Timers:
Hold Timer: Specifies how long to wait without receiving BGP keepalive messages before the peer is considered unavailable and the BGP session is terminated.
Keep Alive Timer: Specifies how frequently BGP keepalive messages are sent to maintain the peering session. This value must be lower than the Hold Timer.
eBGP Multi-Hop: Specifies the maximum number of network hops allowed between BGP peers. Increase this value only if the peer is not directly connected.
Route Limits:
Max Prefix: Specifies the maximum number of routes that can be accepted from the BGP peer. If the limit is exceeded, the BGP session may be shut down to help protect against excessive route advertisements.
Authentication and Capabilities:
MD5 Password: Enter an MD5 authentication password to secure the BGP session. The password must exactly match the password configured on the remote BGP peer.
Send Community: Advertise BGP community attributes to the remote peer. Communities allow routing policies to be applied based on tagged routes.
Click ‘Next’.
.png)
Network Scope
Here you will configure how public NAT addresses are assigned and advertised for this Public VIF service.
Complete the following fields:
Public IP Prefix: Enter the public IP prefix (CIDR) that this gateway will advertise to the cloud provider for NAT. The prefix must be routable and allocated for use with this Public VIF.
The NAT Prefixes MUST be unique:
Within your Graphiant enterprise, each NAT prefix must be unique and not be assigned to any other Public VIF service.
Service Site Advertisement: Select which sites are permitted to use this Public VIF for outbound cloud connectivity.
LAN Segment: Select the LAN segment whose traffic will use this Public VIF.
Depending on which LAN Segment you choose:
Available sites will populate in the table.
Advertising Type Selection:
Advertise to All Sites: Makes this Public VIF available to every site associated with the selected LAN segment. This will pre-populate all applicable sties.
Advertise to Selected Sites: Limits use of this Public VIF to the specific sites you select.
Site Type: Choose either:
Sites: You can enter individual sites (up to 10)
Site List: From the dropdown that will appear after choosing Site List. For more information about Site Lists, click here.
Click ‘Next’.
.png)
Preview & Publish
Confirm all information is correct; click ‘Create Service’.
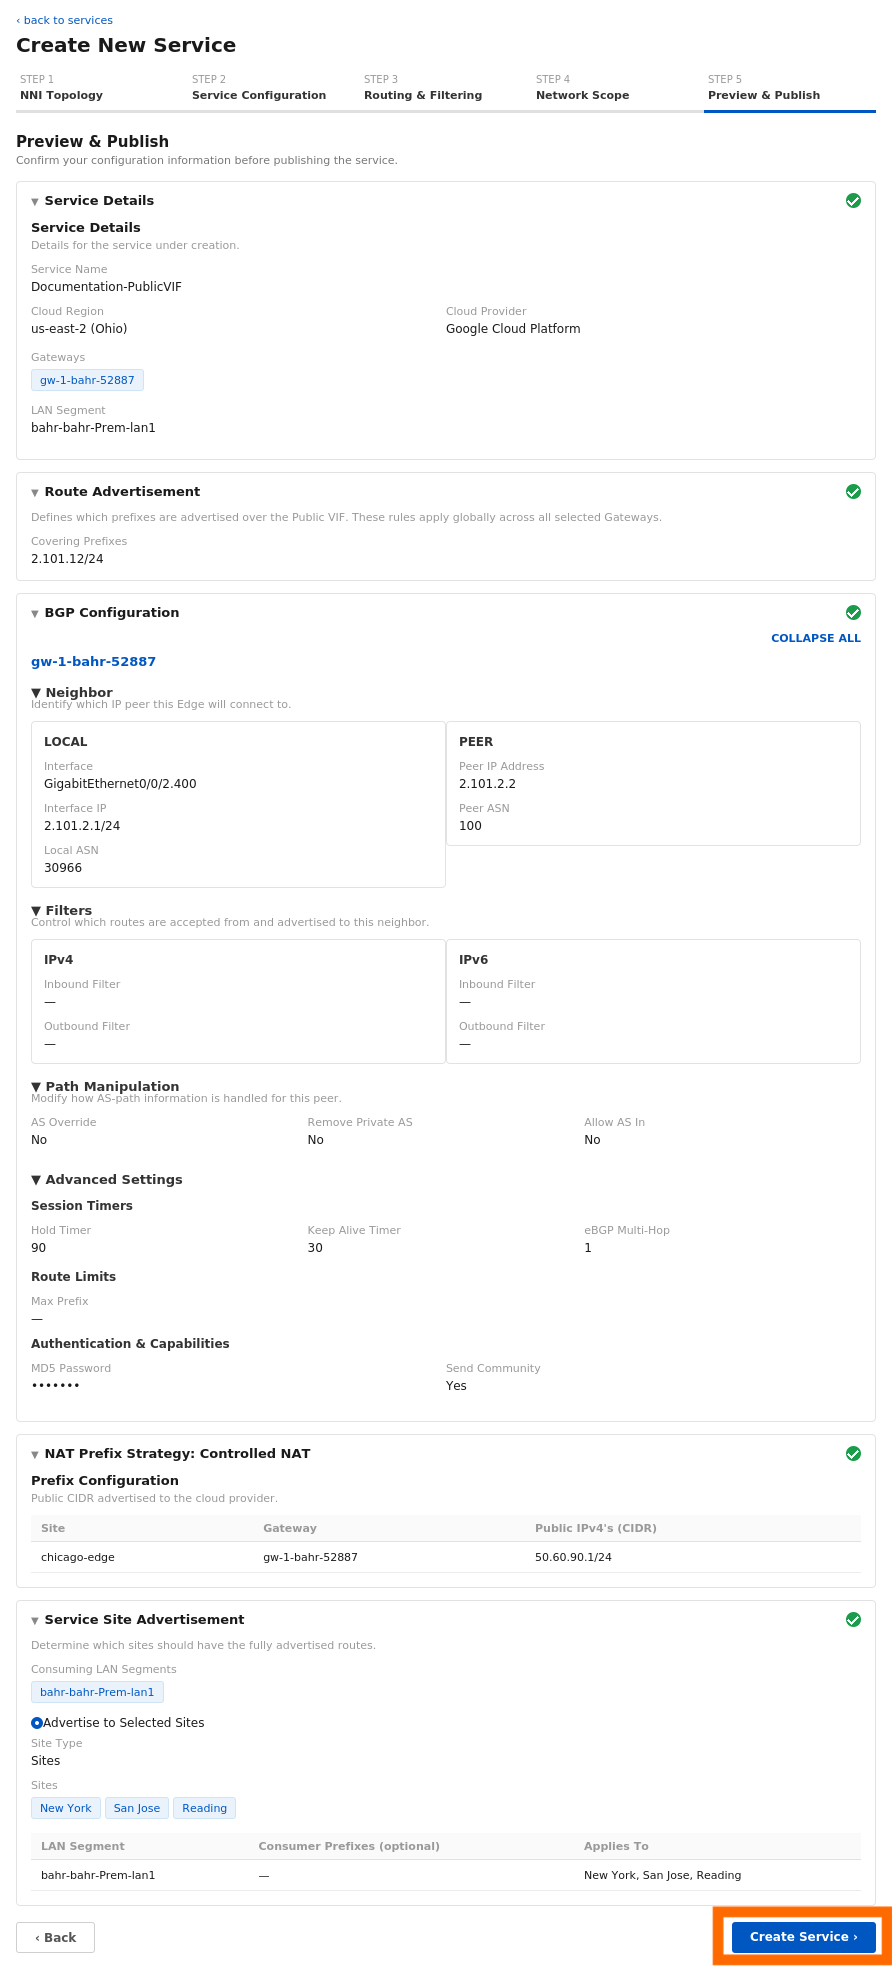
The new Public VIF service will be created, and now appear in the table.
Editing Your Public VIF Service
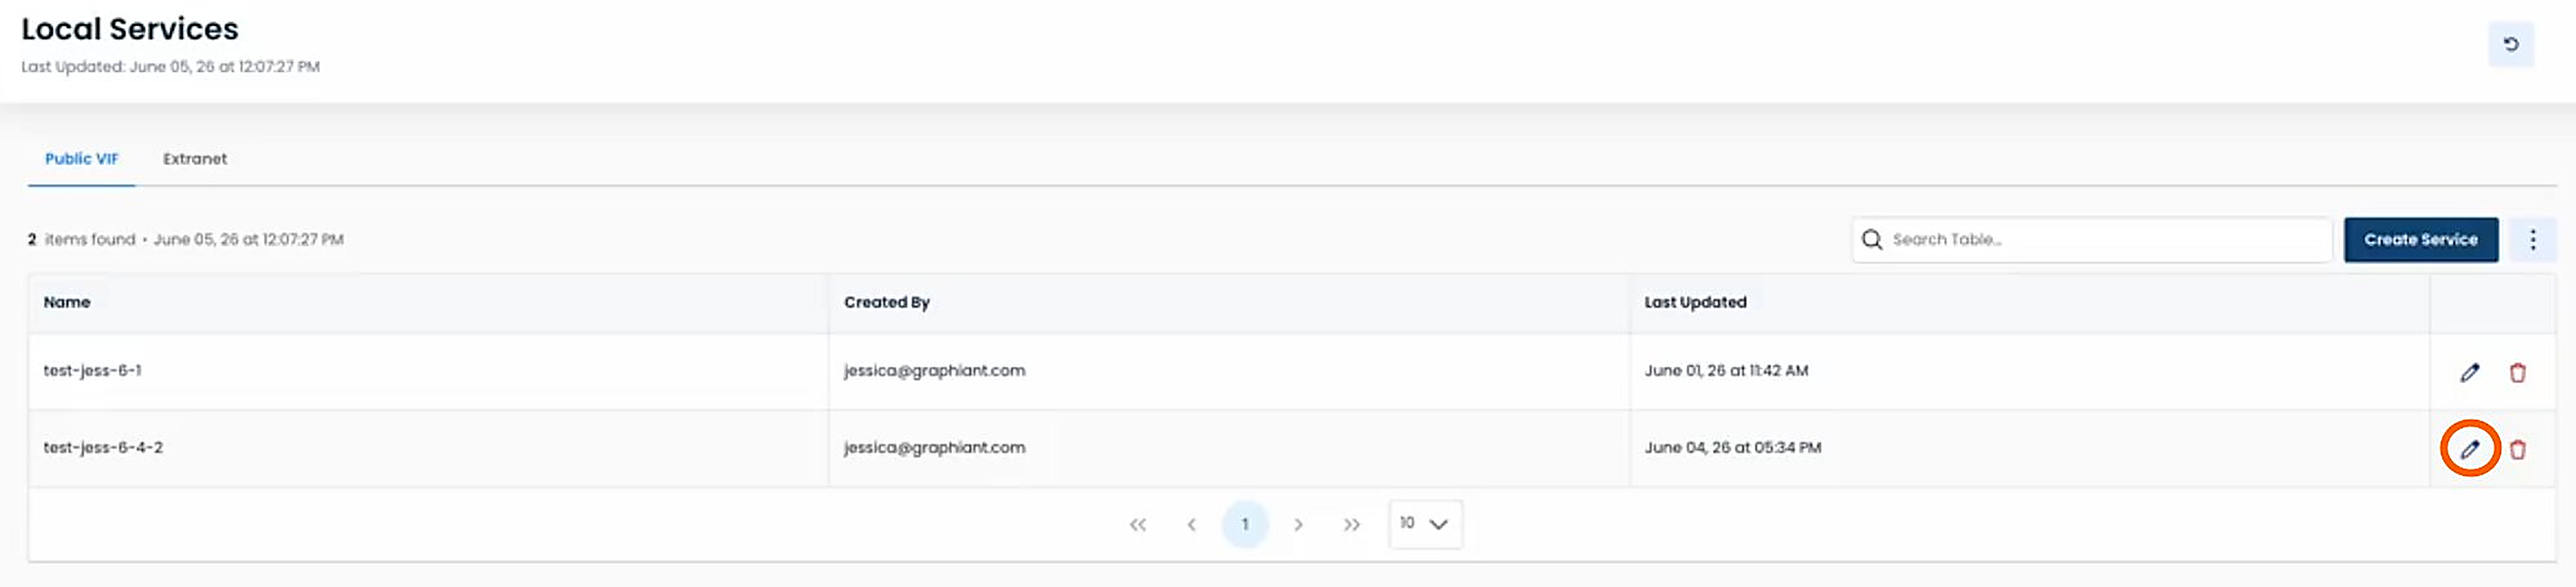
To edit your service, from the Public VIF summary page, click the ‘Edit’ icon to the right of the service to be edited.
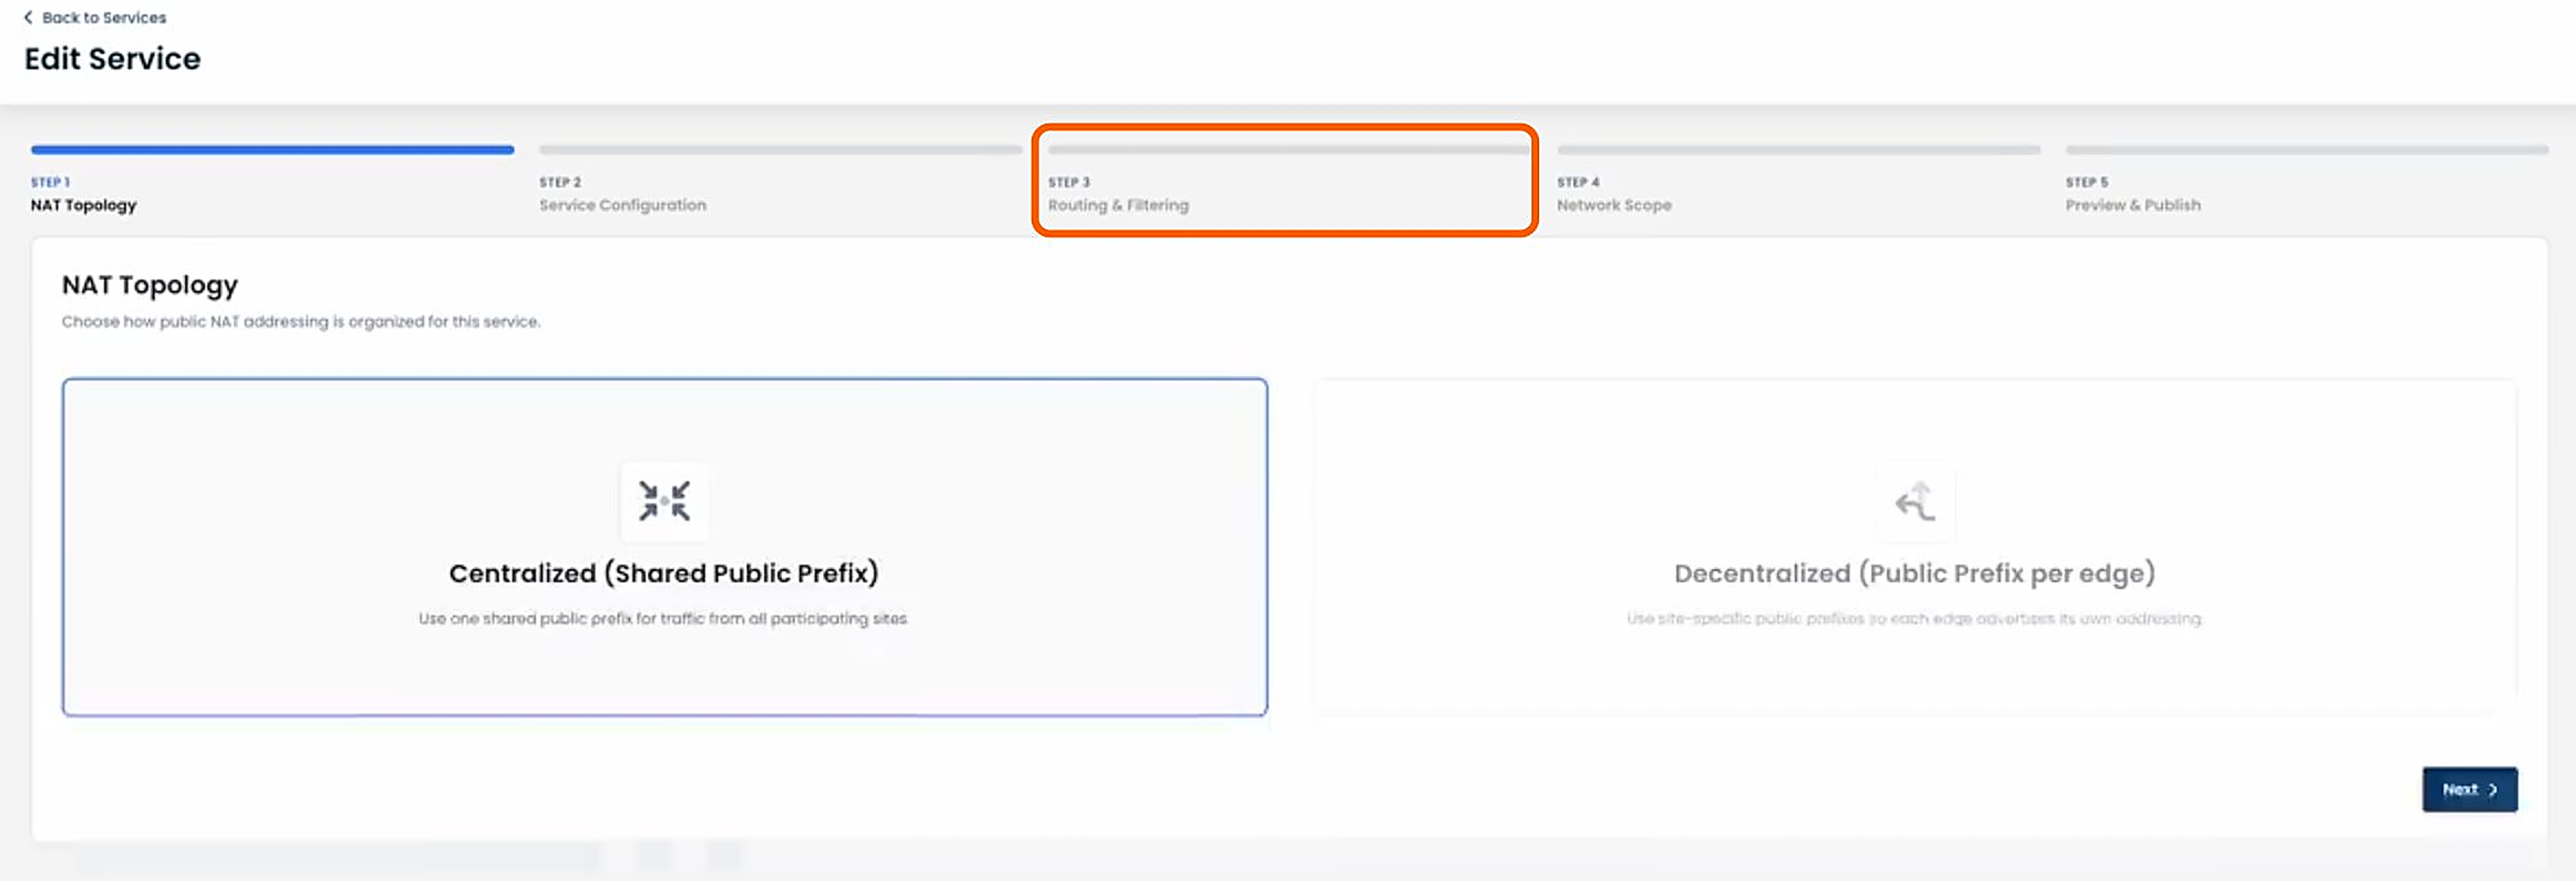
Only steps 3 and 4 are editable:
Should you need to edit anything within Steps 1 or 2, you can create a new service to suit your new requirements.
Click either Step 3 or Step 4, depending on your edit needs.
Edit the desired areas of your configuration (in this case “Path Manipulation”).
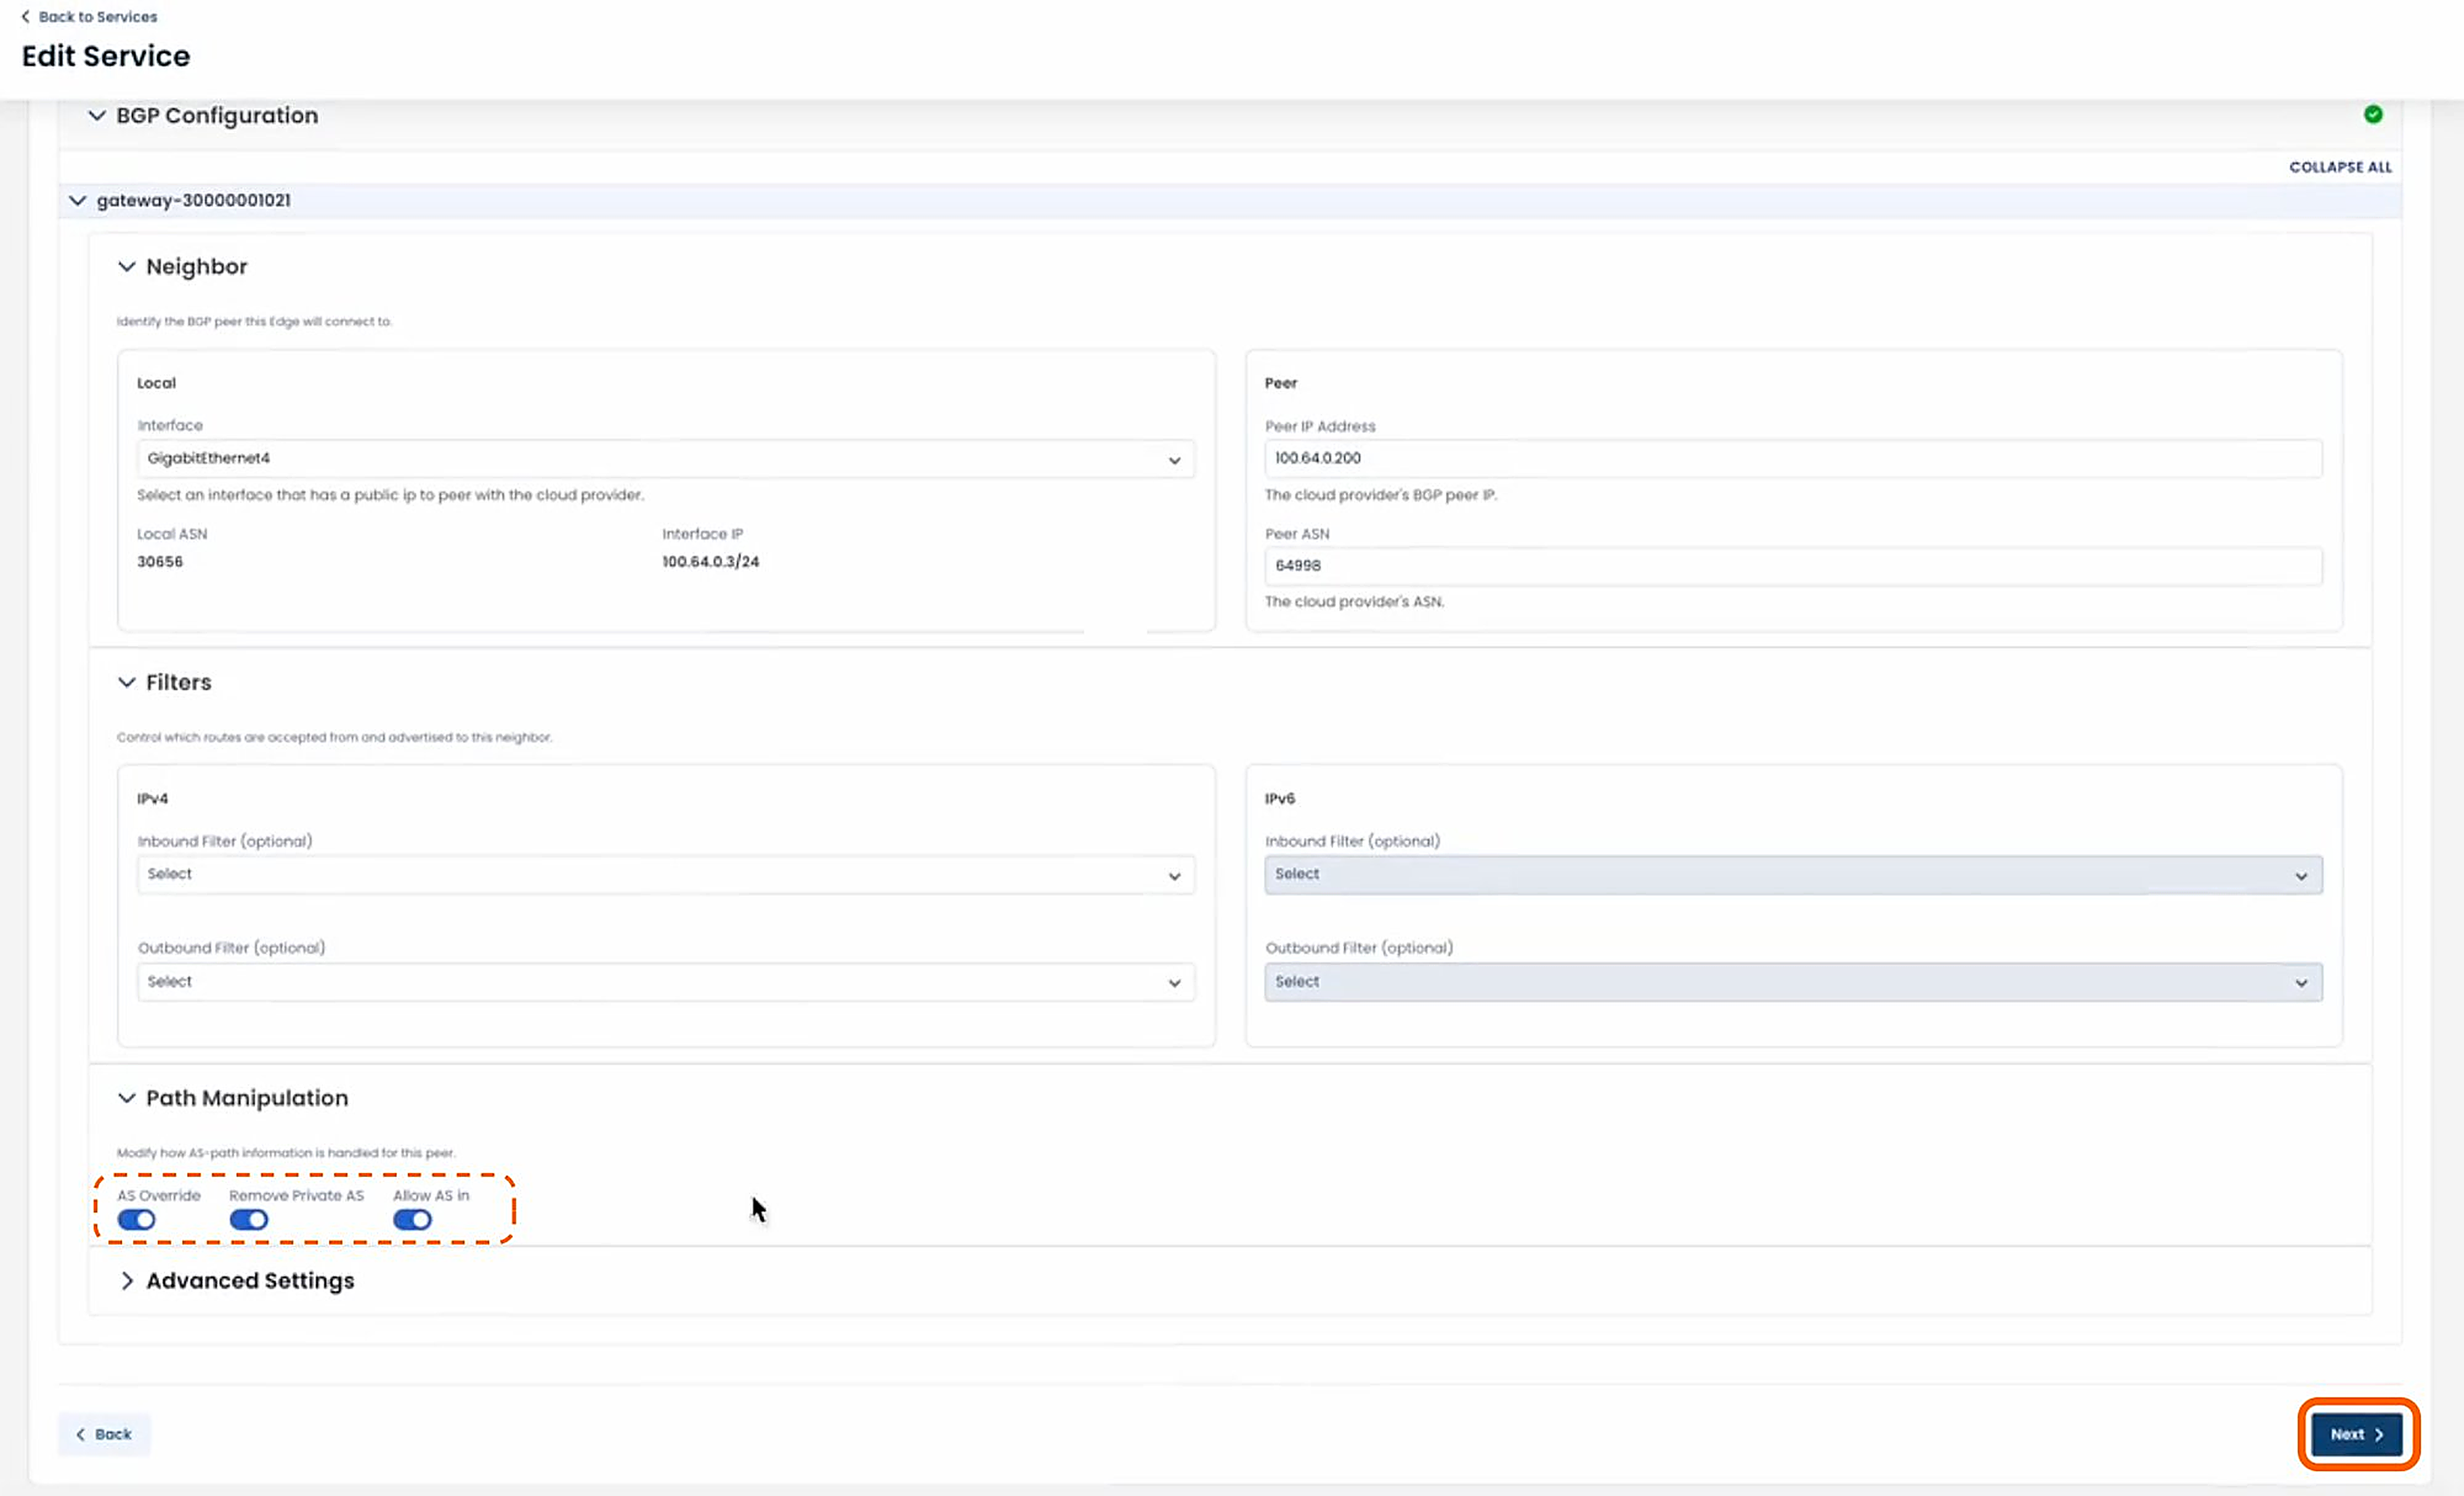
Continue to click ‘Next’ until reaching Step 5 - Preview & Pubish.
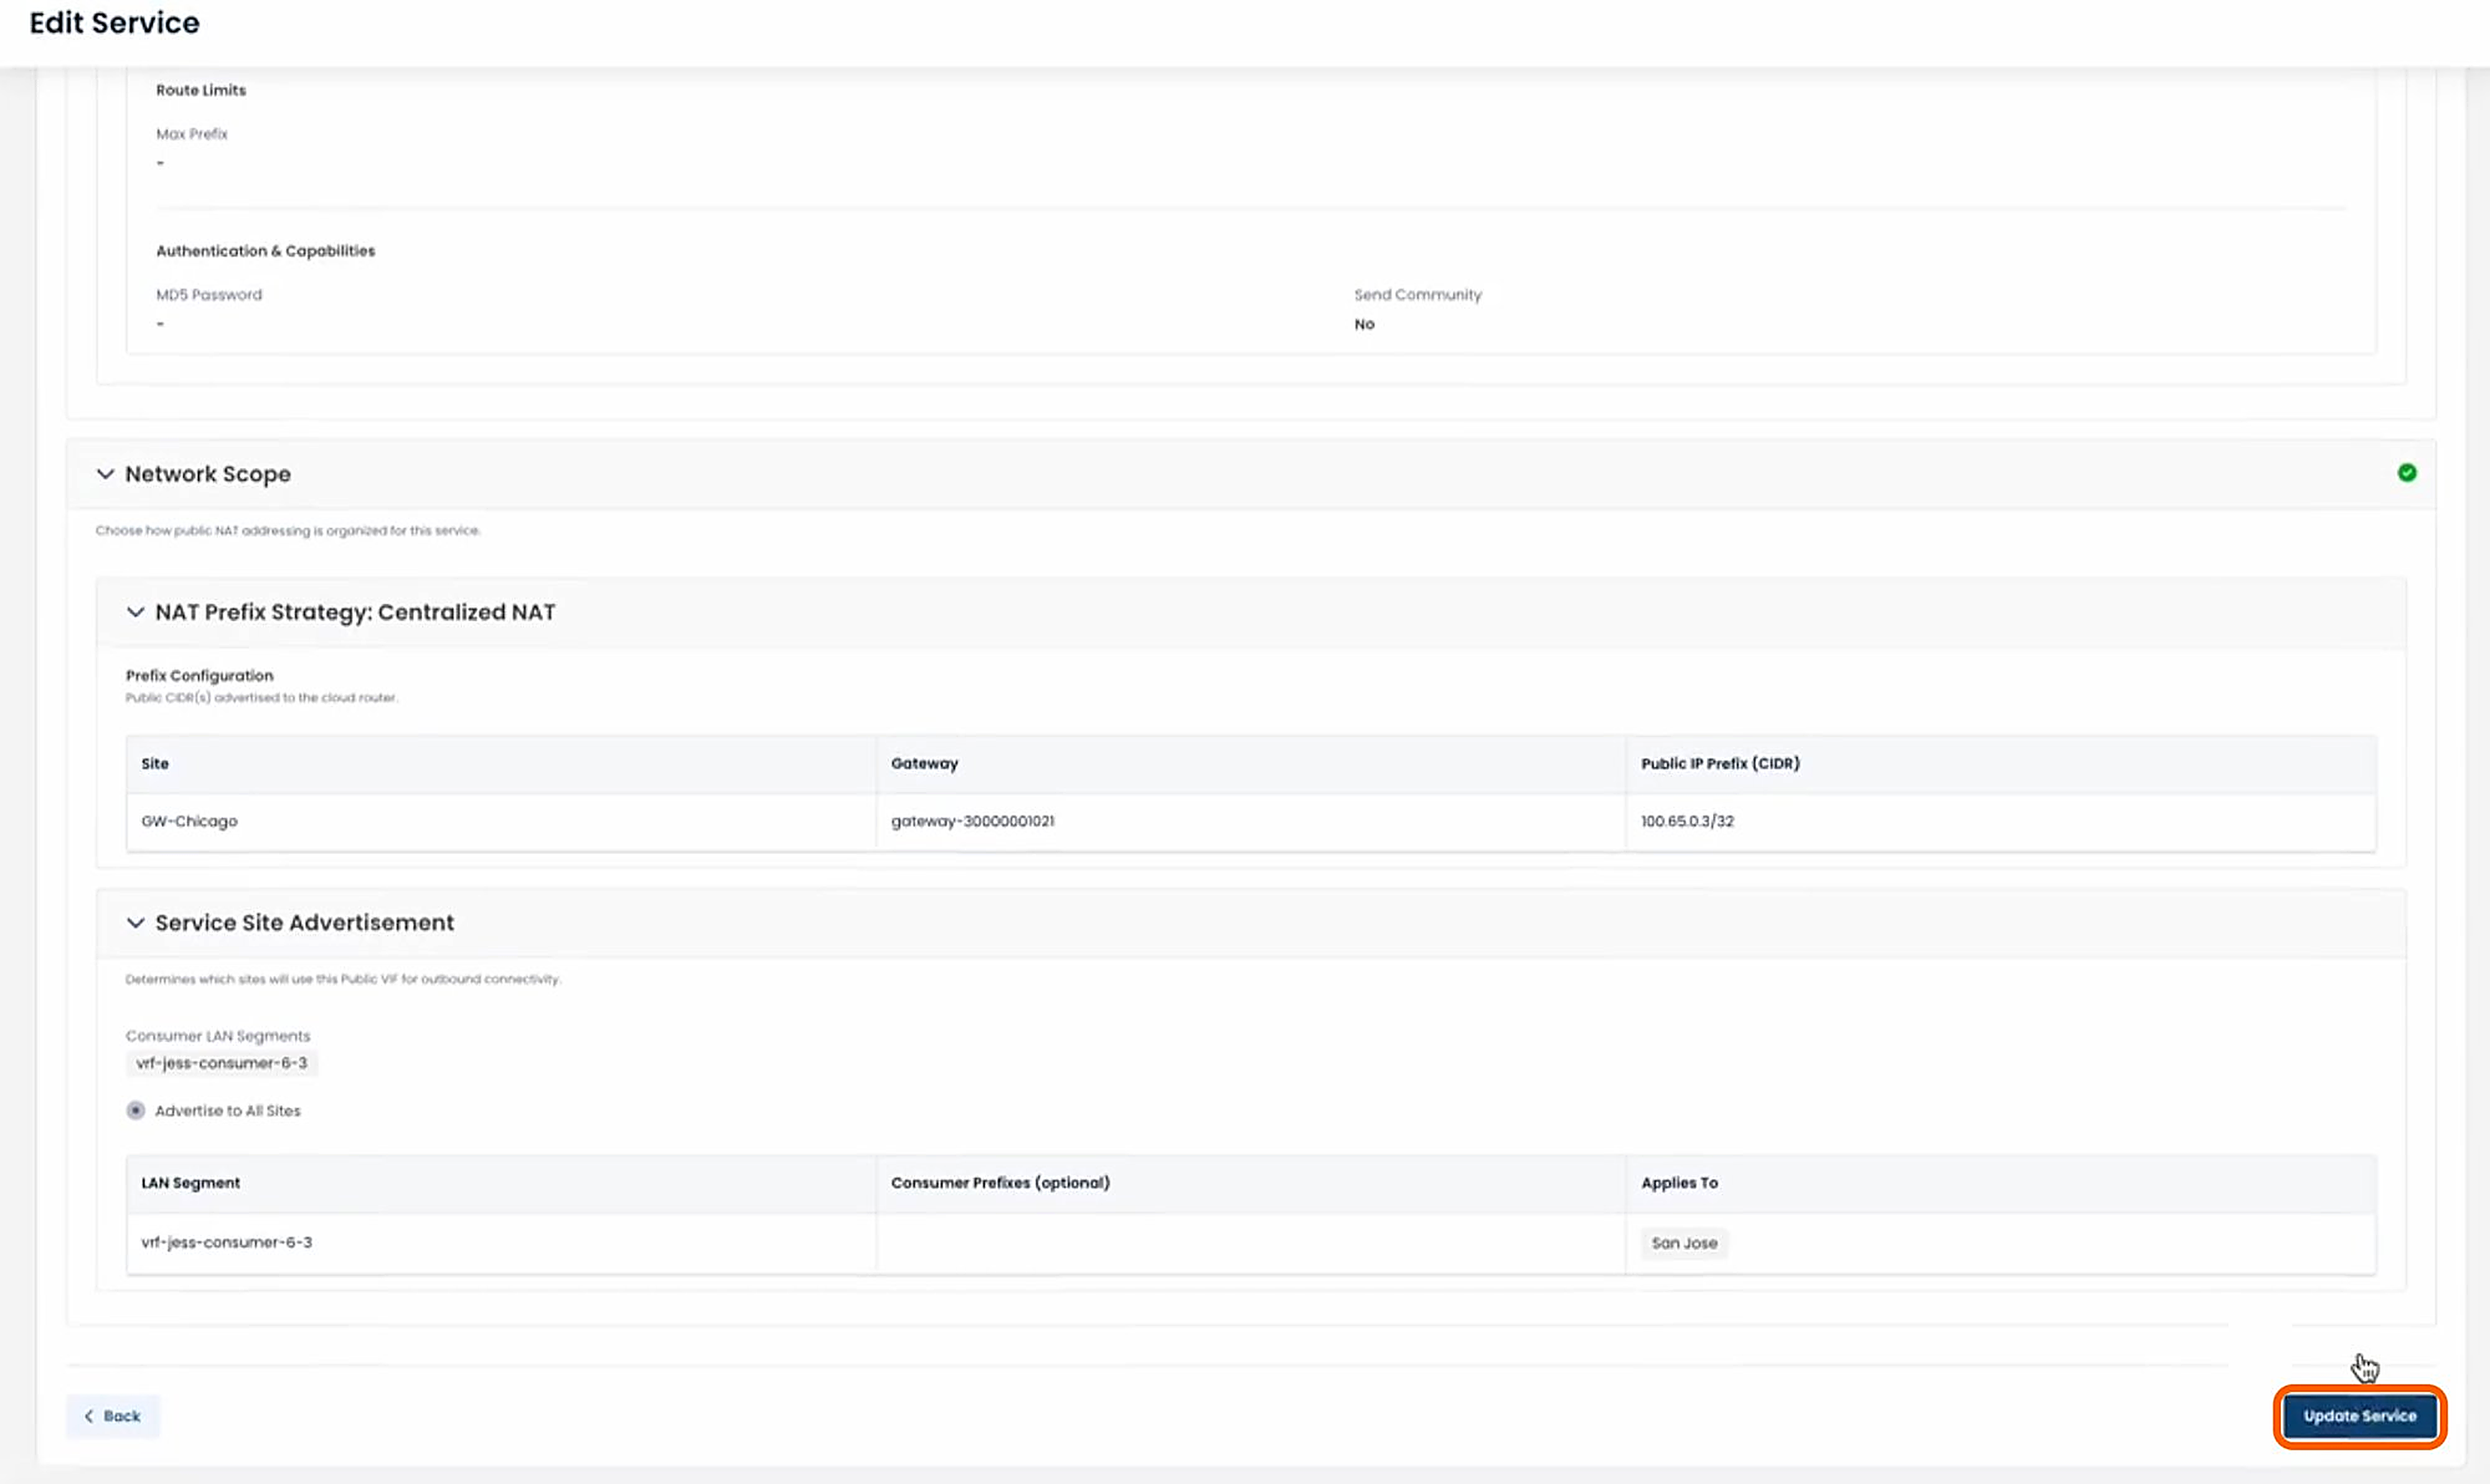
After confirming that your configuration changes are correct, click ‘Update Service’.
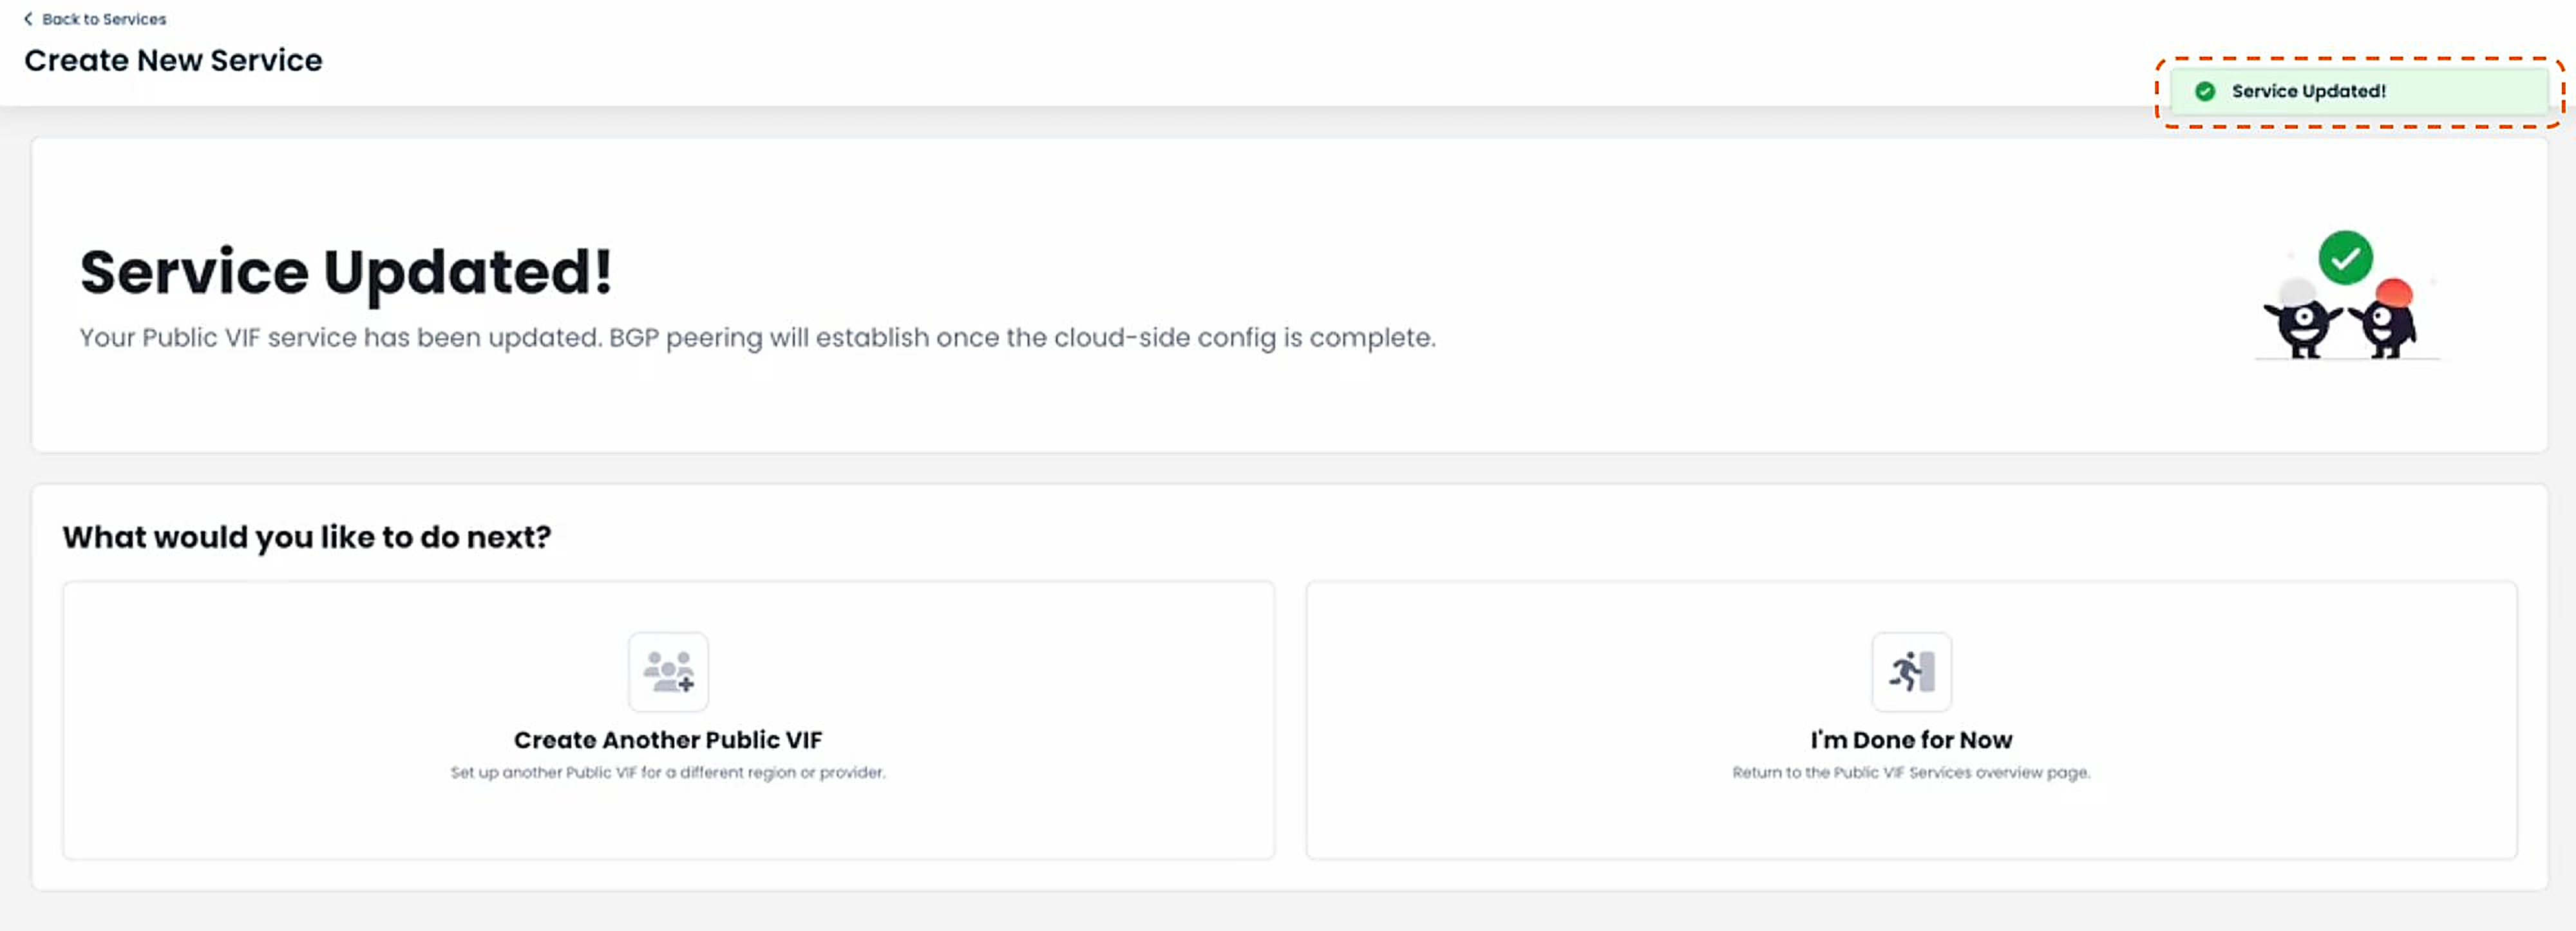
You will receive a green banner stating that your service has been updated.
From here you can either create another Public VIF, or indicate that you are finished and return to the VIF Overview page.
Deleting a Public VIF Service
To delete a service, from the Public VIF summary page, click the ‘Trash’ icon to the right of the service to be deleted.
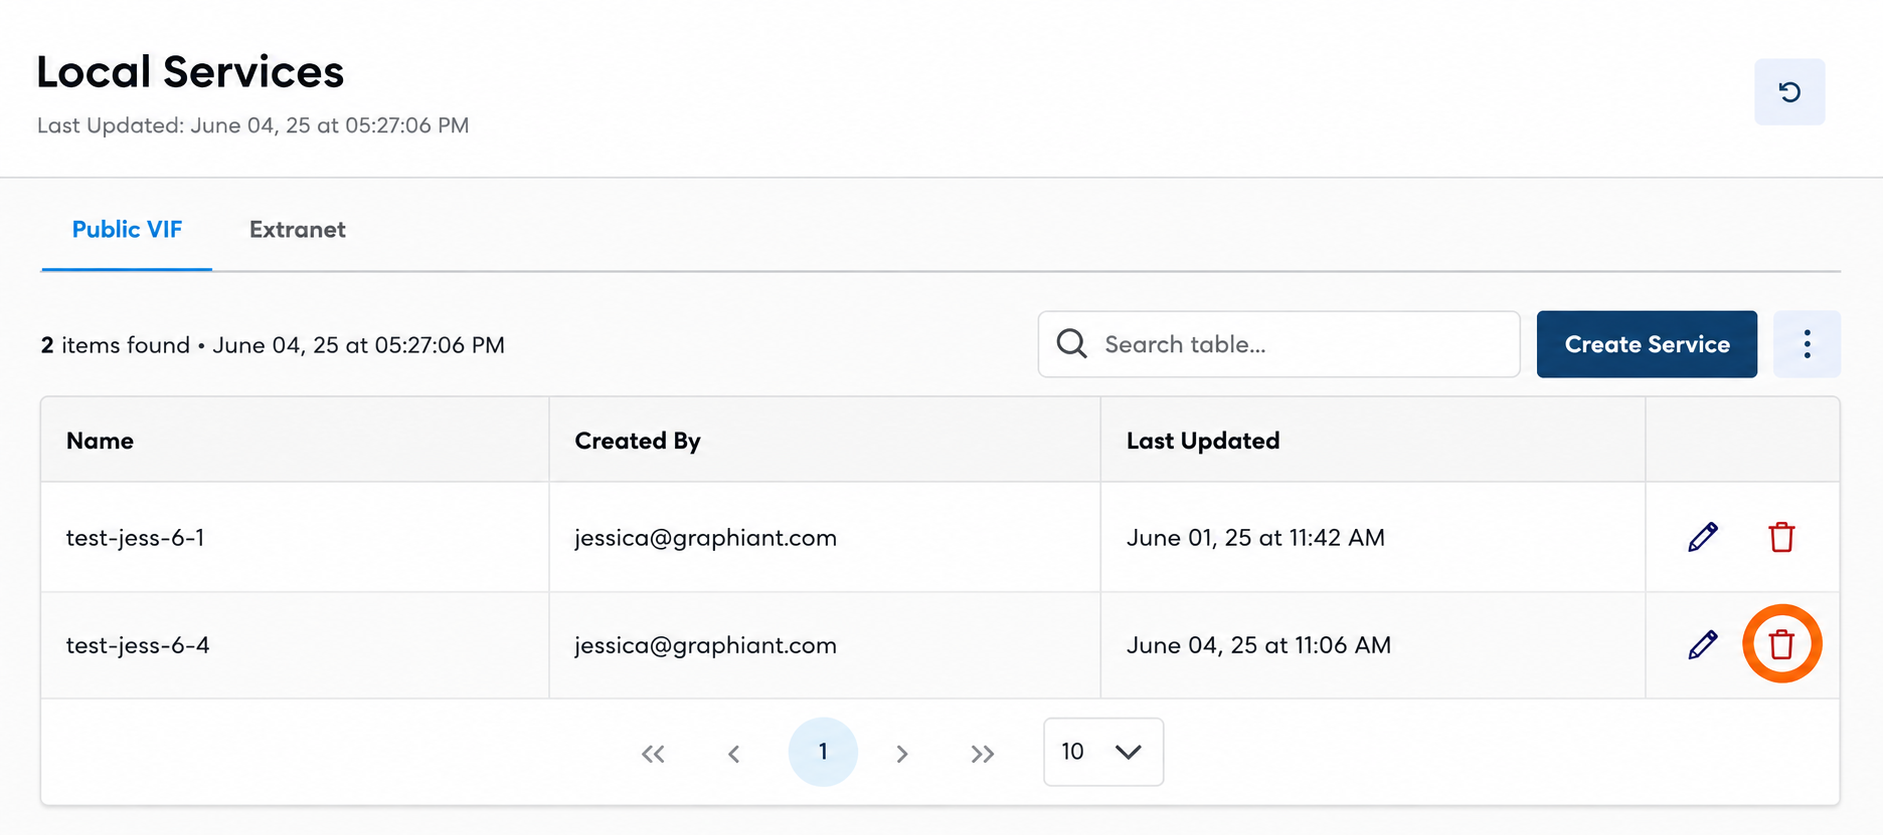
A modal will appear.
Click ‘Delete’.
Warning:
This action cannot be undone.
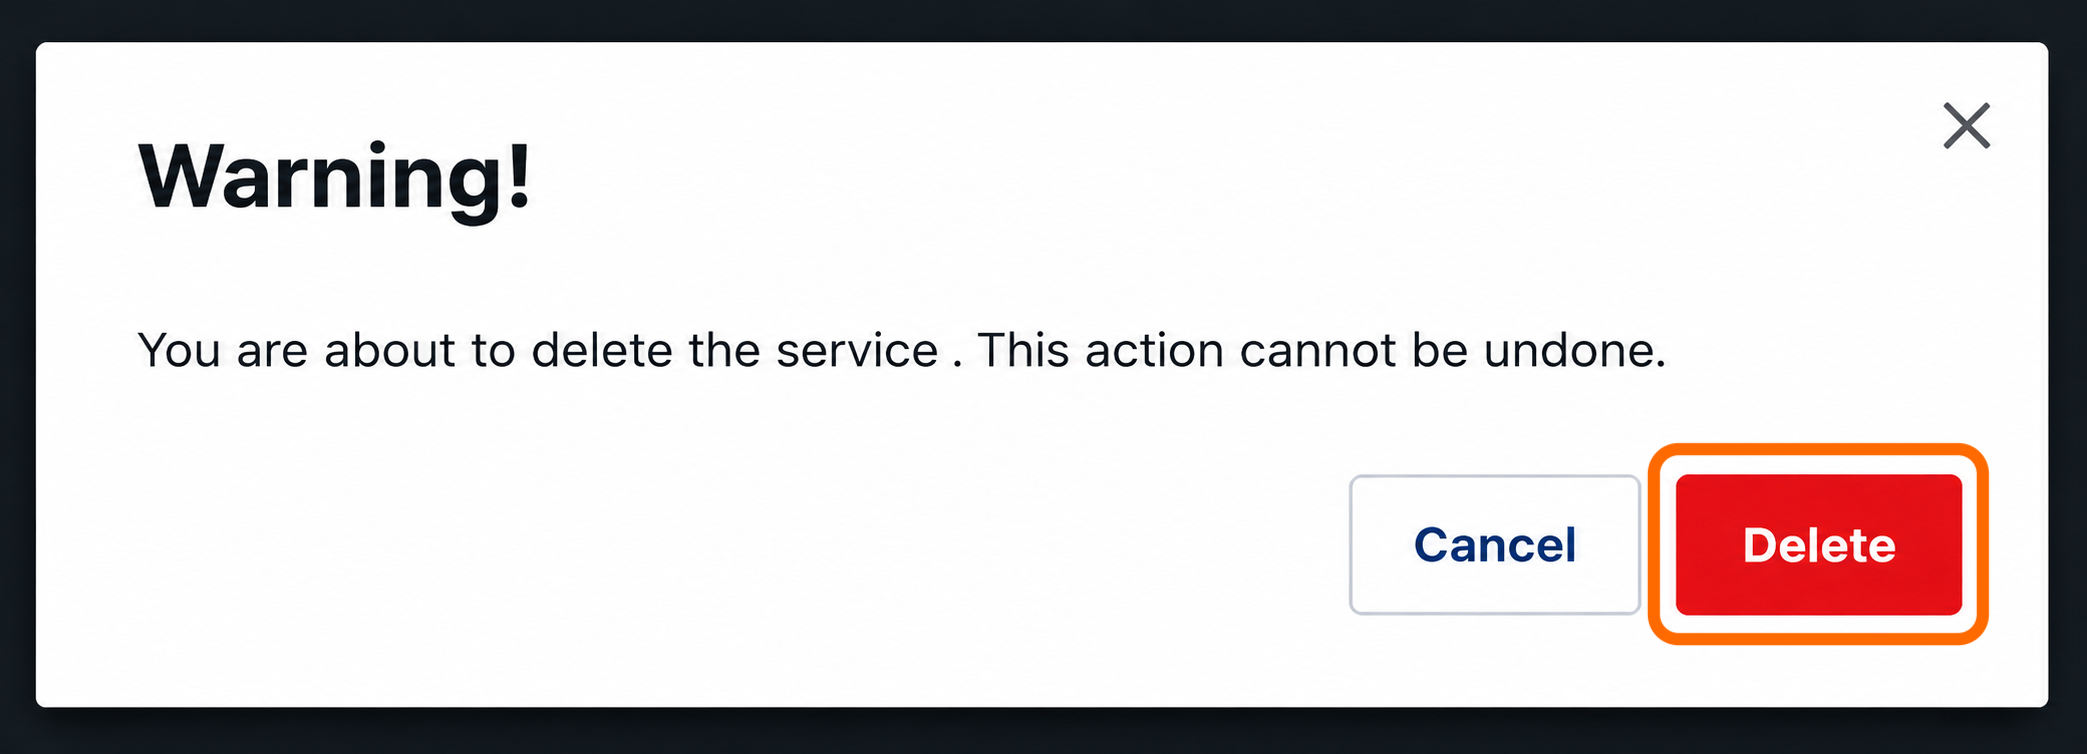
The Public VIF service will be deleted, and all device associations to this service will in turn be deleted as well.
Extranet
To connect your Graphiant network to another organization's private network over Graphiant, under Local Services, click ‘Extranet’.
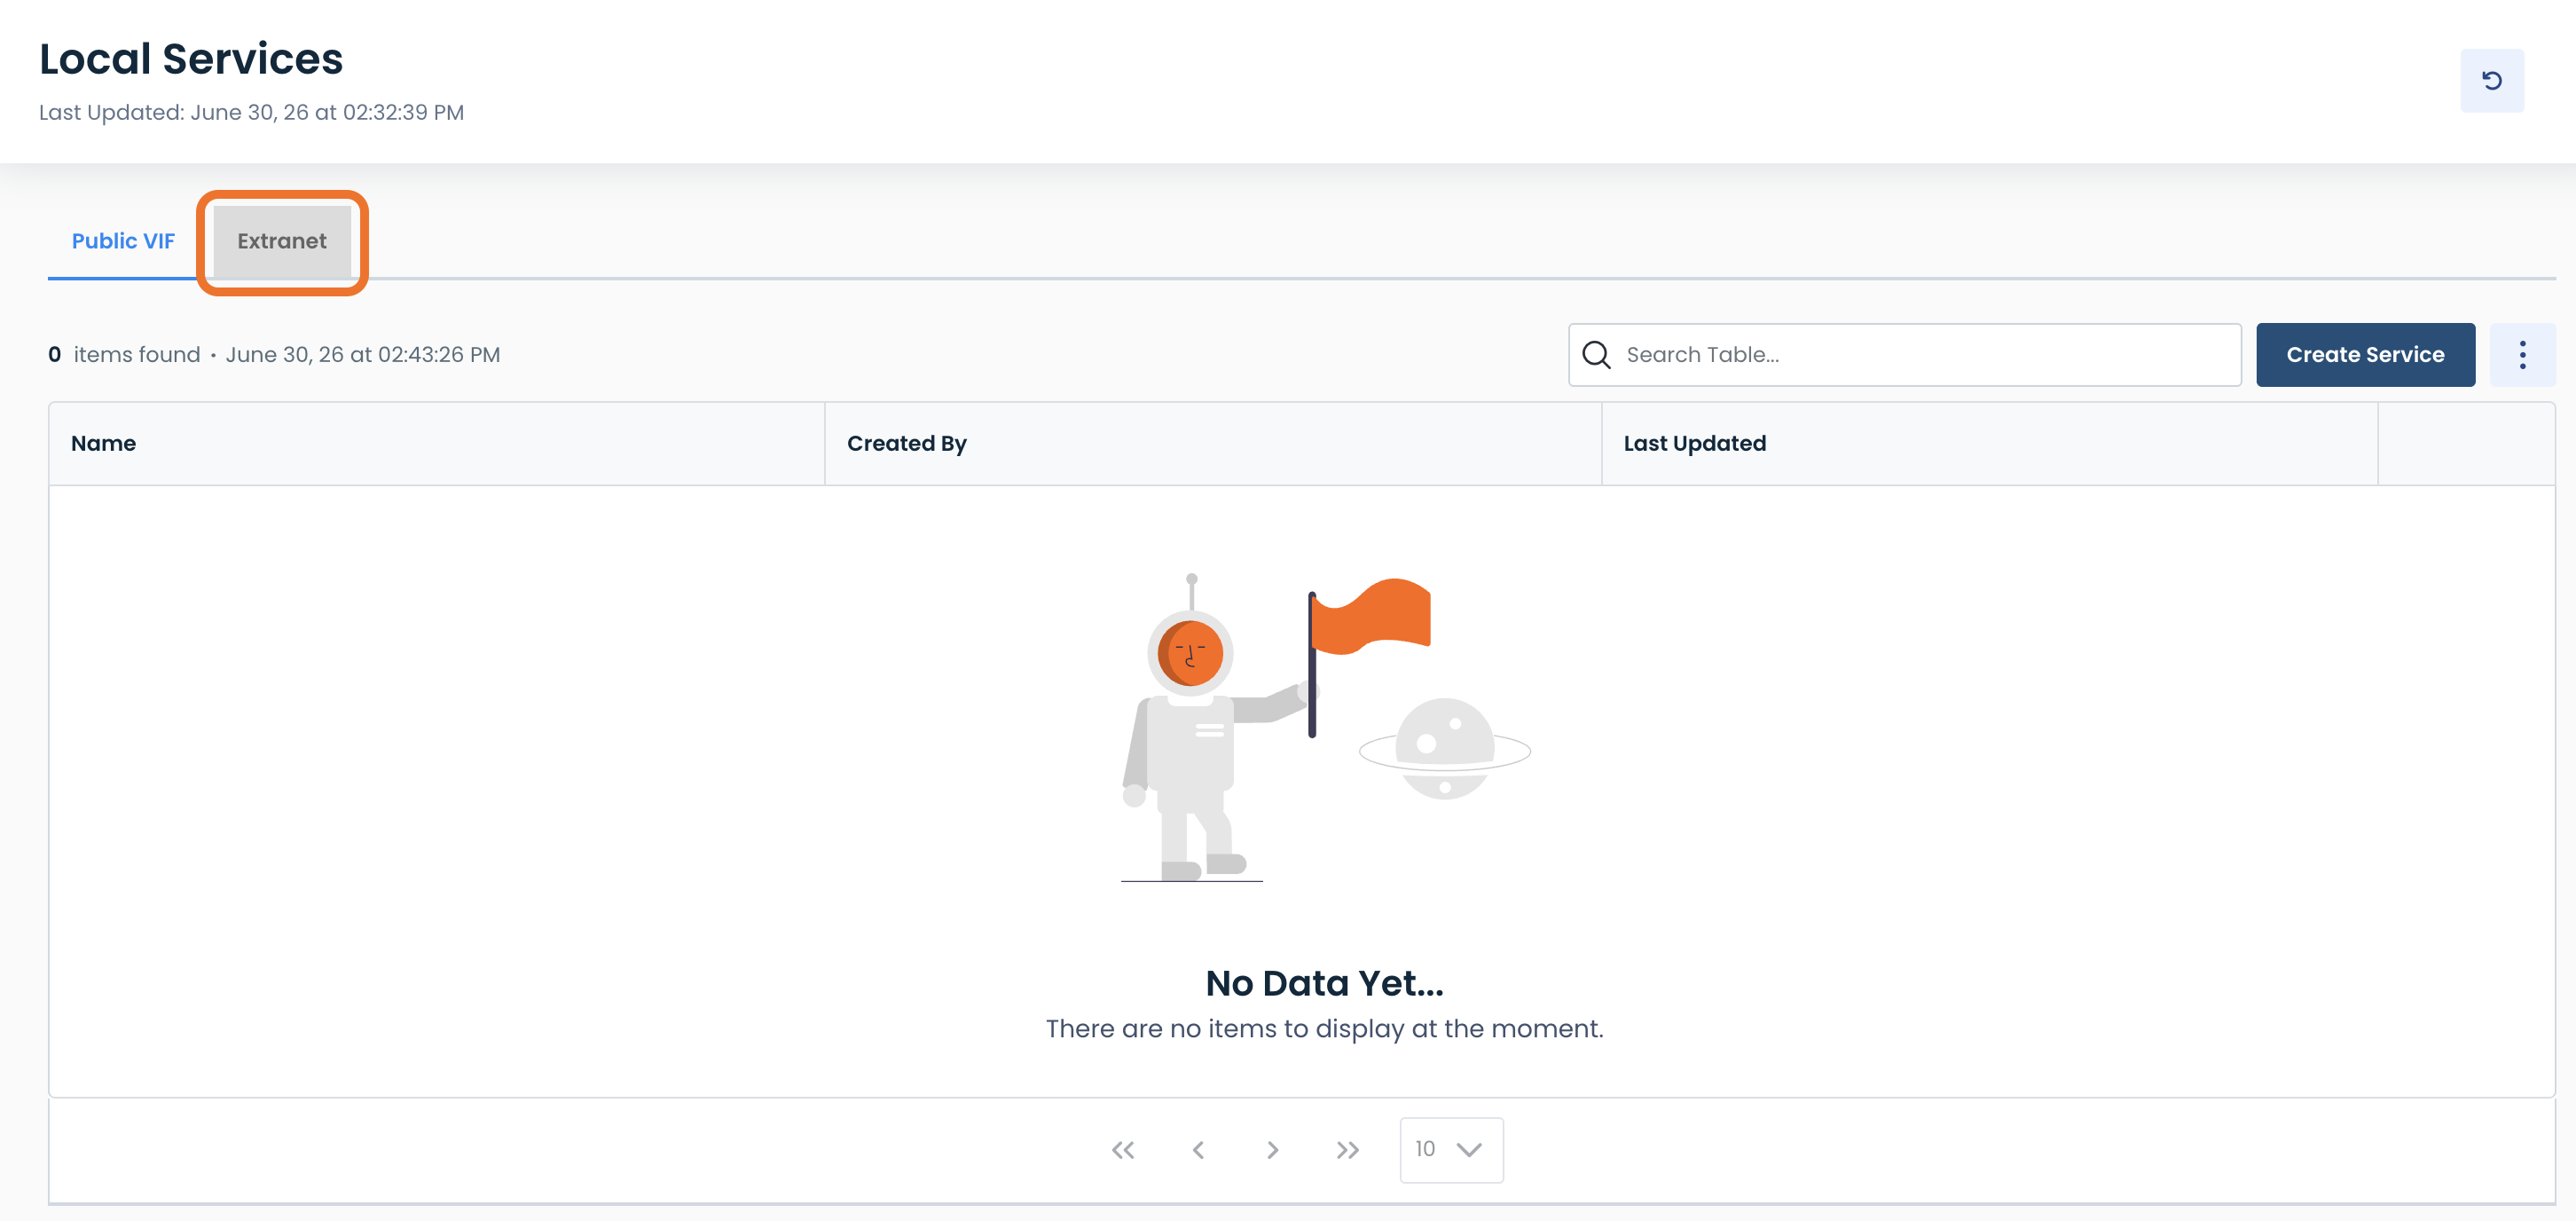
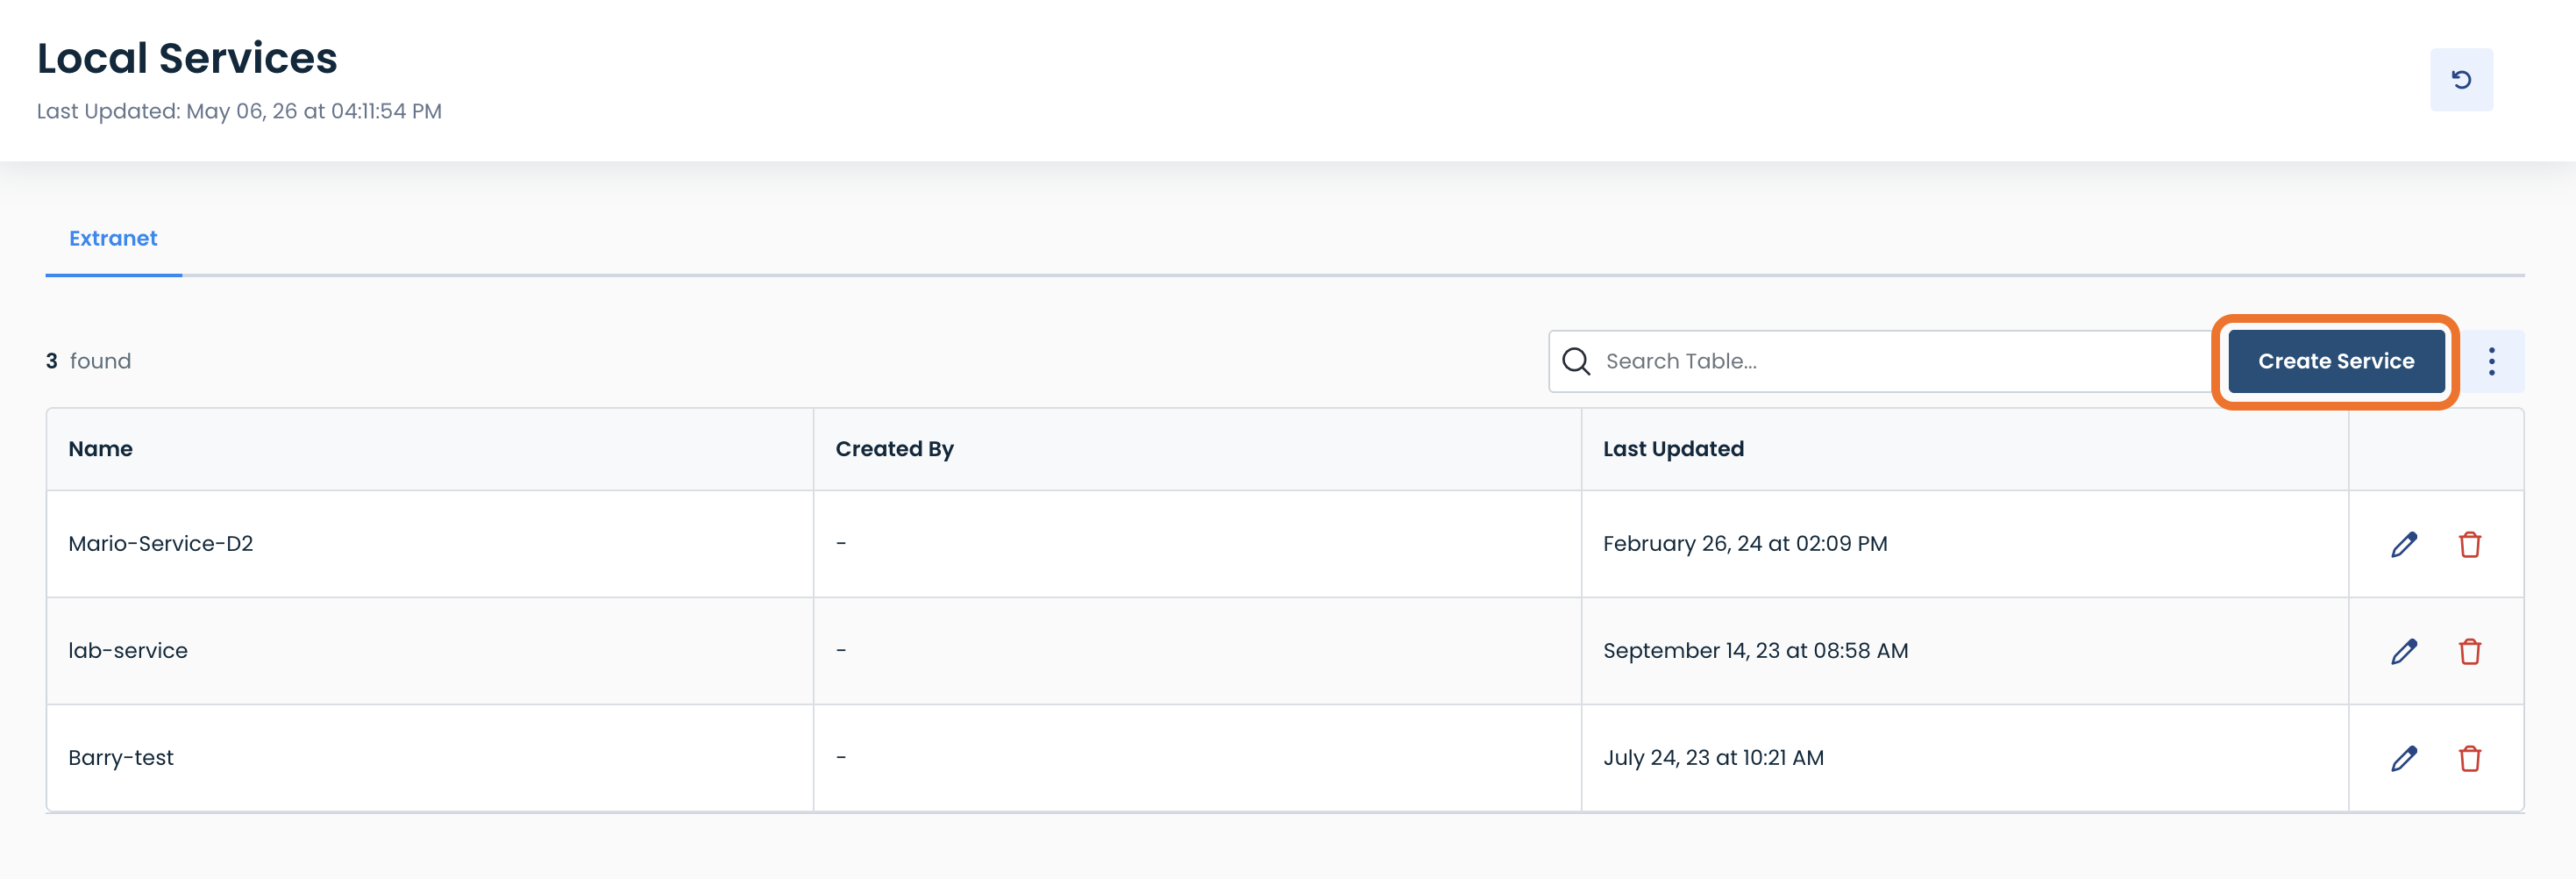
Here you will see a table of your current Extranet services, if you have any already configured.
To add to your inventory of Data Exchange services, click ‘Create Service’ in the middle of the screen, above the table.
This will bring you to the “Configure Service” screen.
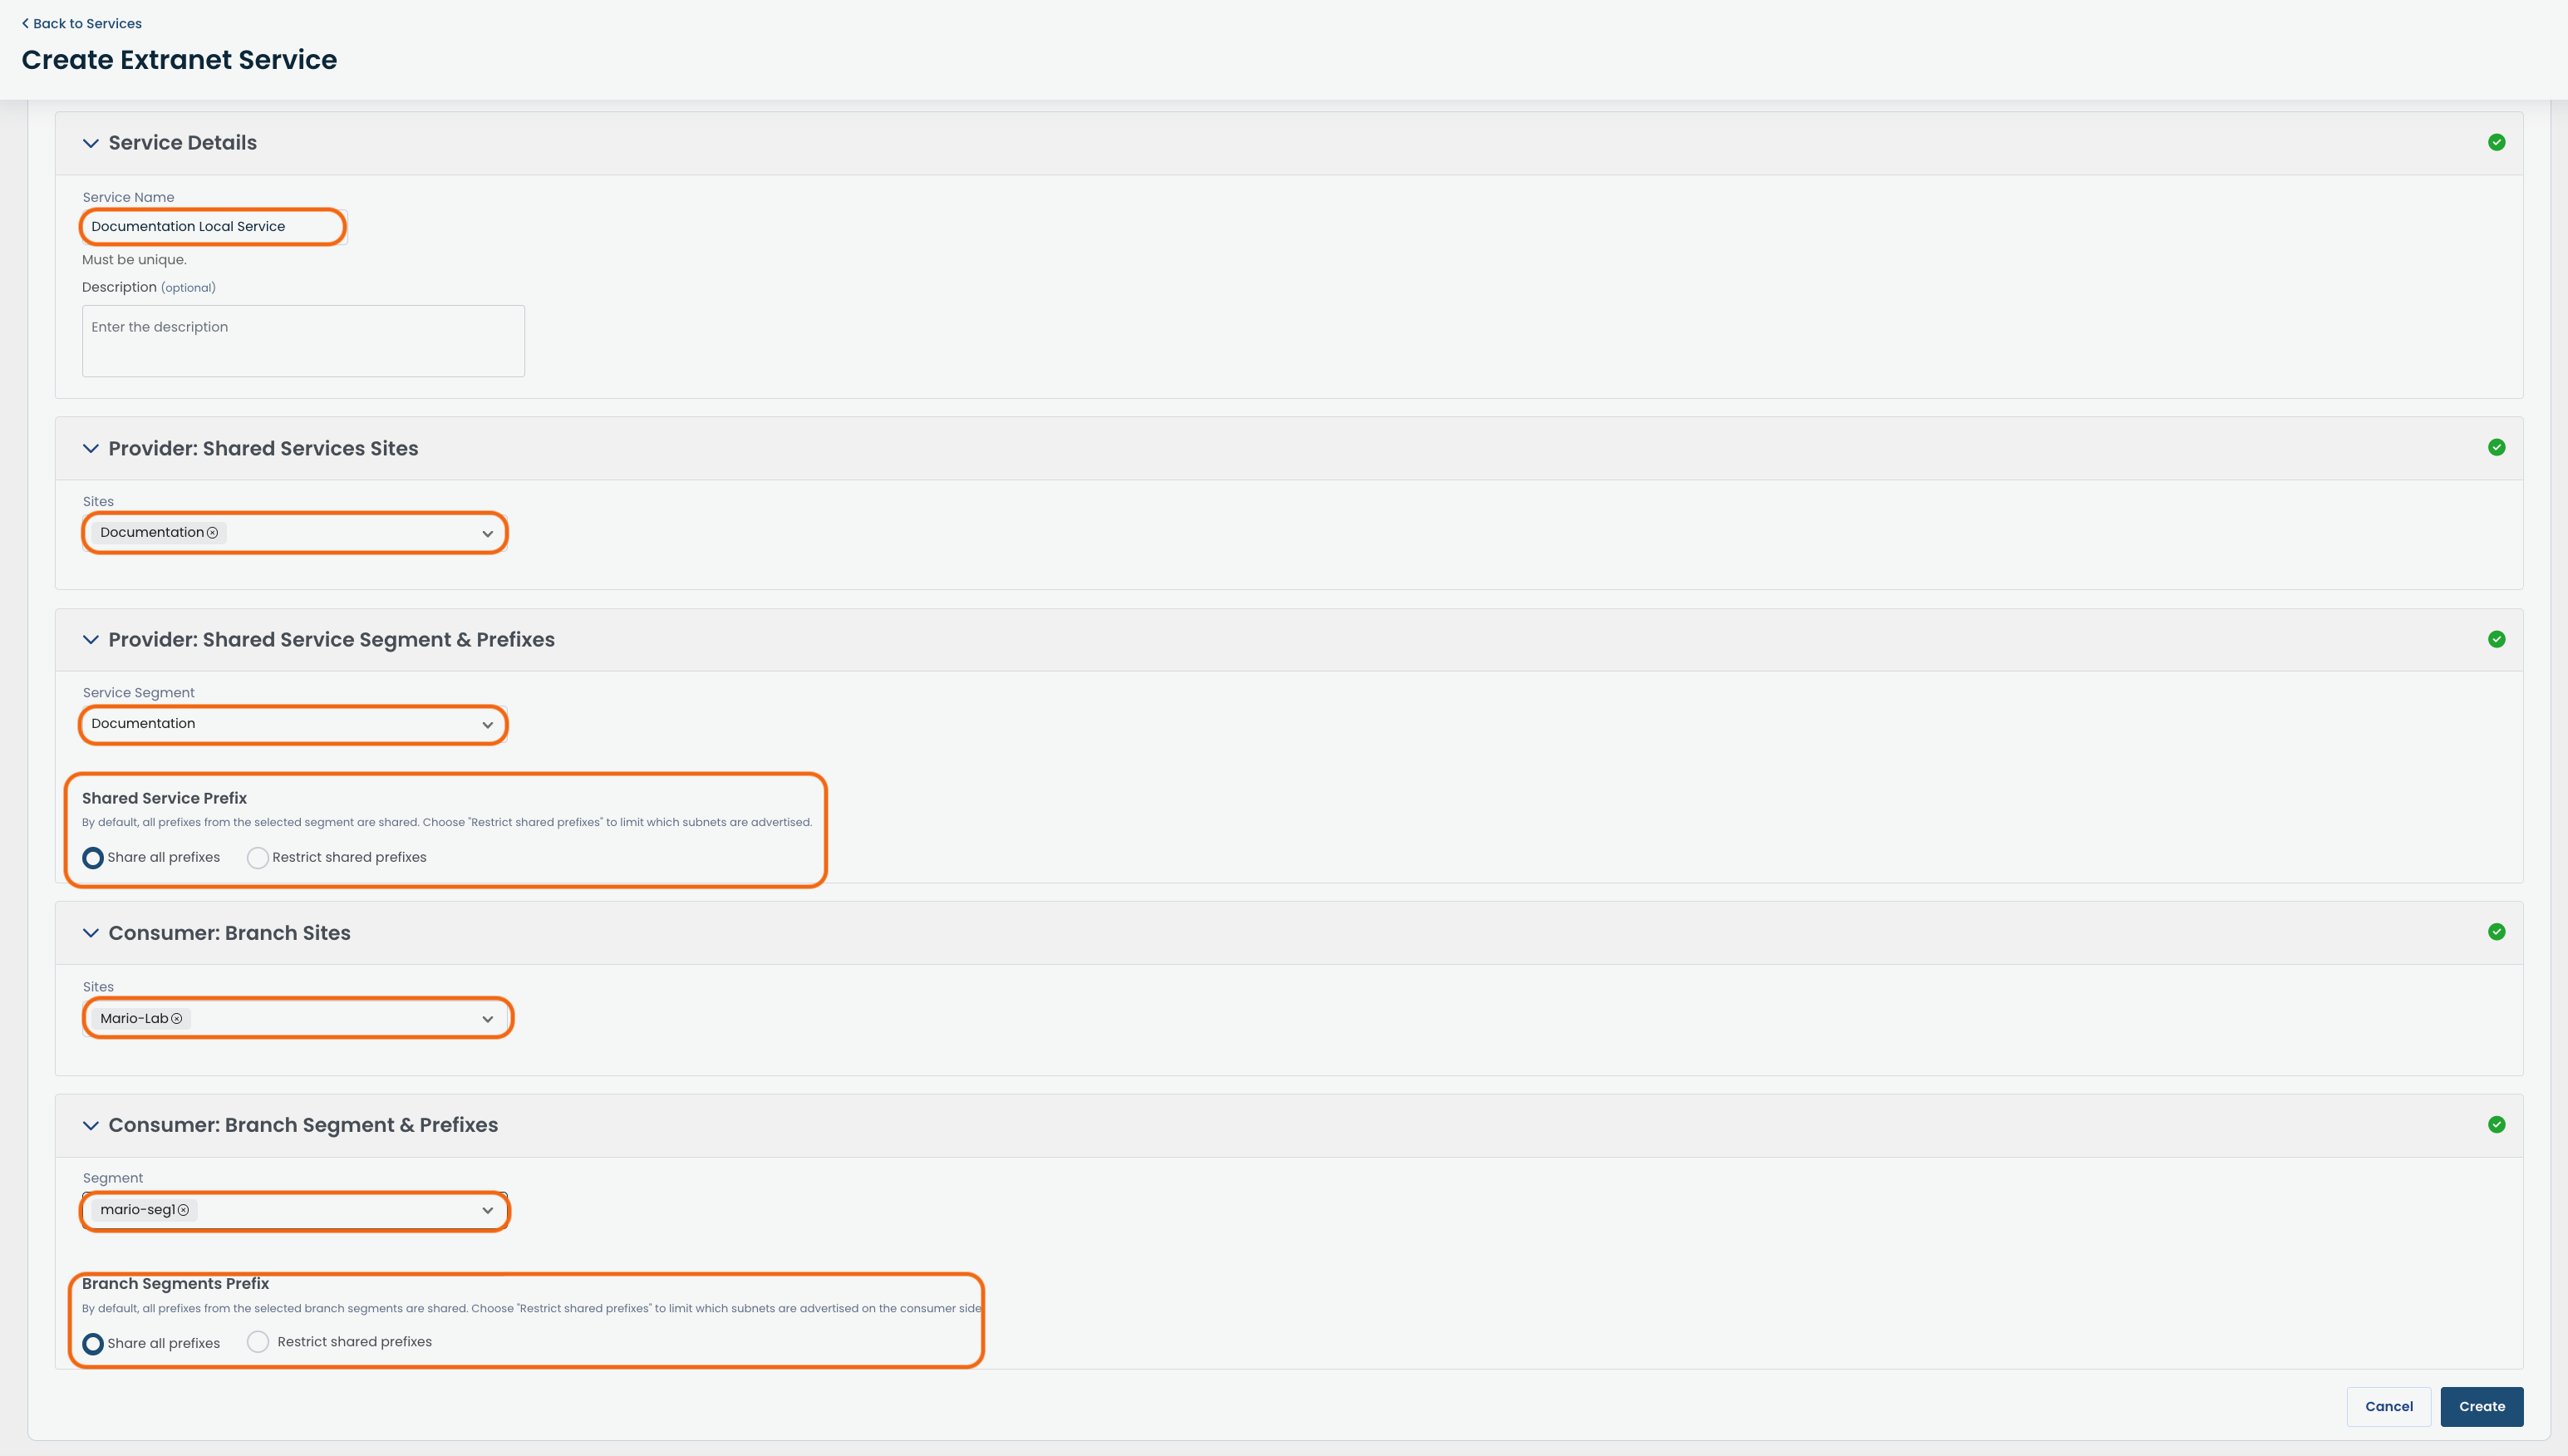
Complete the following fields:
Service Name: User-defined name to use for the Data Exchange service instance
Description (Optional): User-defined description to assign to this service
Provider: Shared Services Sites: Select the site(s) from the dropdown list from which your service will be shared.
Provider:
Shared Service Segment: Select the LAN segment containing the shared service which other LAN segments need to access, from the dropdown list. Only one may be selected.
Shared Service Prefix: Choose either:
Share all prefixes: Share all prefixes from the selected LAN segment
Restrict shared prefixes: Limit which subnets are advertised
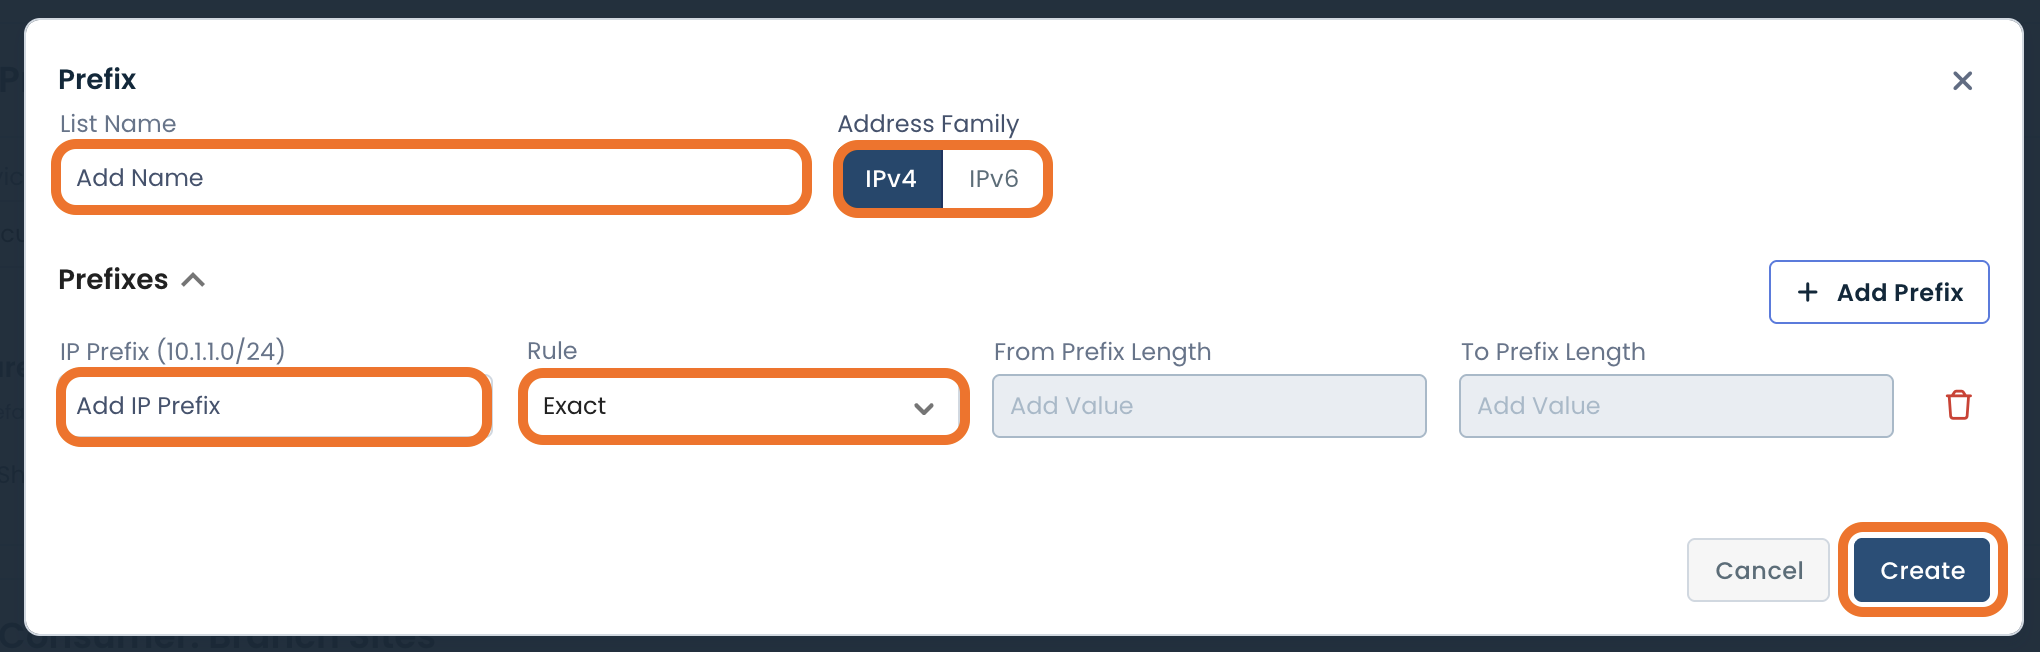
If you select to restrict shared prefixes, this modal will appear:
Fill out the following fields:
List Name: User-defined name to use for the restricted prefix list
Address Family: IPv4 or IPv6
IP Prefix: Prefix to be included
Rule: Whether the prefix needs to be Exact, within a defined range, ≤ the prefix, or ≥ the prefix.
Add any additional prefix rules by clicking ‘Add Prefix’.
Click ‘Create’.
Consumer: Branch Sites: Select the site(s) from the dropdown list to which your service will be shared.
Consumer:
Branch Segment: Select the LAN segment from the dropdown list to which your service will be shared. Only one may be selected.
Branch Segment Prefixes: Choose either:
Share all prefixes: Allow all prefixes from the selected LAN segment to have access to the service
Restrict shared prefixes: Limit which subnets are advertised by the consumer to have access to the service (see above image for reference)
After you have filled out all the required fields, click the 'Create' button to enable the service.
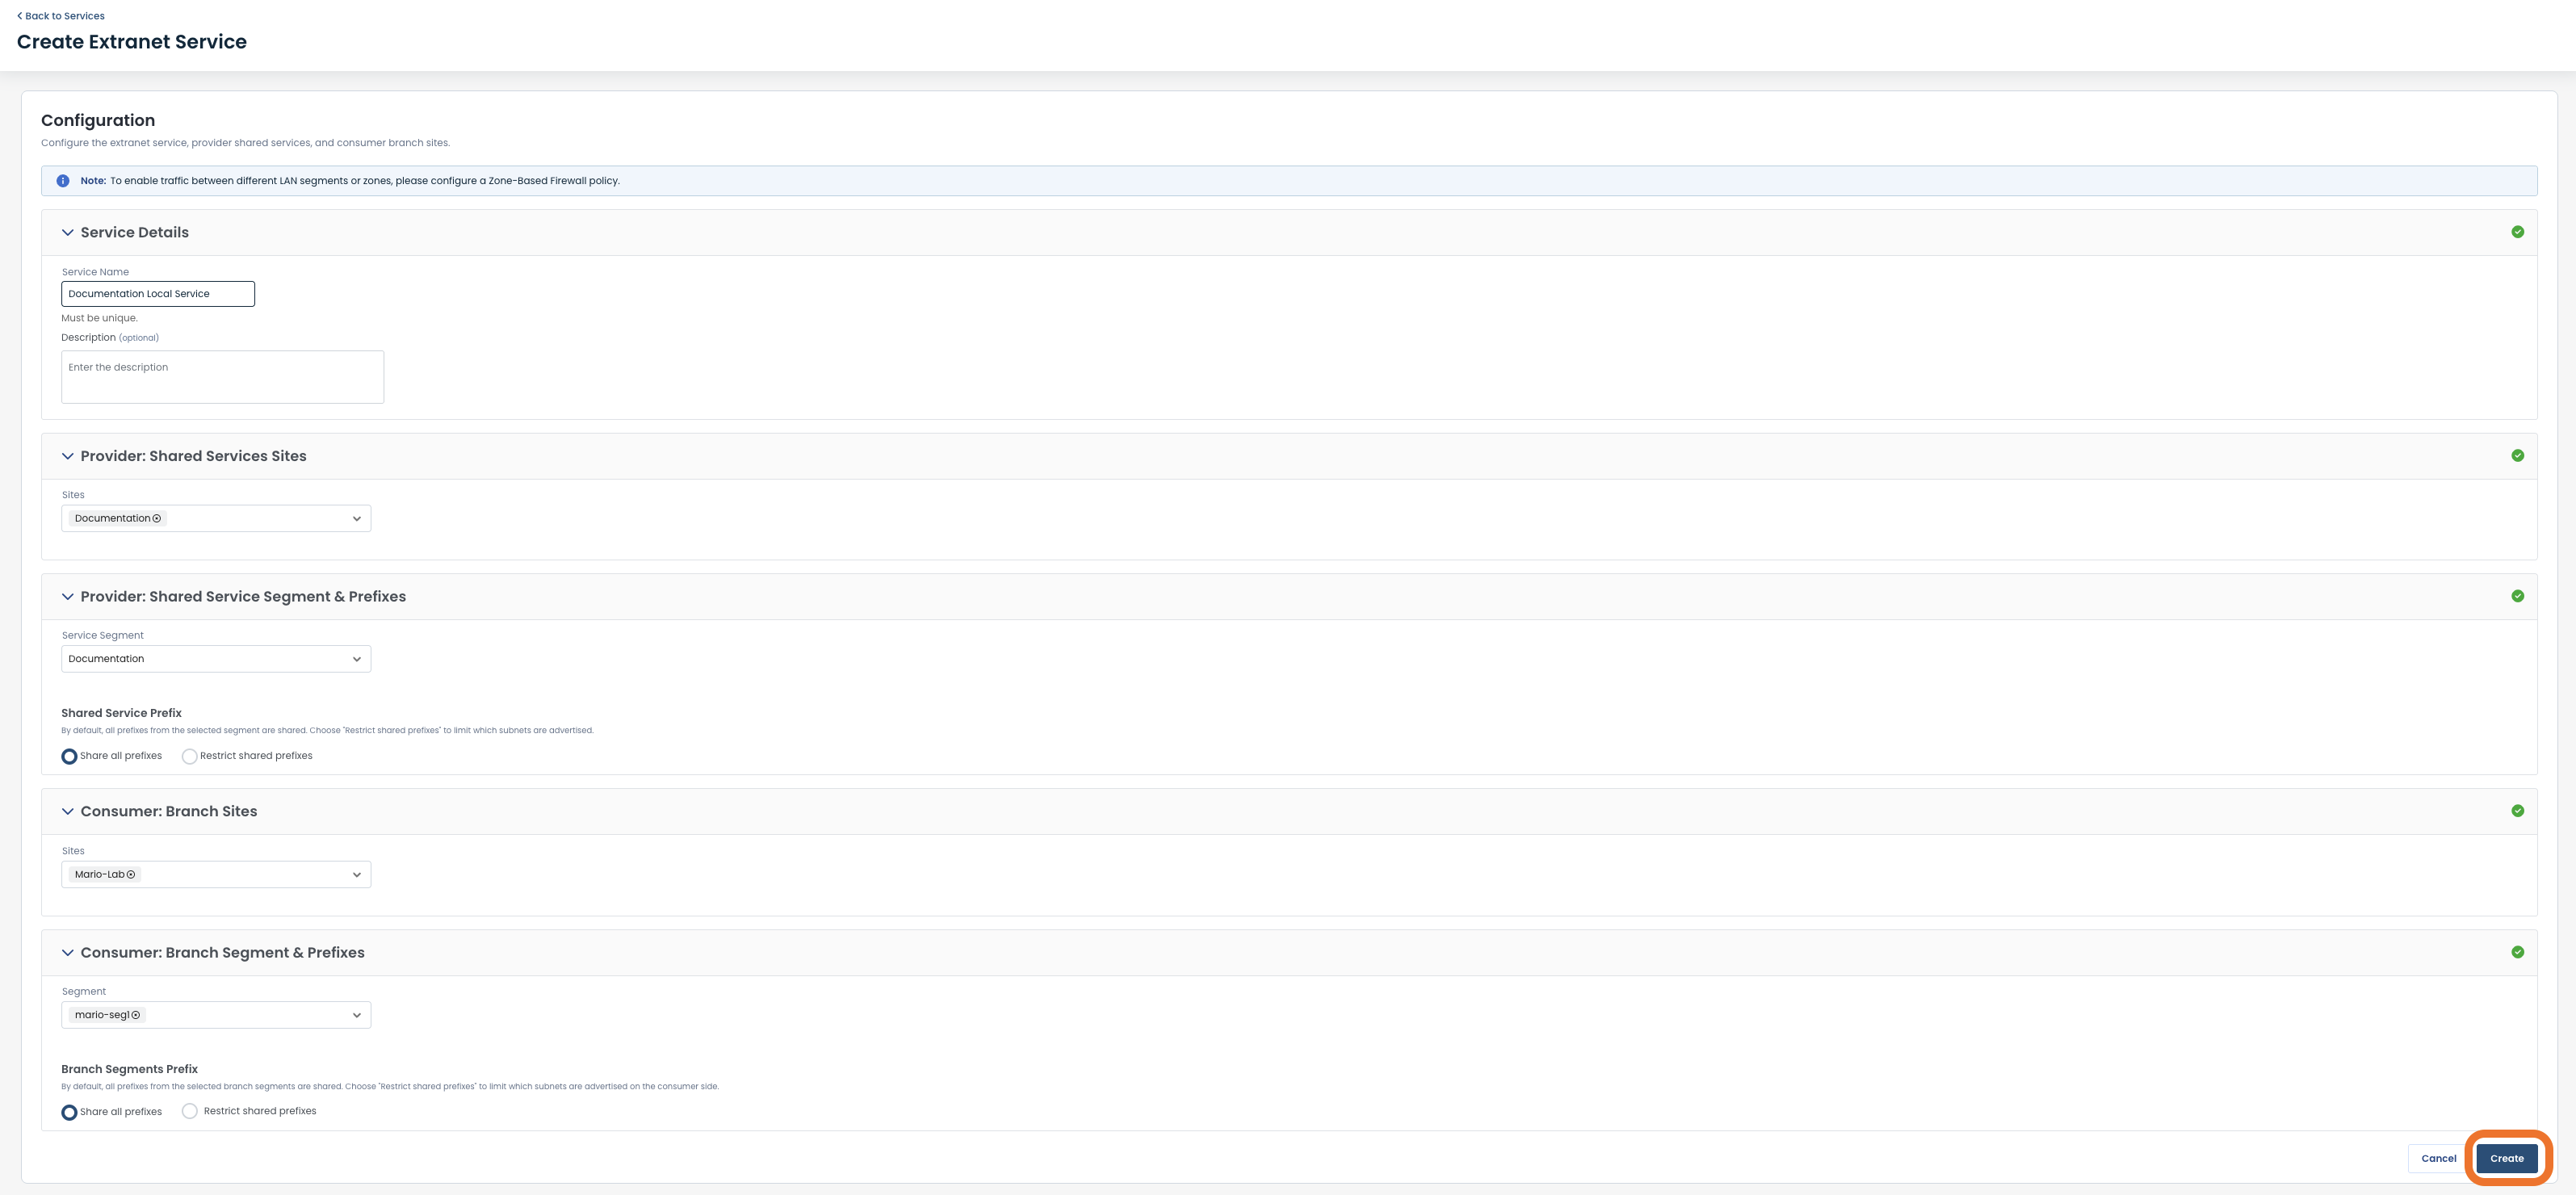
Once your new Data Exchange Service is created, it will appear in the table and be ready to use.