Supported VM Sizes
The following VM types and sizes are supported for the Graphiant Edge in Microsoft Azure:
Standard_DS3_v2 (14G RAM, 4 vCPUs @ 2.40GHz)
Standard_DS4_v2 (28G RAM, 8 vCPUs @ 2.40Ghz)
Standard_F4s_v2 (8G RAM, 4 vCPUs @ 2.7Ghz)
Standard_F8s_v2 (16G RAM, 8 vCPUs @ 2.70Ghz)
Deploying an Edge using Azure Marketplace
Create a Virtual Machine in Microsoft Azure
Log in to the Azure portal > portal.azure.com
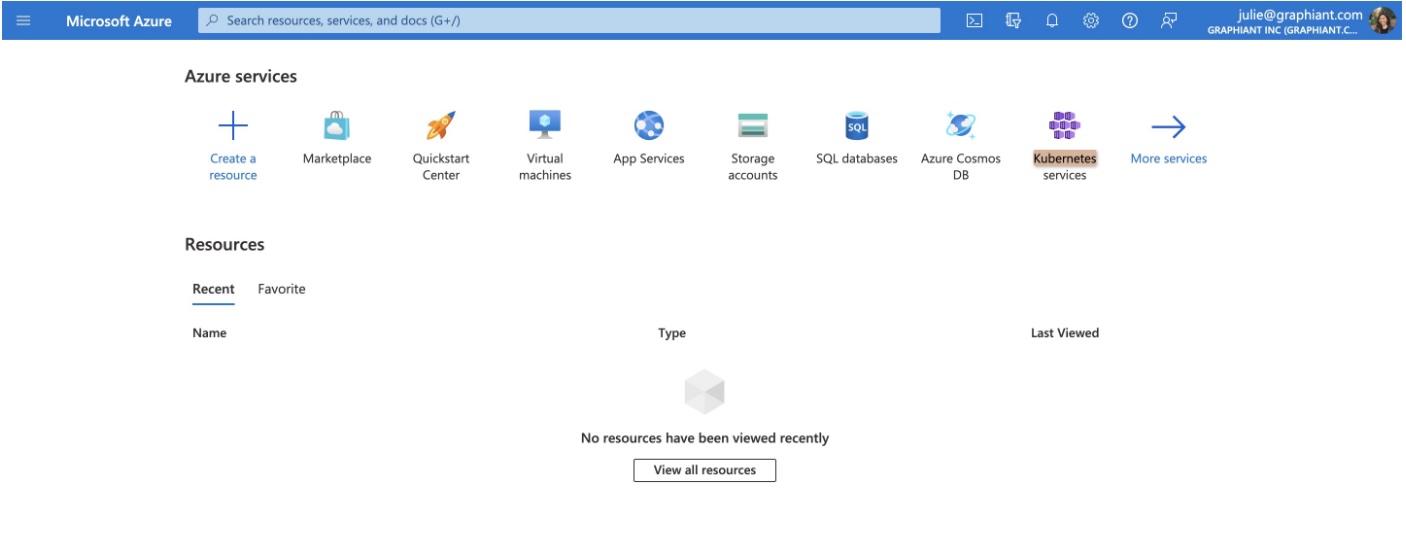
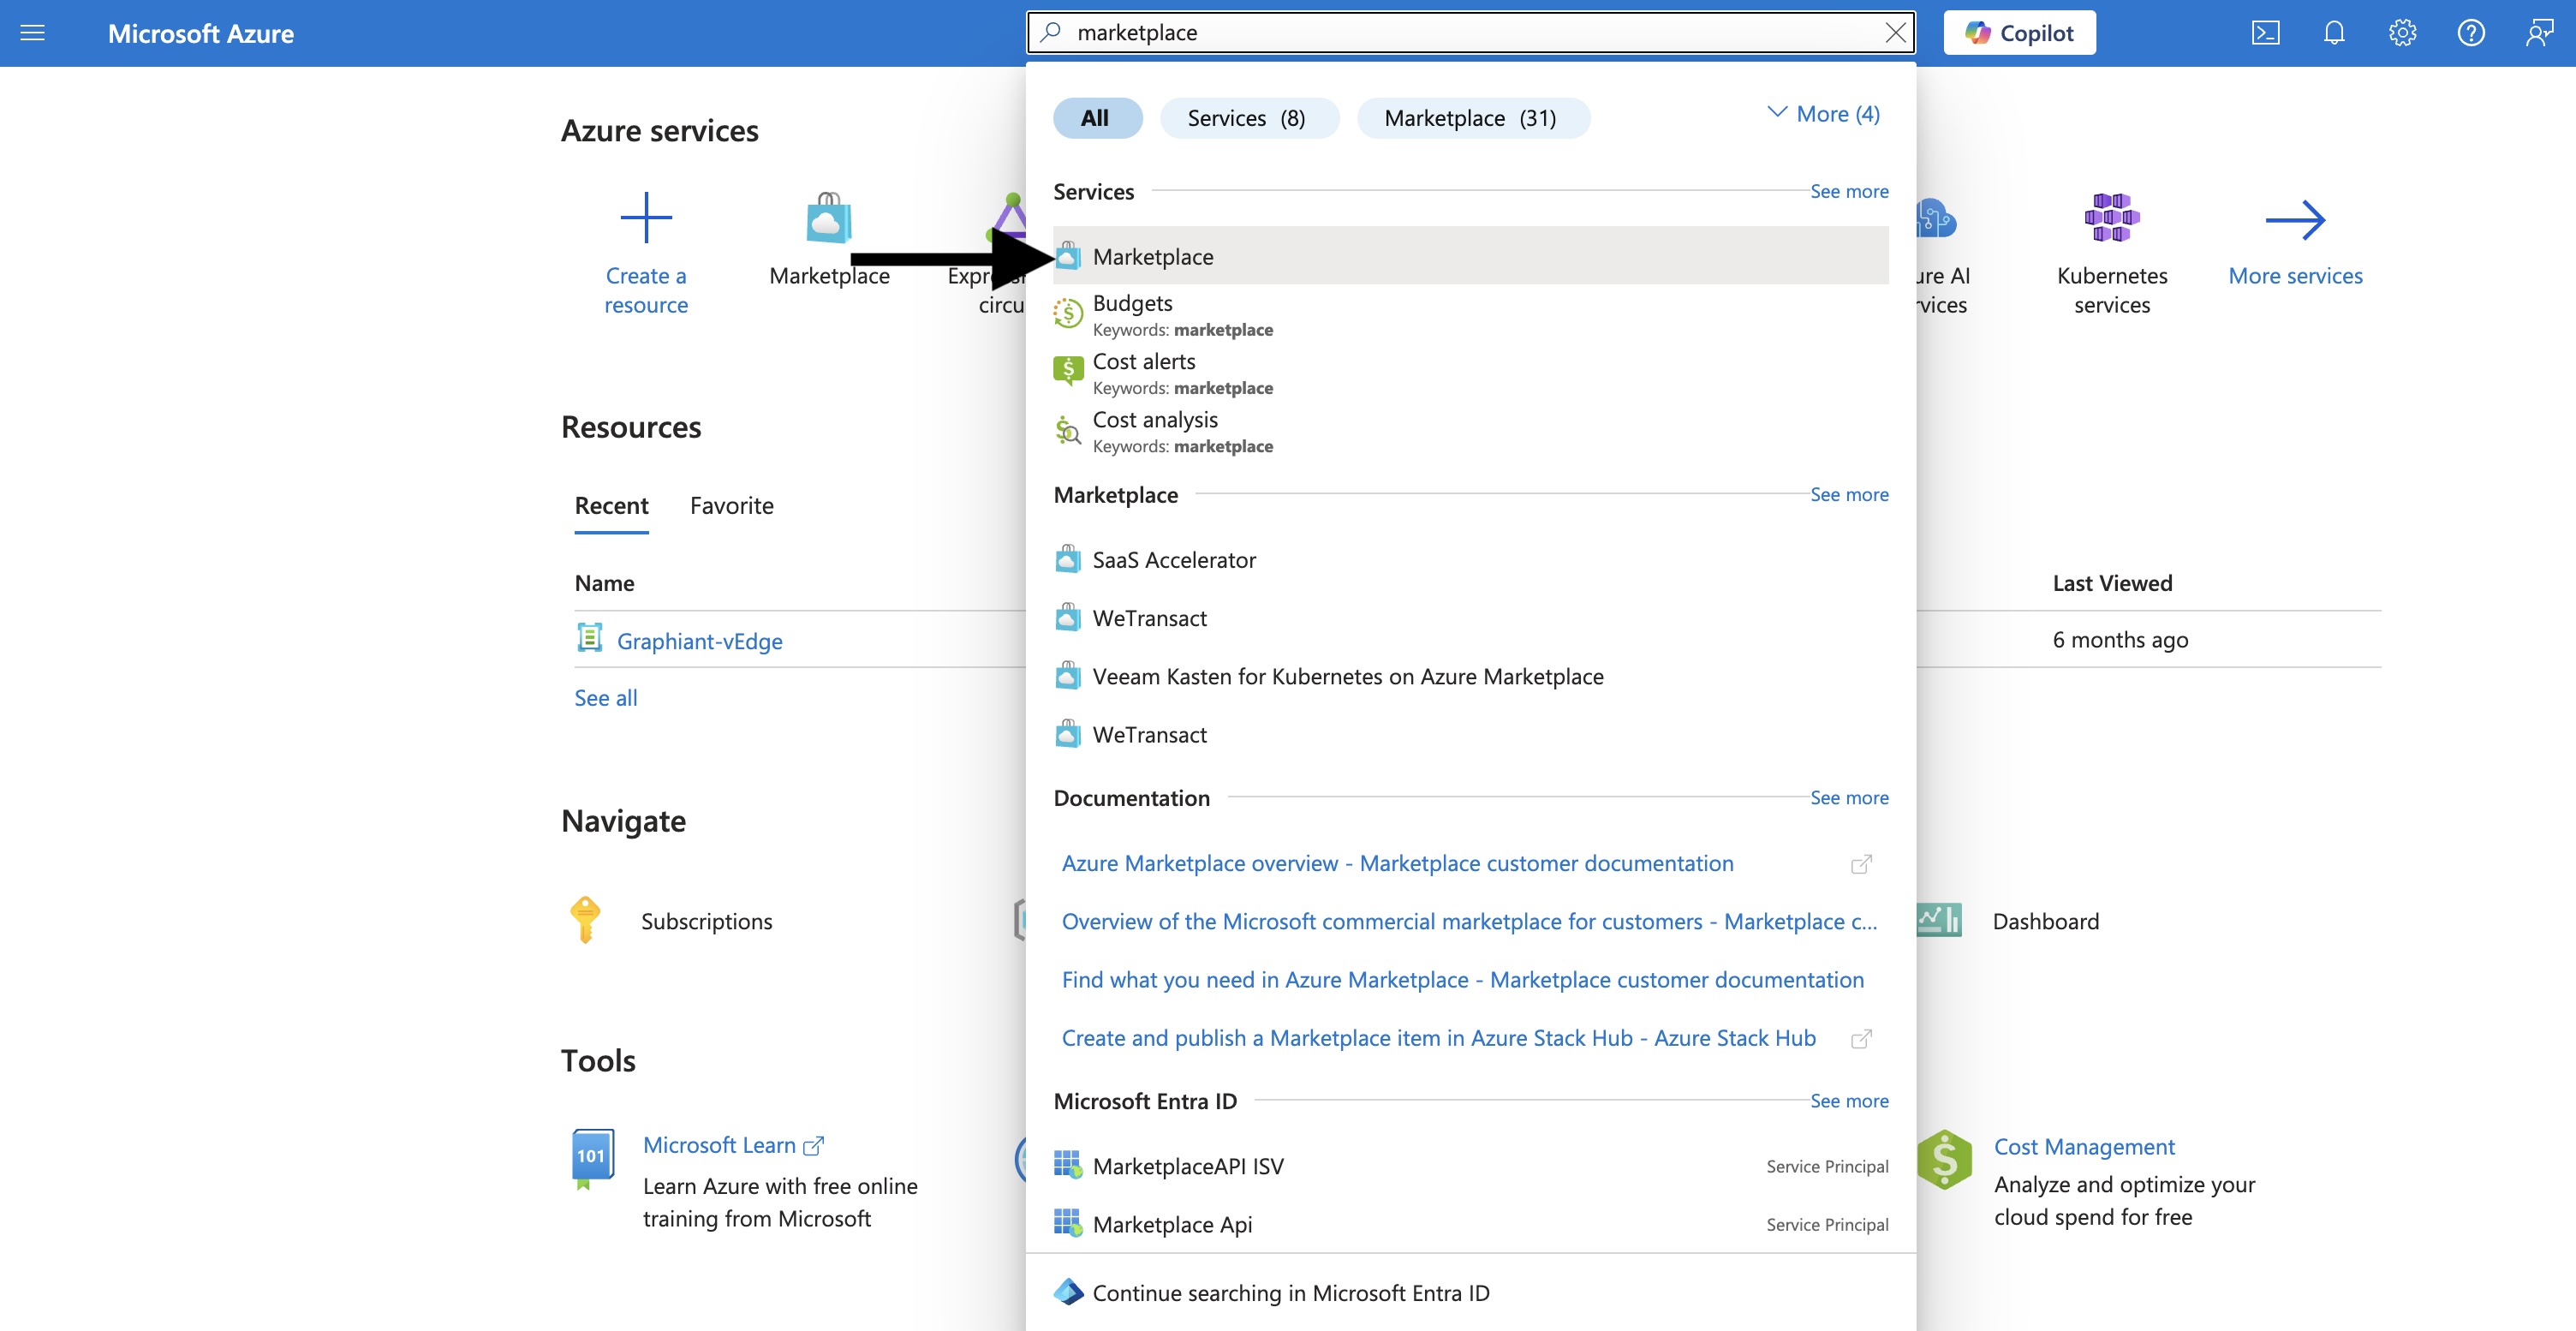
Using the search bar on the home page, Search for ‘marketplace’.
Click on Marketplace.
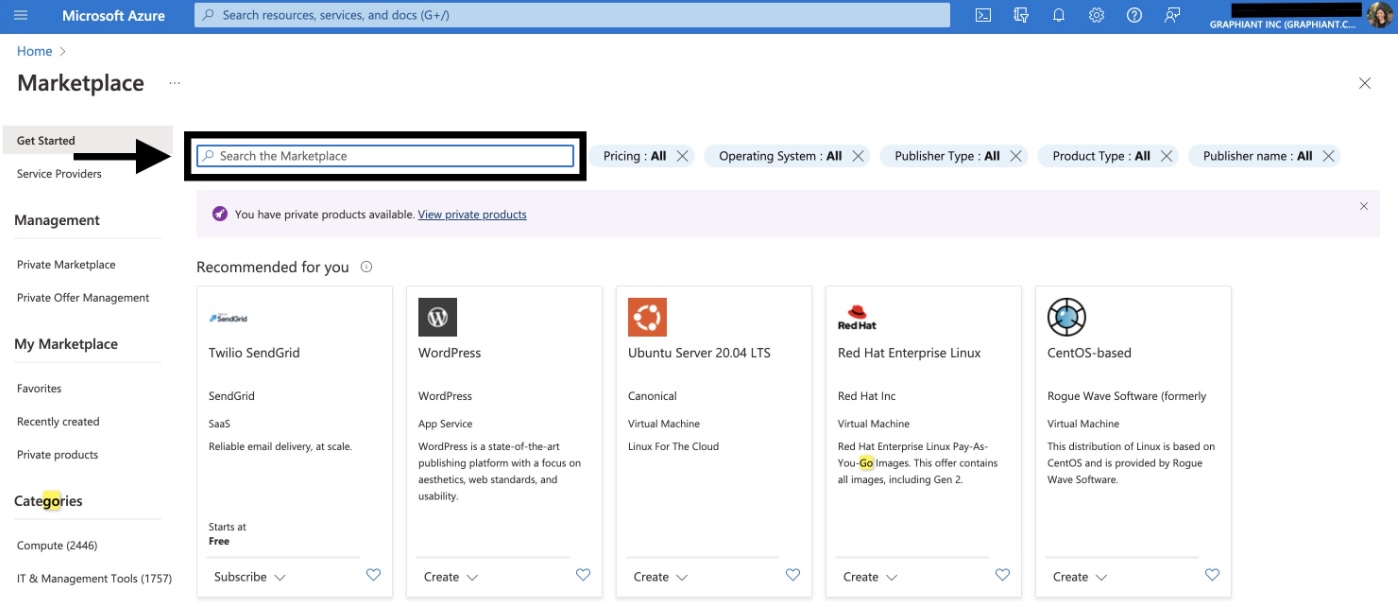
Using the smaller search bar on the Marketplace landing page, search “Graphiant”, followed by the enter key on your keyboard.
Select the ‘Graphiant Edge VM’.
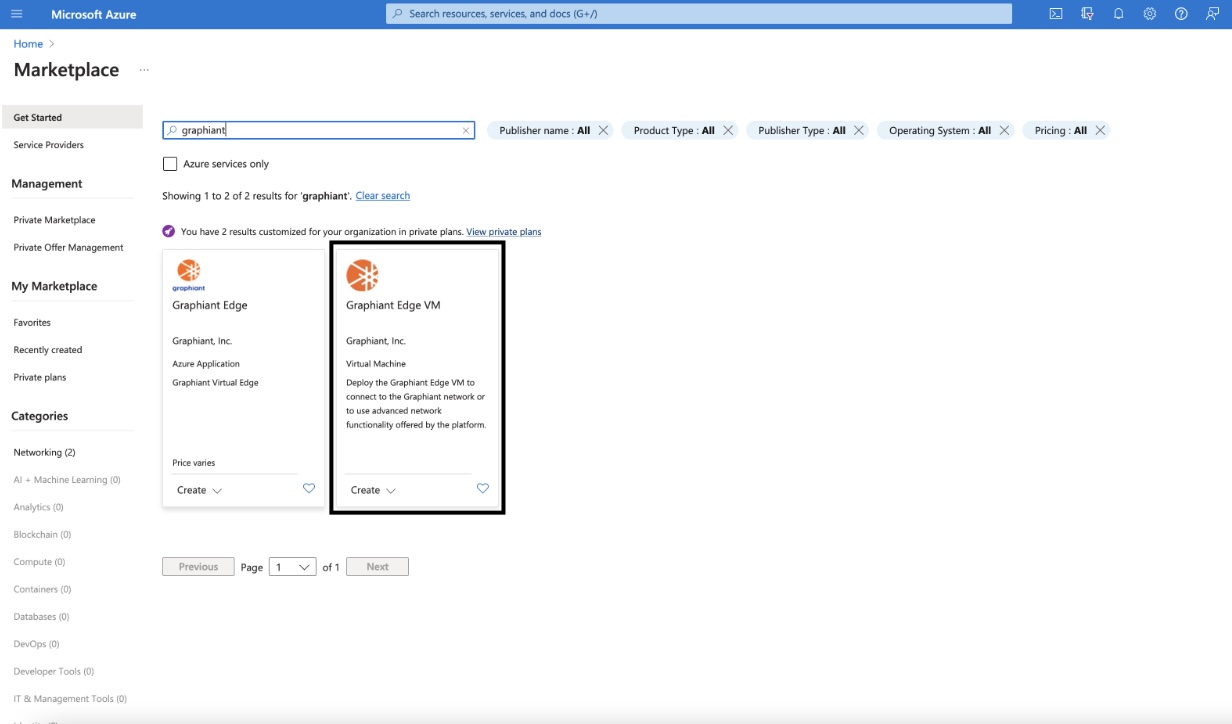
Click ‘Create’.
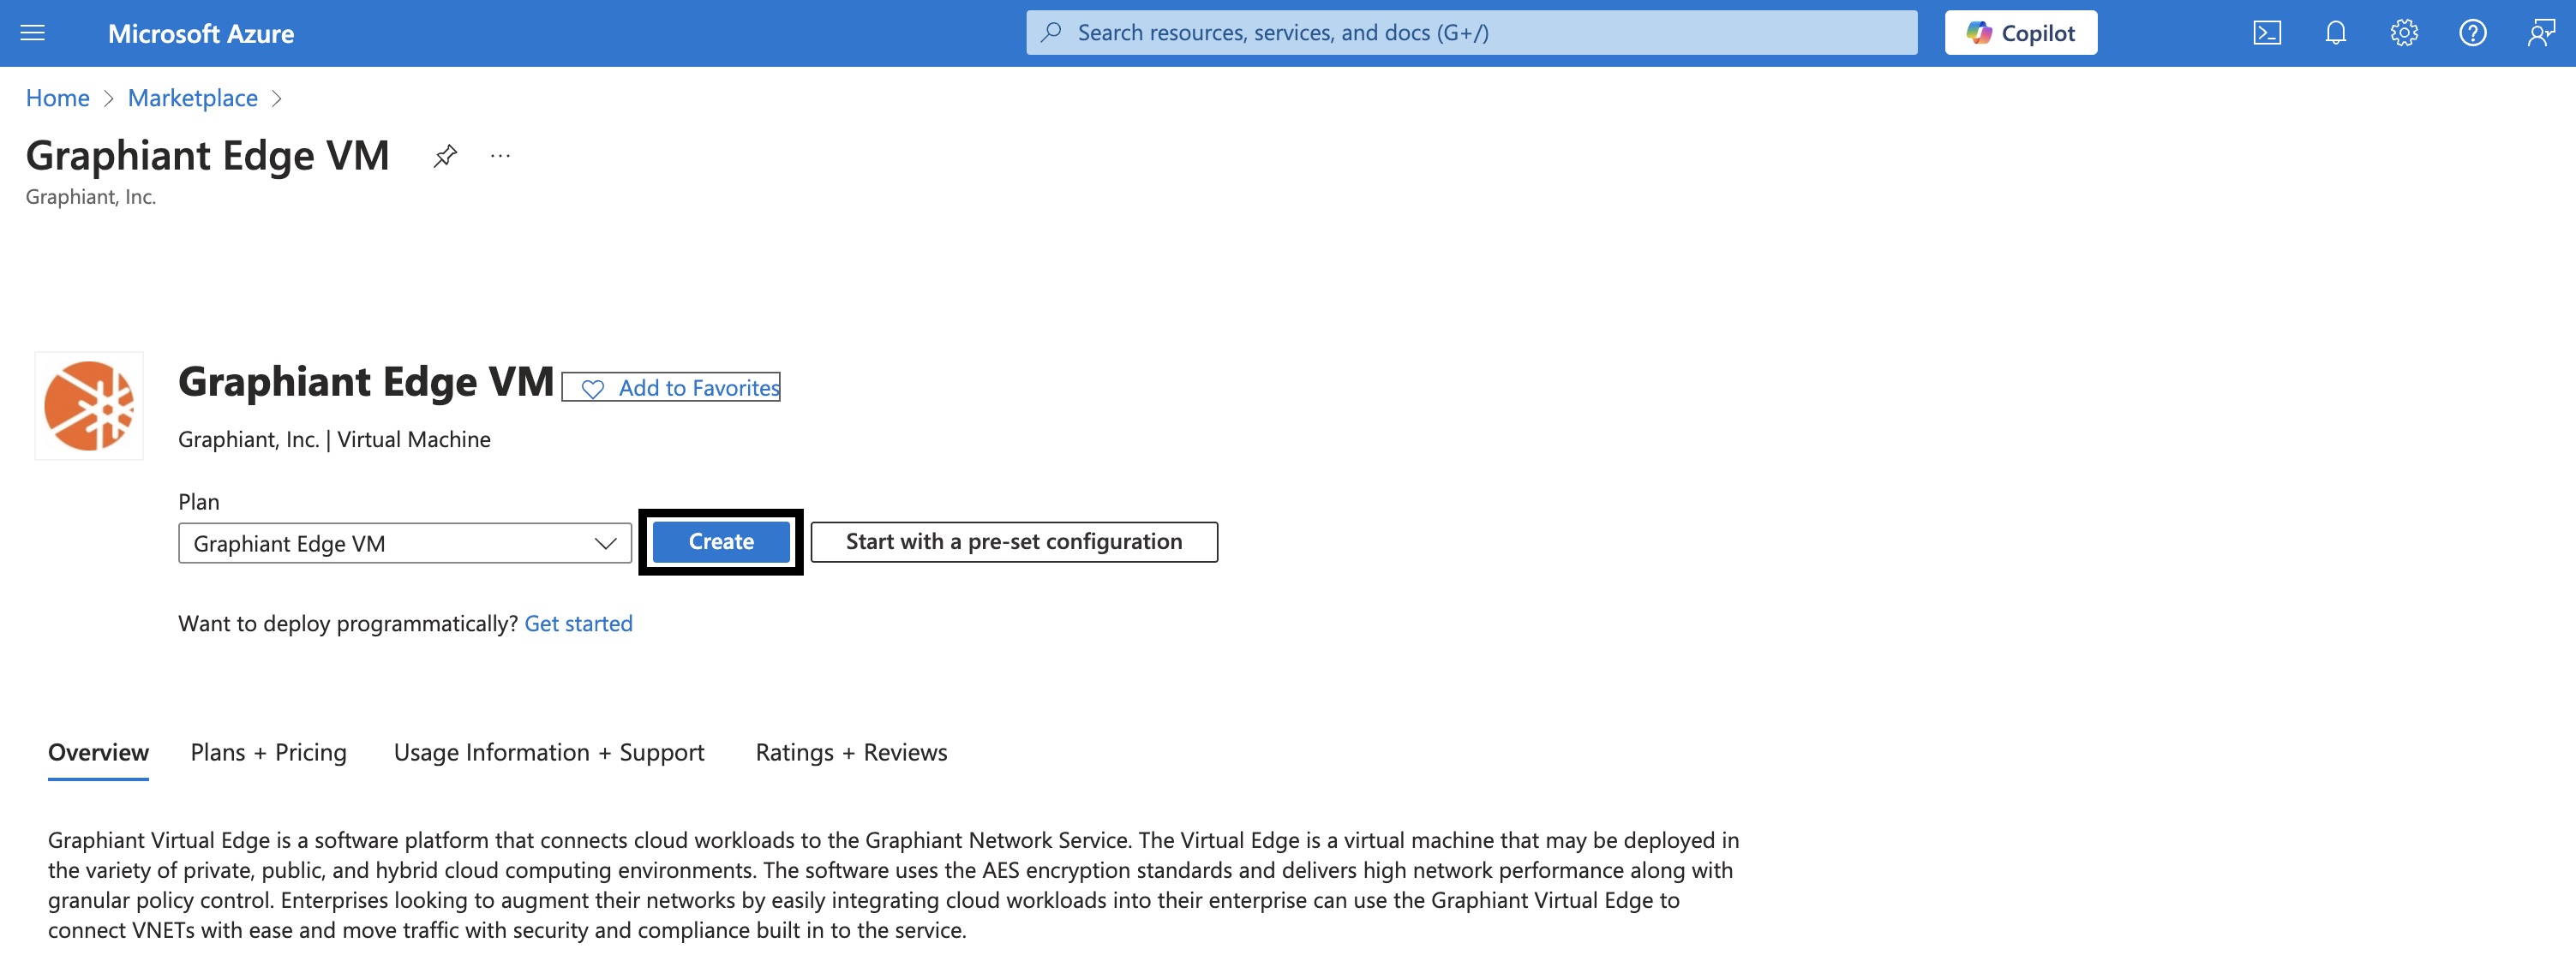
Underneath the ‘Create a virtual machine’ header, there will be multiple categories listed with a blue underscore indicating which category is currently being viewed. Each category will have a set of required fields (most of which will already contain pre-populated information) that will need to be filled out in order to successfully create a Virtual machine in Microsoft Azure.
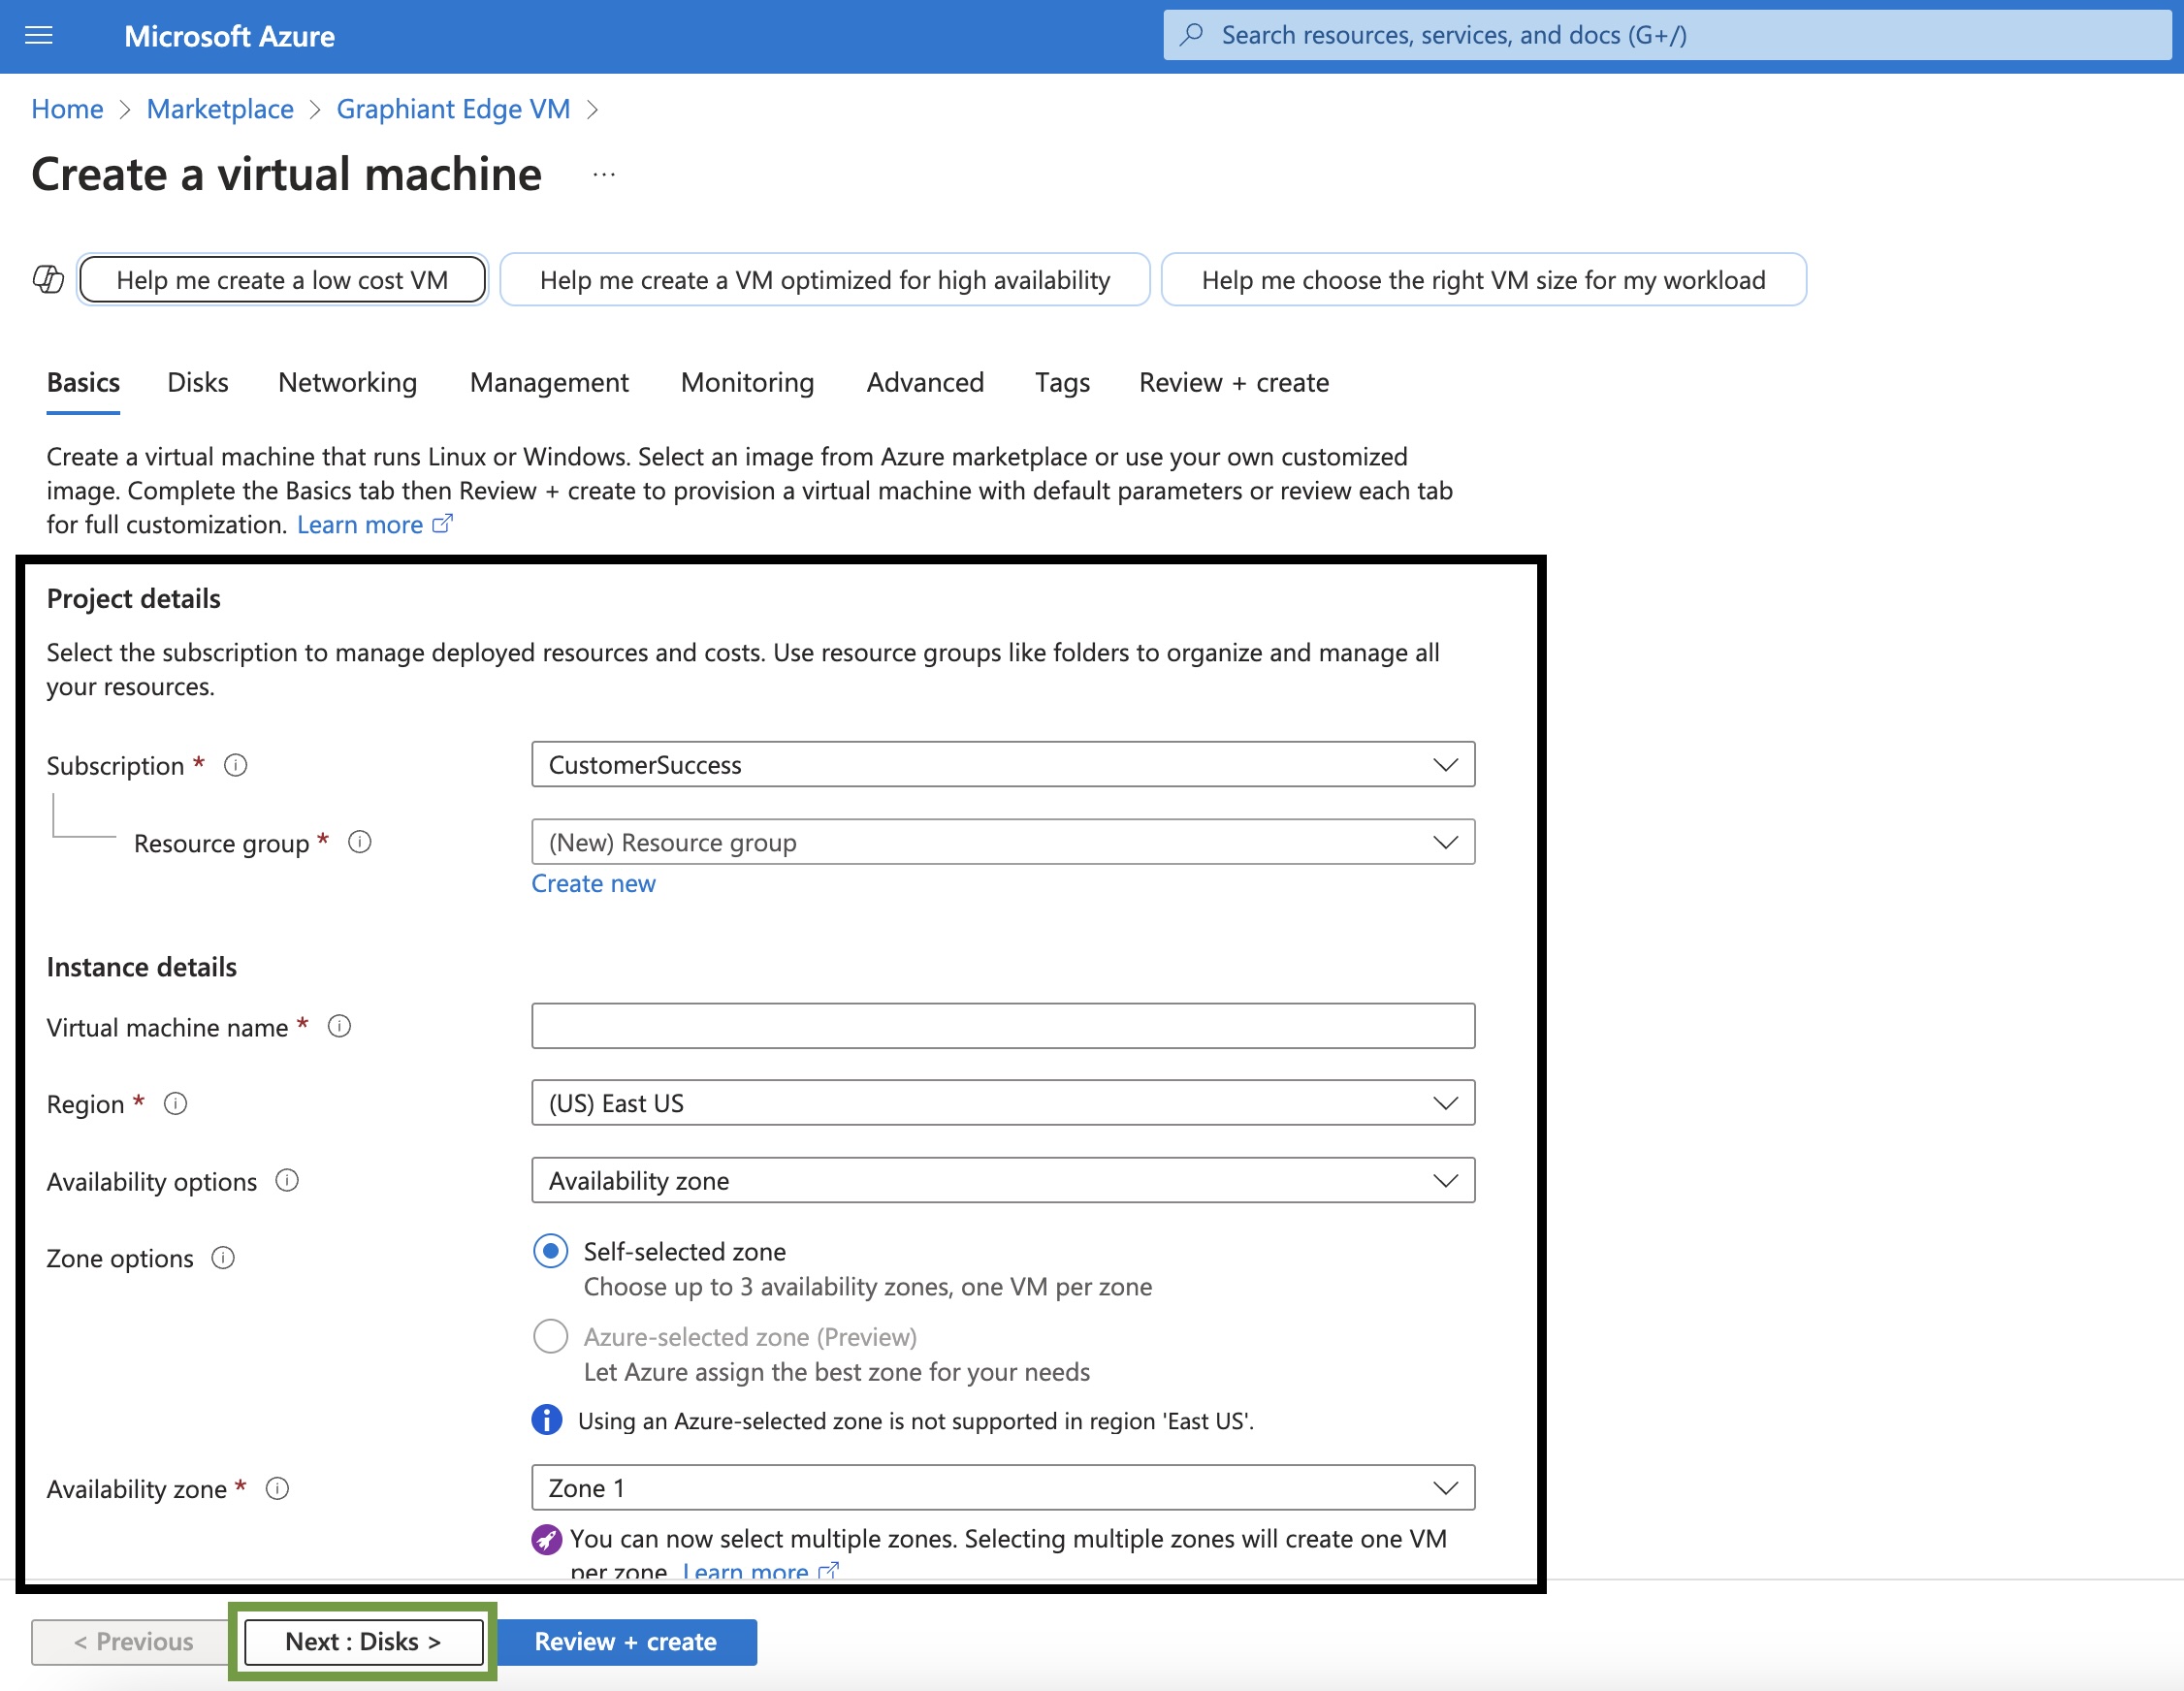
Basics Tab
Fill in all required fields with the appropriate information. Most fields will provide a dropdown menu to select the correct option. By clicking the information icon next to the field name, more information about the field requirement will be provided for more context.
The only required field with no dropdown menu is ‘Virtual machine name’. Parameters around how to name this field can be found by clicking the information icon next to the field name.
Once all required fields have been filled out, click ‘Next : Disks >’ on the bottom bar of the page.
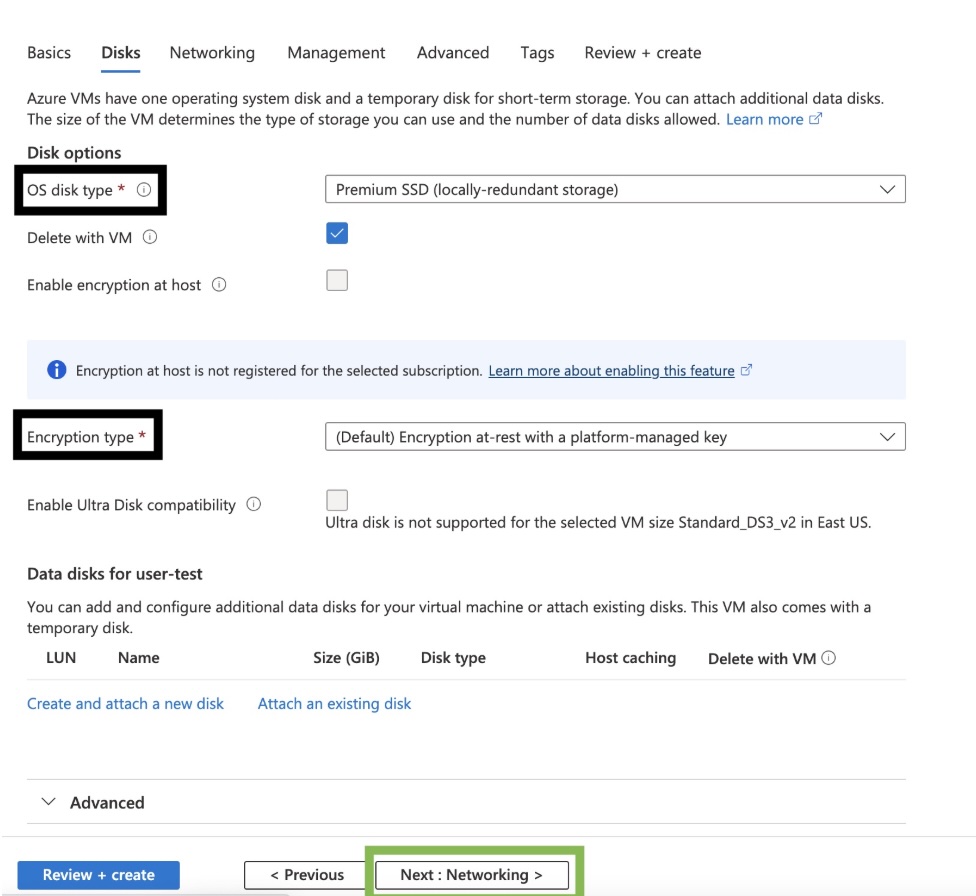
Disks Tab
Fill in all required fields with the appropriate information using the drop down menu provided. By clicking the information icon next to the field name, information about the field requirement will be provided for more context.
Once all required fields have been filled out, click ‘Next : Networking >’ on the bottom bar of the page.
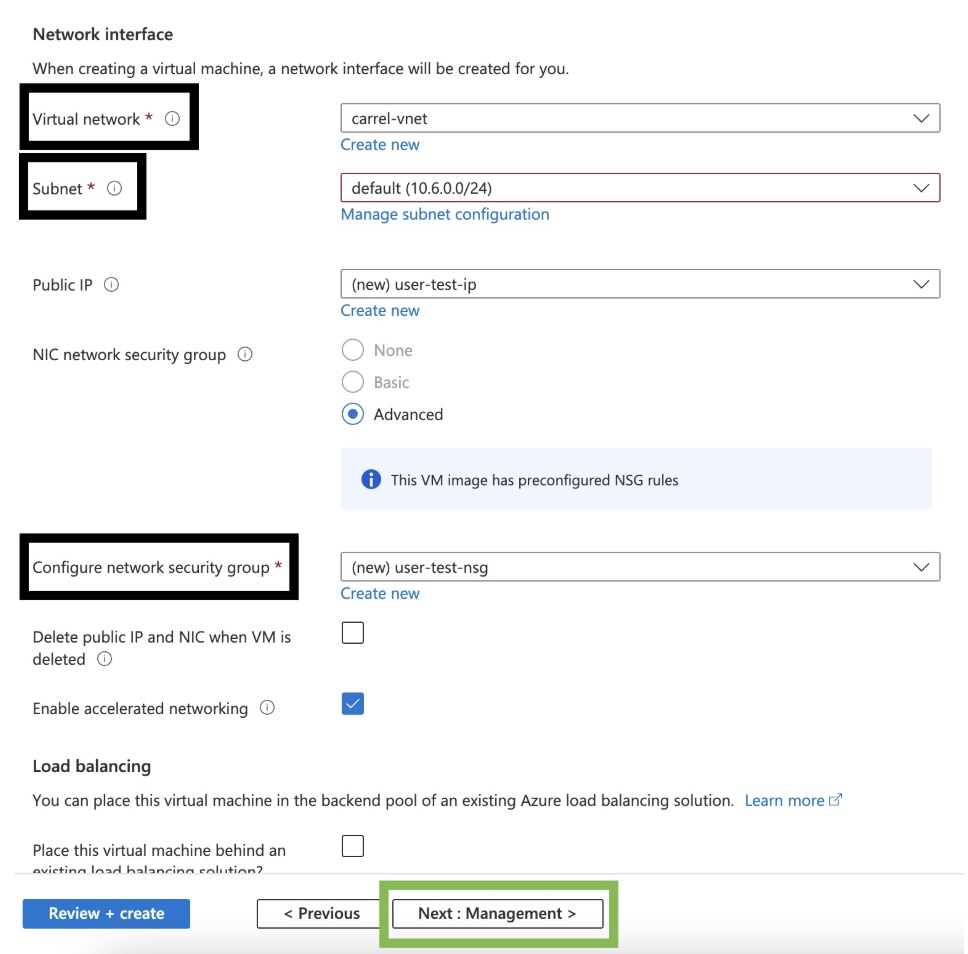
Networking
This will deploy a virtual edge with three interfaces. Additional interfaces can be added after deployment if needed.
Warning:
Any virtual device must be powered down prior to adding or deleting an interface. Doing so without powering off the device will result in undefined behavior, and may result in loss of connectivity to the Graphiant Core.
Fill in all required fields with the appropriate information using the drop down menu provided. By clicking the information icon next to the field name, information about the field requirement will be provided for more context.
Once all required fields have been filled out, click ‘Next : Management >’ on the bottom bar of the page.
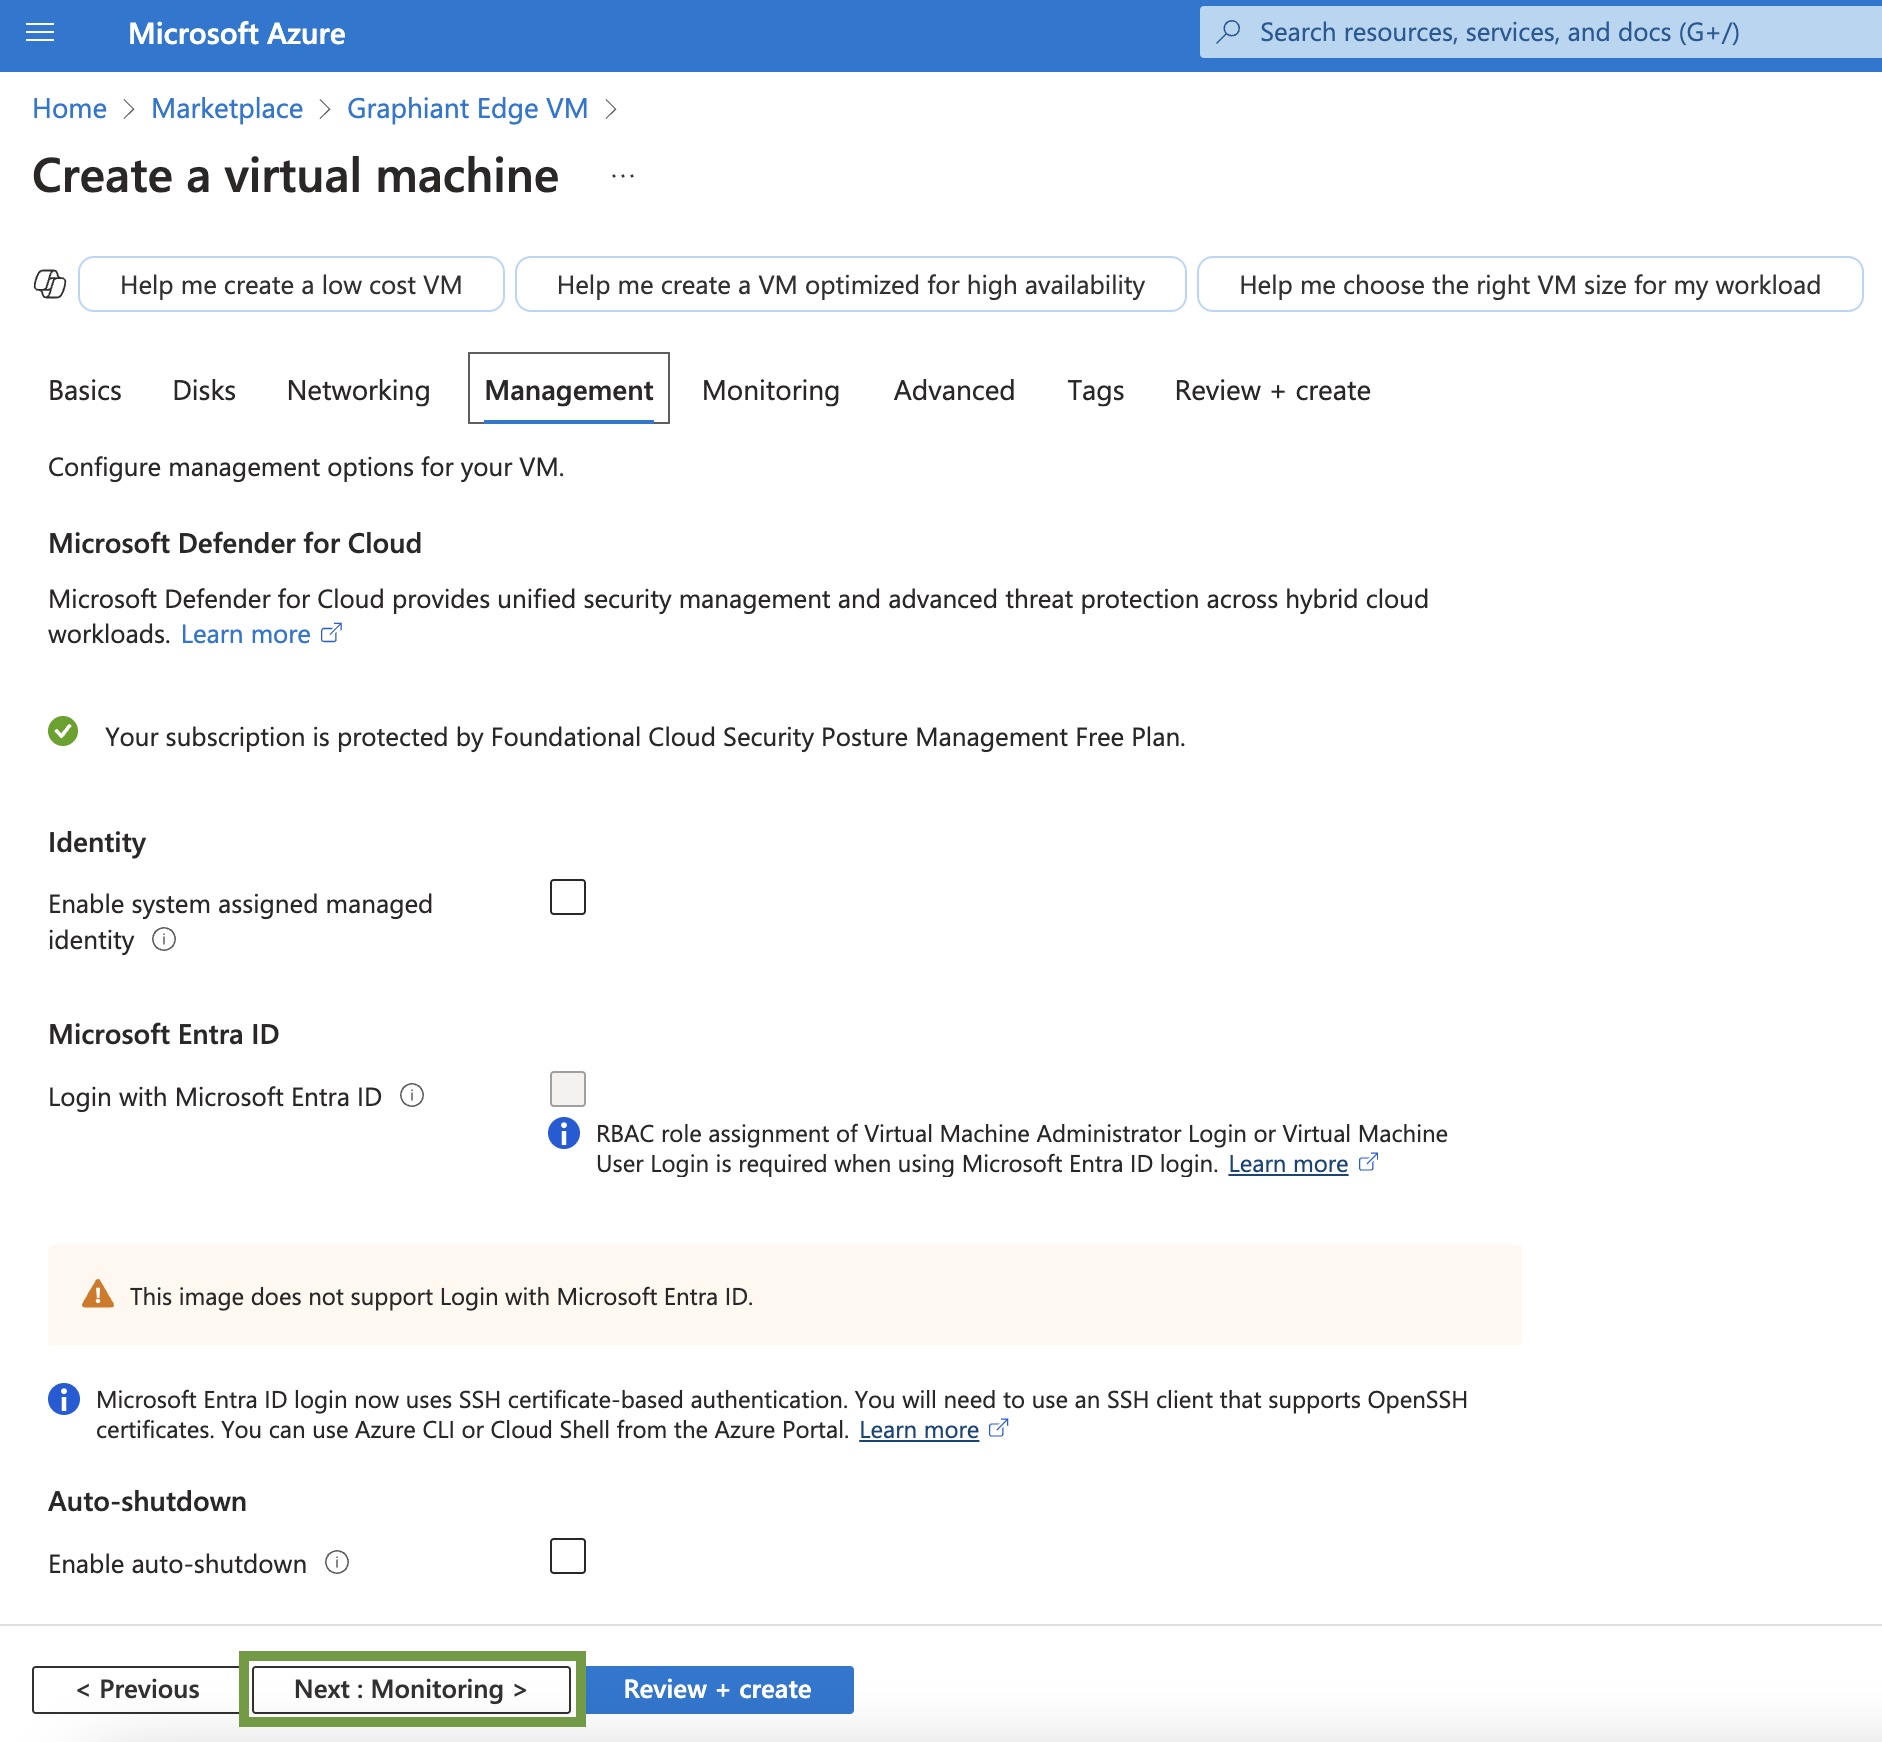
Management
Select the correct option for Boot Diagnostics and check boxes for all other fields that apply. By clicking the information icon next to the field name, information about the field category will be provided for more context.
Once all appropriate boxes are checked, click ‘Next : Monitoring >’ on the bottom bar of the page.
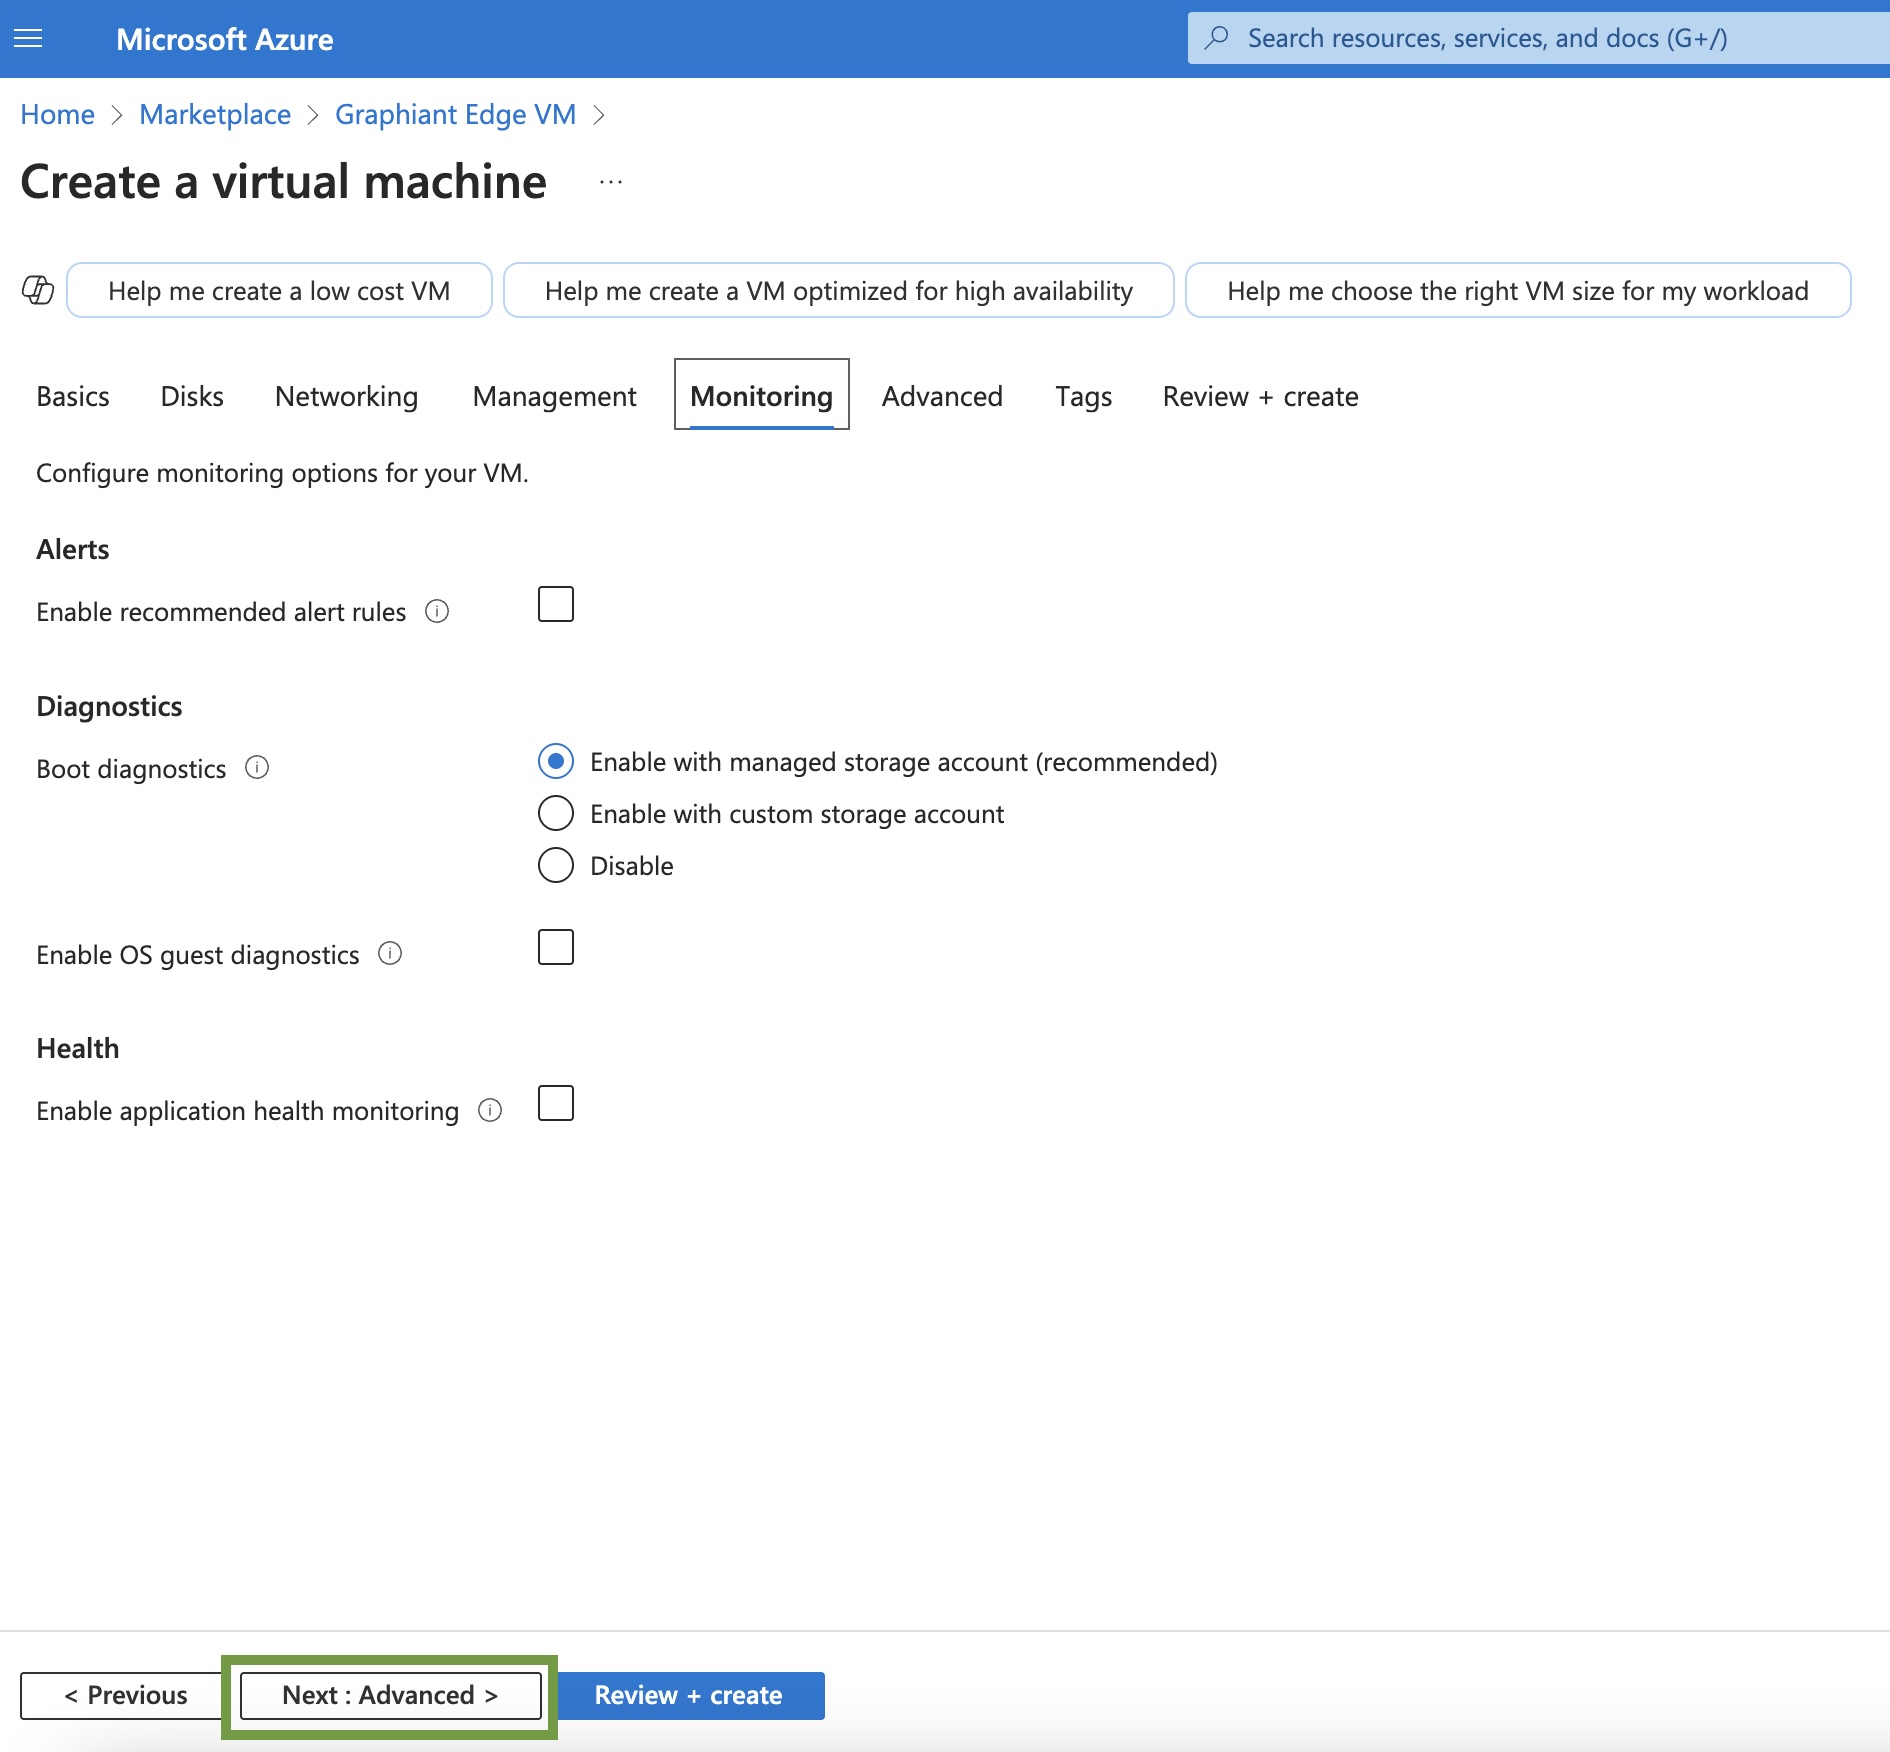
Monitoring
By clicking the information icon next to the field name, information about the field category will be provided for more context.
Once all appropriate boxes are checked, click ‘Next : Tags >’ on the bottom bar of the page.
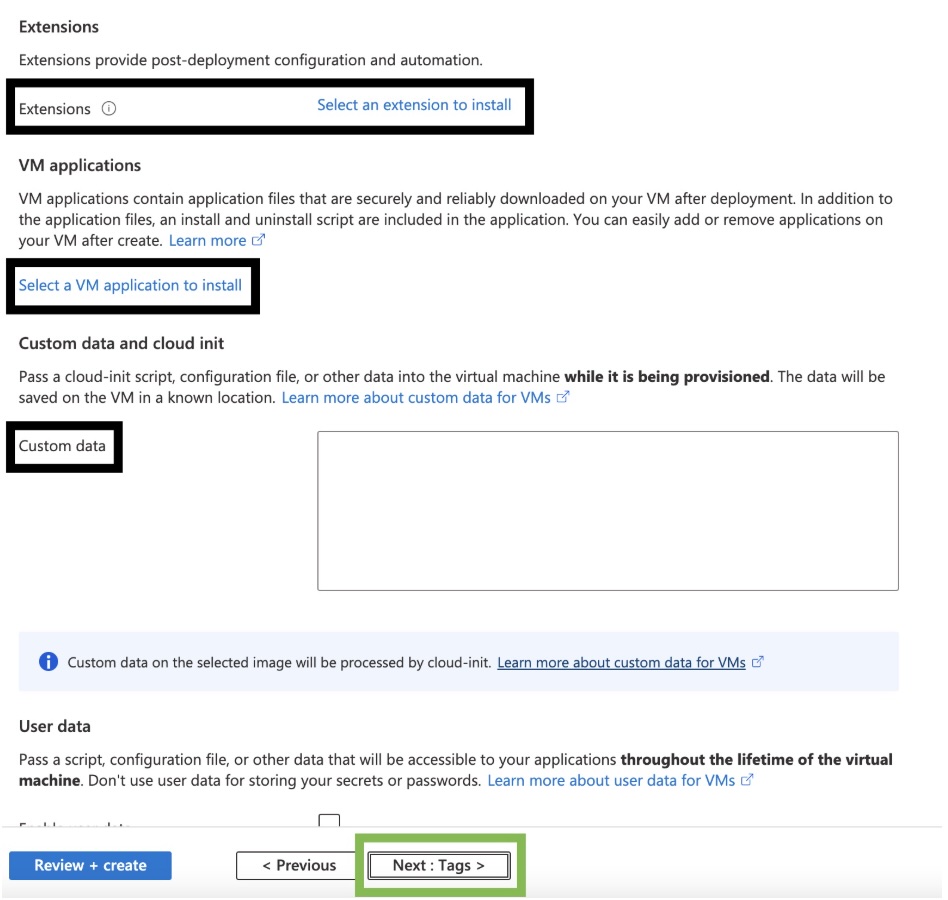
Advanced
By clicking the information icon next to the field name, information about the field category will be provided for more context.
Once all appropriate boxes are checked, click ‘Next : Tags >’ on the bottom bar of the page.
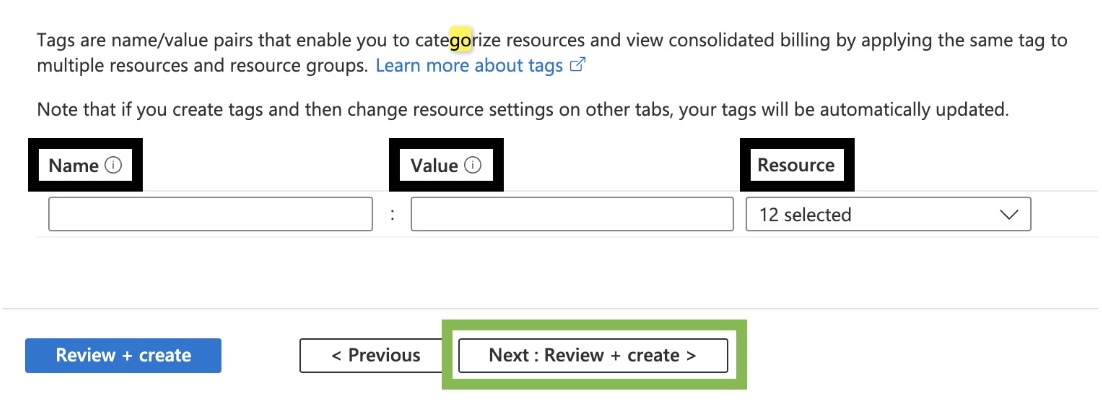
Tags
Fill in the required information provided to create a tag. By clicking the information icon next to the field name, information about the field category will be provided for more context.
Once all appropriate boxes are checked, click ‘Next : Review + create >’ on the bottom bar of the page.
Review + Create
Note:
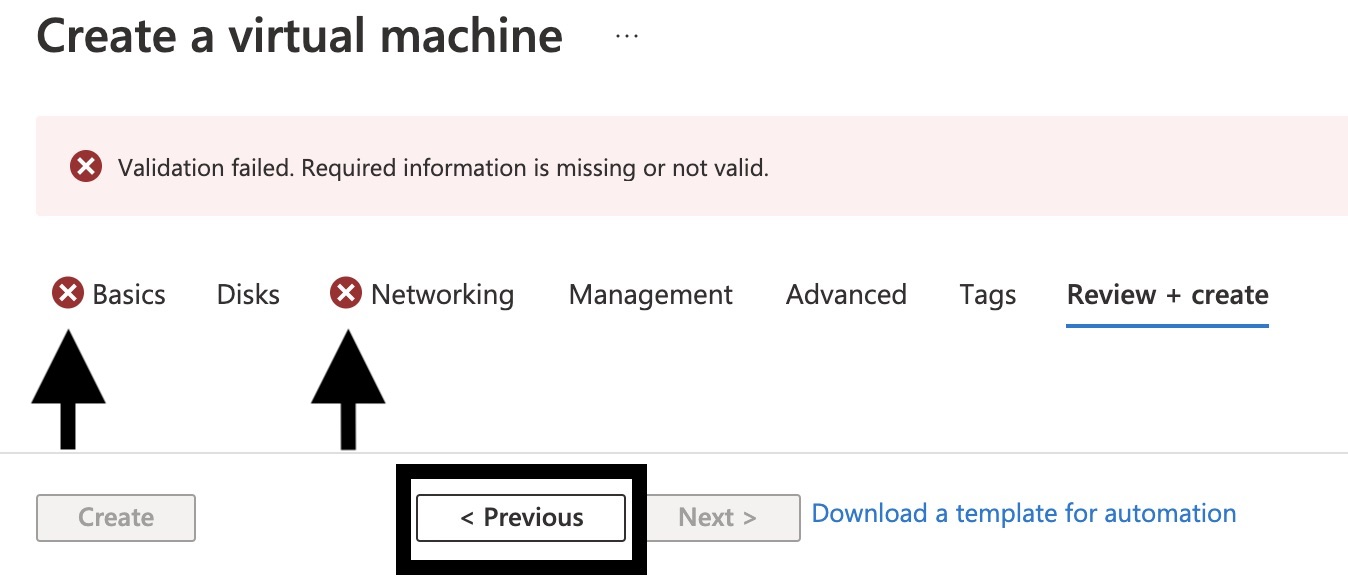
Any categories with missing and/or invalid information will have an ‘X’ in a red circle to the left of the category name. Click ‘< Previous’ to get to the category that needs to be corrected. The virtual machine cannot be created until all fields are correct.
Once all information has been entered correctly, there will be a message that says "Validation passed" highlighted in green with a green check mark to the left of it.
Once all categories have been filled out successfully, click ‘Create>’ on the left of the bottom bar of the page.
.png)
For users who have not created a Virtual Machine before, a prompt will appear to "Generate new key pair". This prompt will not appear for users who have already created a Virtual Machine before.
Click 'Download private key and create resource'.
.png)
This page will now show that the deployment is in progress. Under resources, it will show that there are "no results", but items will begin to appear as the deployment uploads.
.png)
All categories of the resources will appear and show a green check mark to the left of the resource name. If any of the information that was entered is incorrect, it will not have a green check mark and you will need to diagnose the problem. If the problem cannot be diagnosed, you will need to restart the process and create a new virtual machine entirely.
.png)
By clicking the hyperlinked name listed next to 'Resource group', this will bring you to an overview page where you can find more details about each resource category.
.png)
From this page, you can click into each resource category to ensure it is working properly.
Once all resource categories display a green check mark, the Virtual Machine has been successfully created.
.png)
Register your edge in the Graphiant Portal
To register the Virtual Machine with the Graphiant Portal you need to first power it up and then open access the serial console.
.png)
On the serial console you’ll see the QR code and the auth url. Navigate to the URL via a browser, or scan the QR code to authorize the device via the Graphiant portal.
.png)
Once you log into the Graphiant Portal and the device is registered, it will show up in the Graphiant Portal and the deployment will be complete!
Next Step: With the edge deployment complete it can now be onboarded using the Graphiant portal.