What is a Custom Application?
The Graphiant Edge is capable of mapping traffic flows, going through the Edge, to specific applications using Deep Packet Inspection (DPI). Users can use applications to match traffic and apply policies to the traffic. While DPI mappings work for public well known applications they do not work for custom enterprise applications. To identify such applications you can define a custom application using the Portal. The custom application definition allows the Edge to identify flows belonging to the enterprise application. You can then define traffic and security policies against the application along with being able to monitor it using the Application Monitoring page.
Custom Applications in the Graphiant Portal
Step 1: Locating Custom Applications in the Graphiant Portal
From the Home screen, navigate to the Edge Configuration screen by one of the following:
Locate the "Configurations" section within the “Quickstart” area of the screen; select 'Configure Edges'.
or
Click 'Configure' in the sidebar; select 'Devices'.
.png)
This will take you to the ‘Configuration’ page of the Graphiant Portal where you can view all active, staged, and deactivated Edges. From here you will be able to select among the active Edges which Edge(s) you would like to configure.
On the left-hand side, select and click the Edge you wish to manage under the column 'Hostname.'
.png)
This will take you onto a Configuration page with a focus on the Edge you have just chosen.
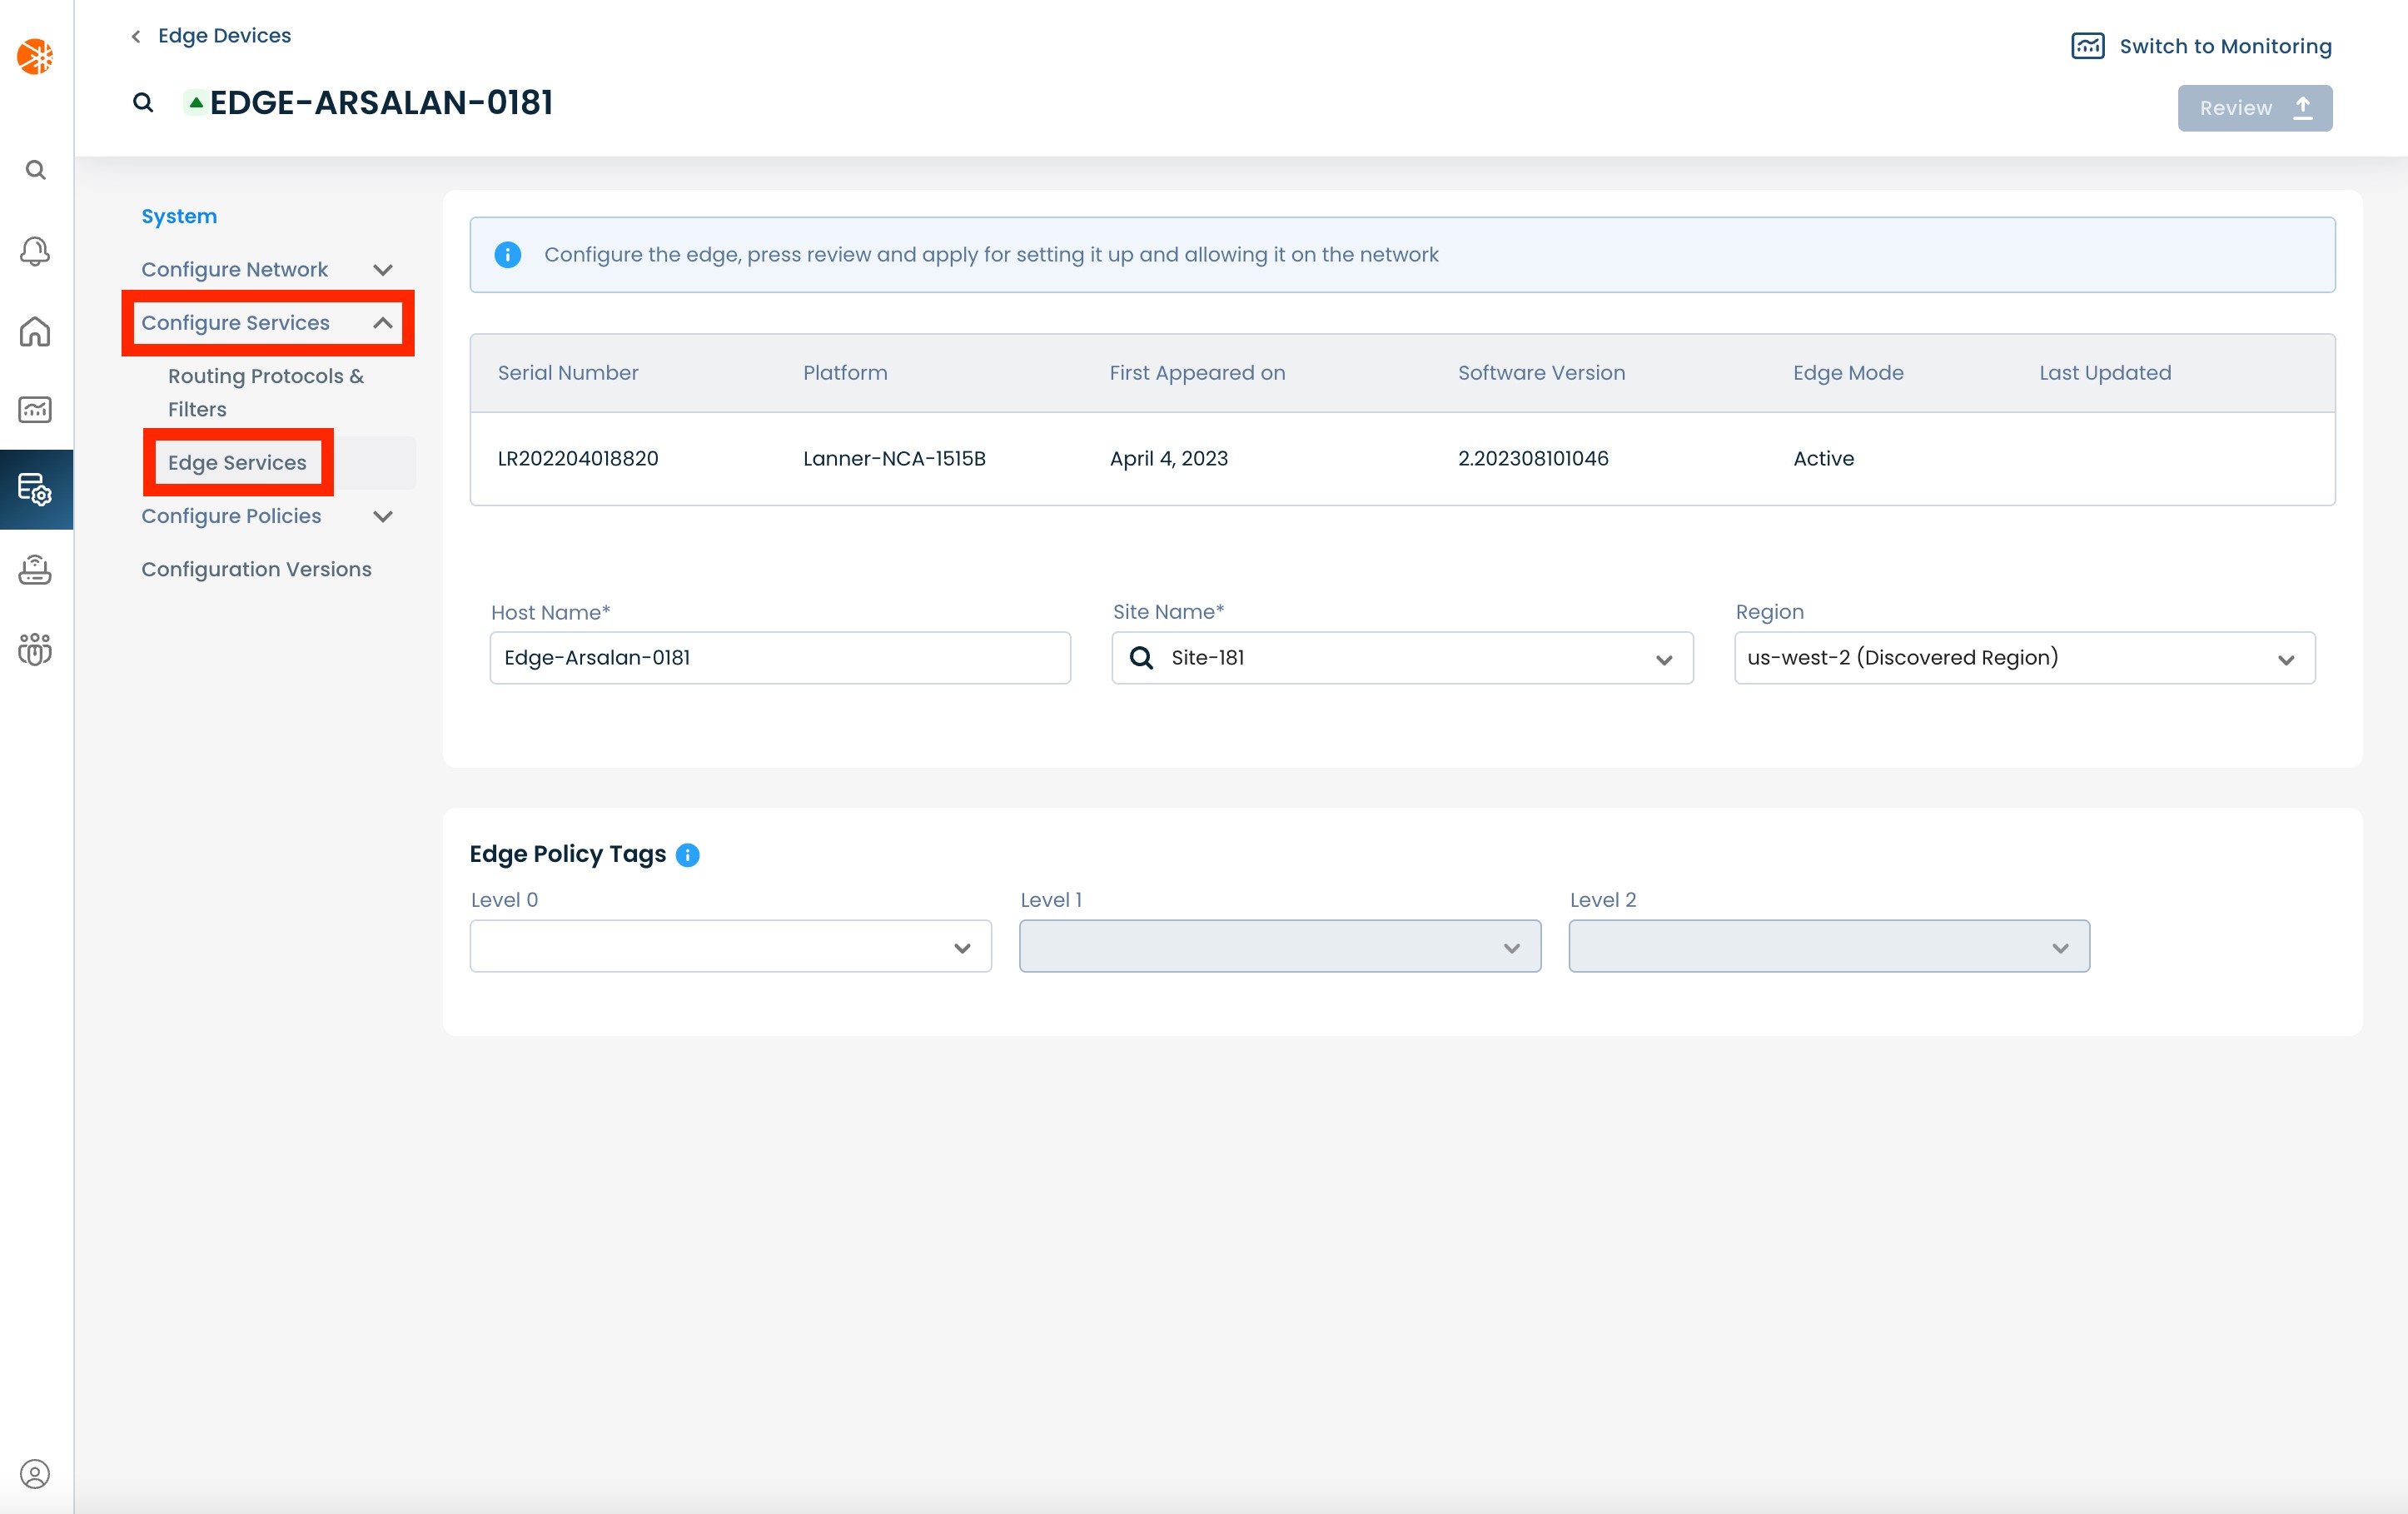
Here you will see a list of headers along the left hand side of the page, such as ‘Configure Network’, ‘Configure Services’, ‘Configure Policies’, etc.
From here, select and click ‘Configure Services’ and from the dropdown menu, select and click ‘Edge Services’.
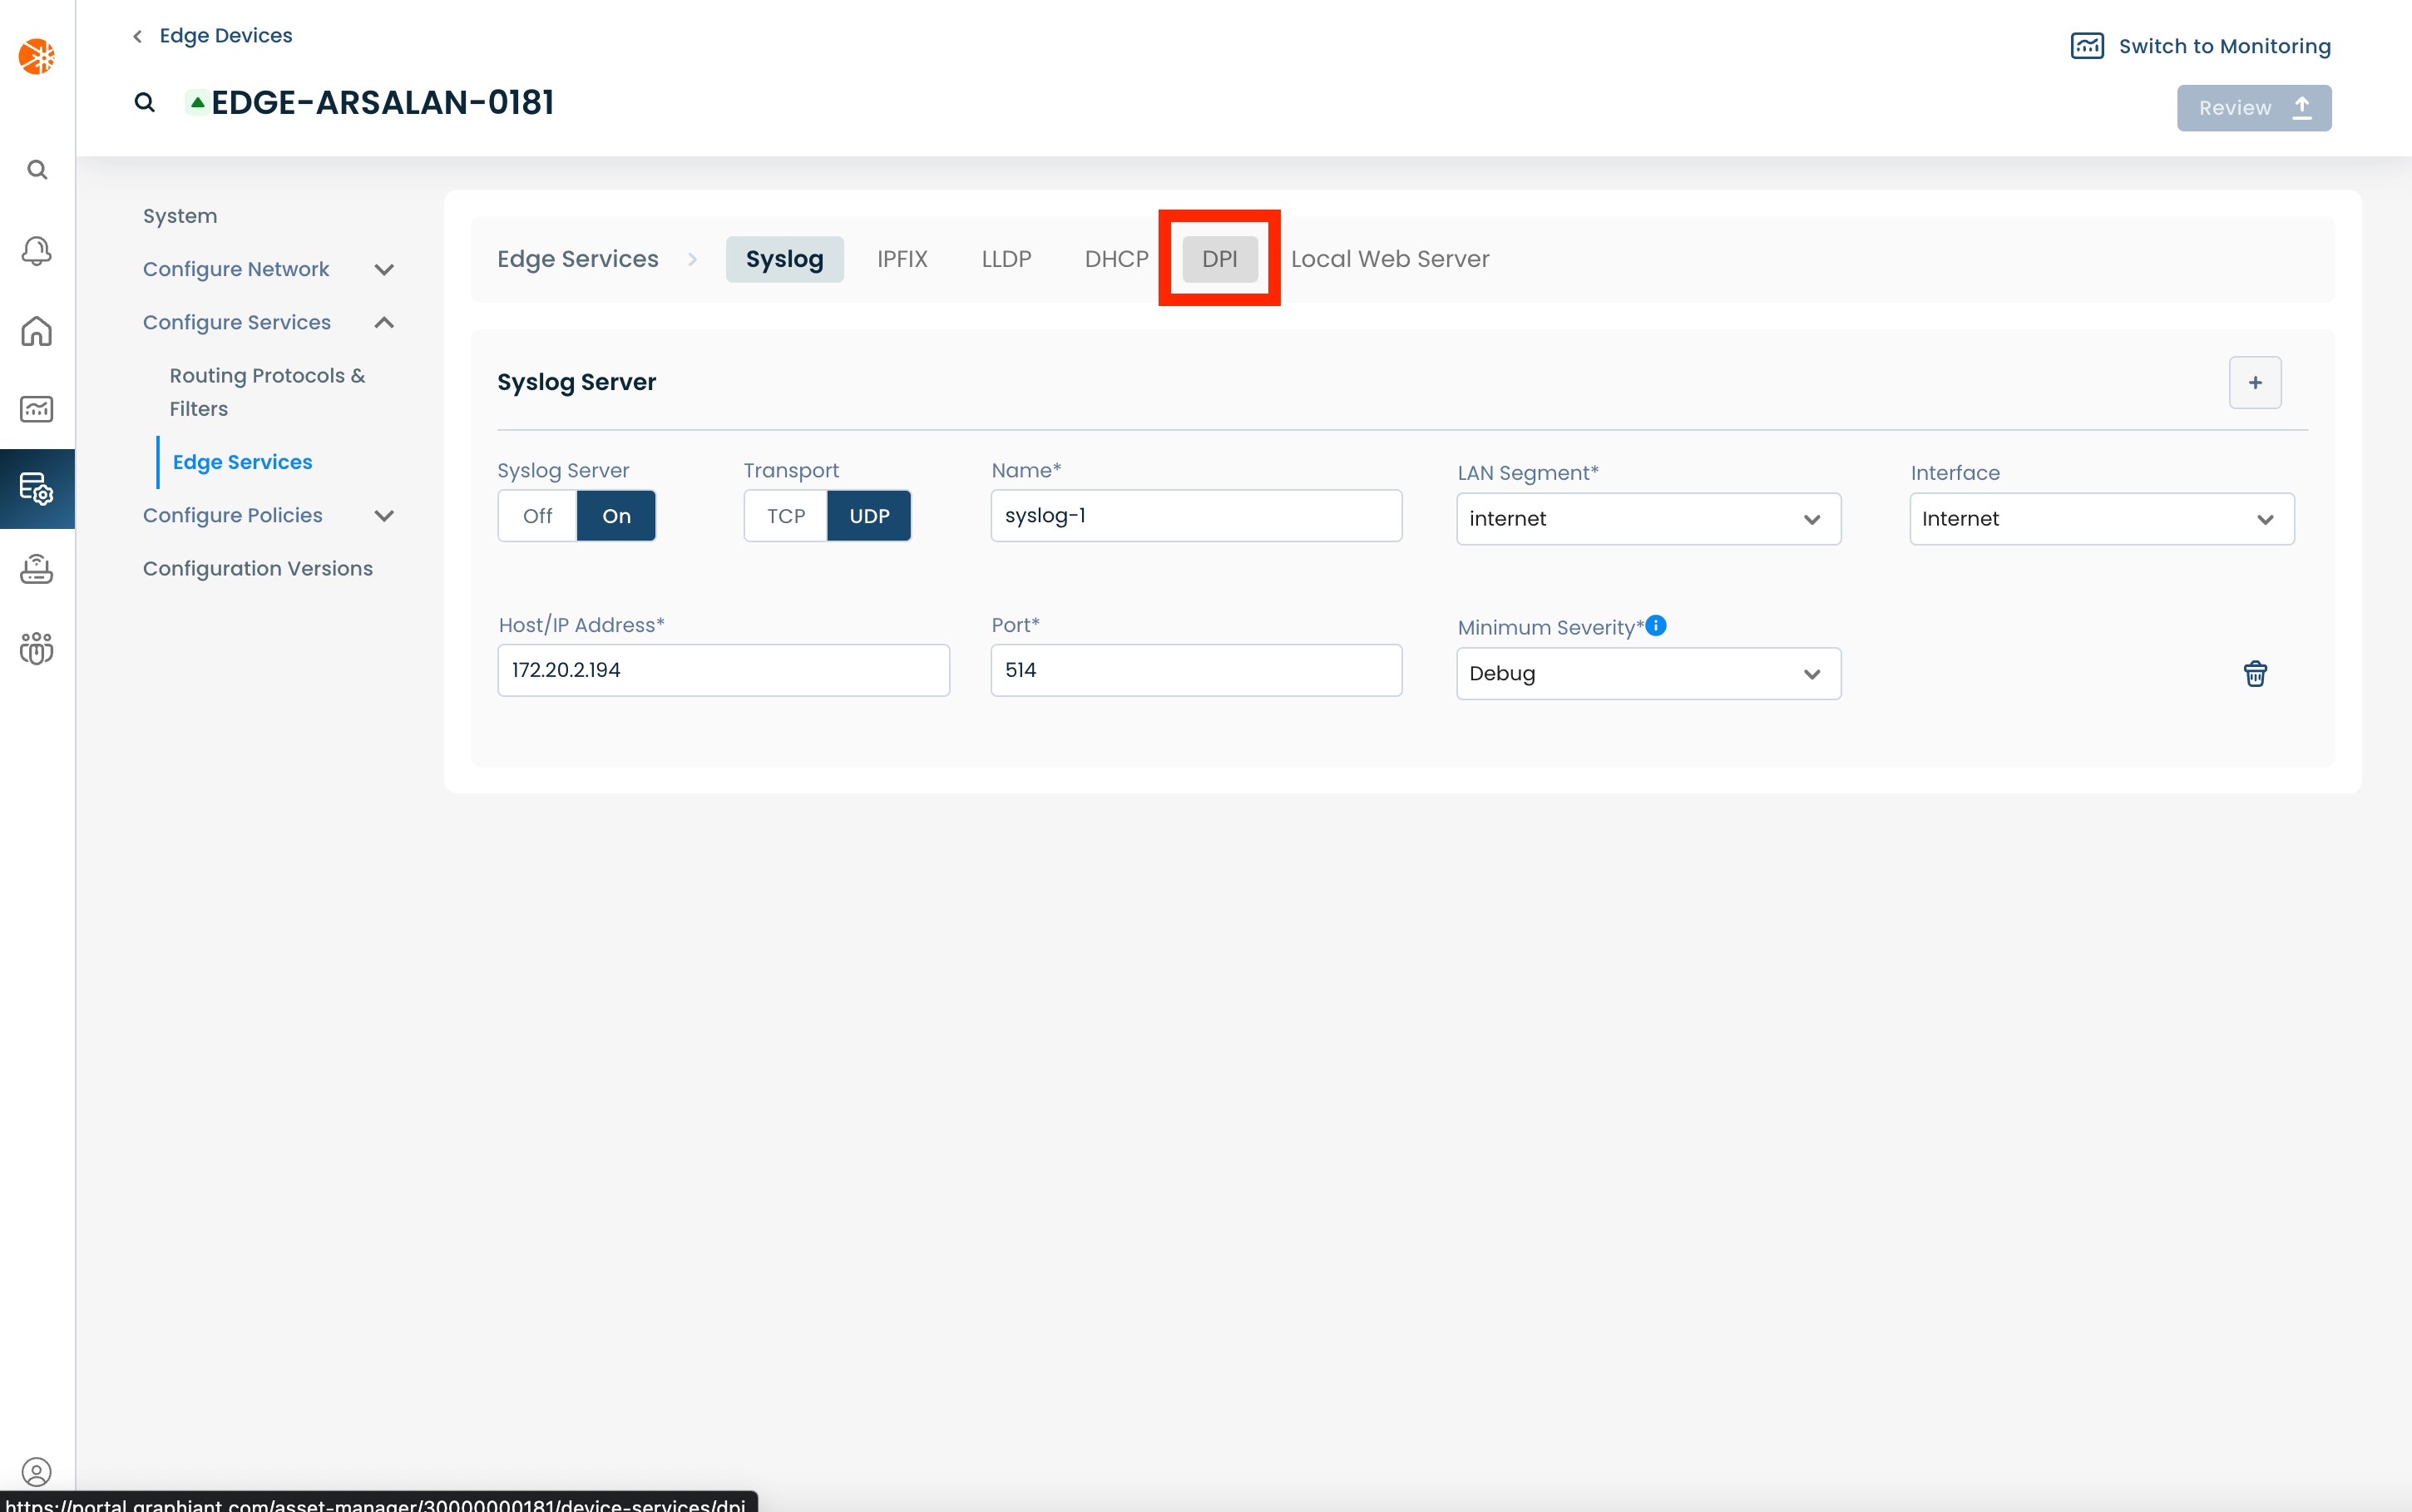
This will bring you to the 'Syslog' page in the Edge Services section. On this page click on the DPI tab.
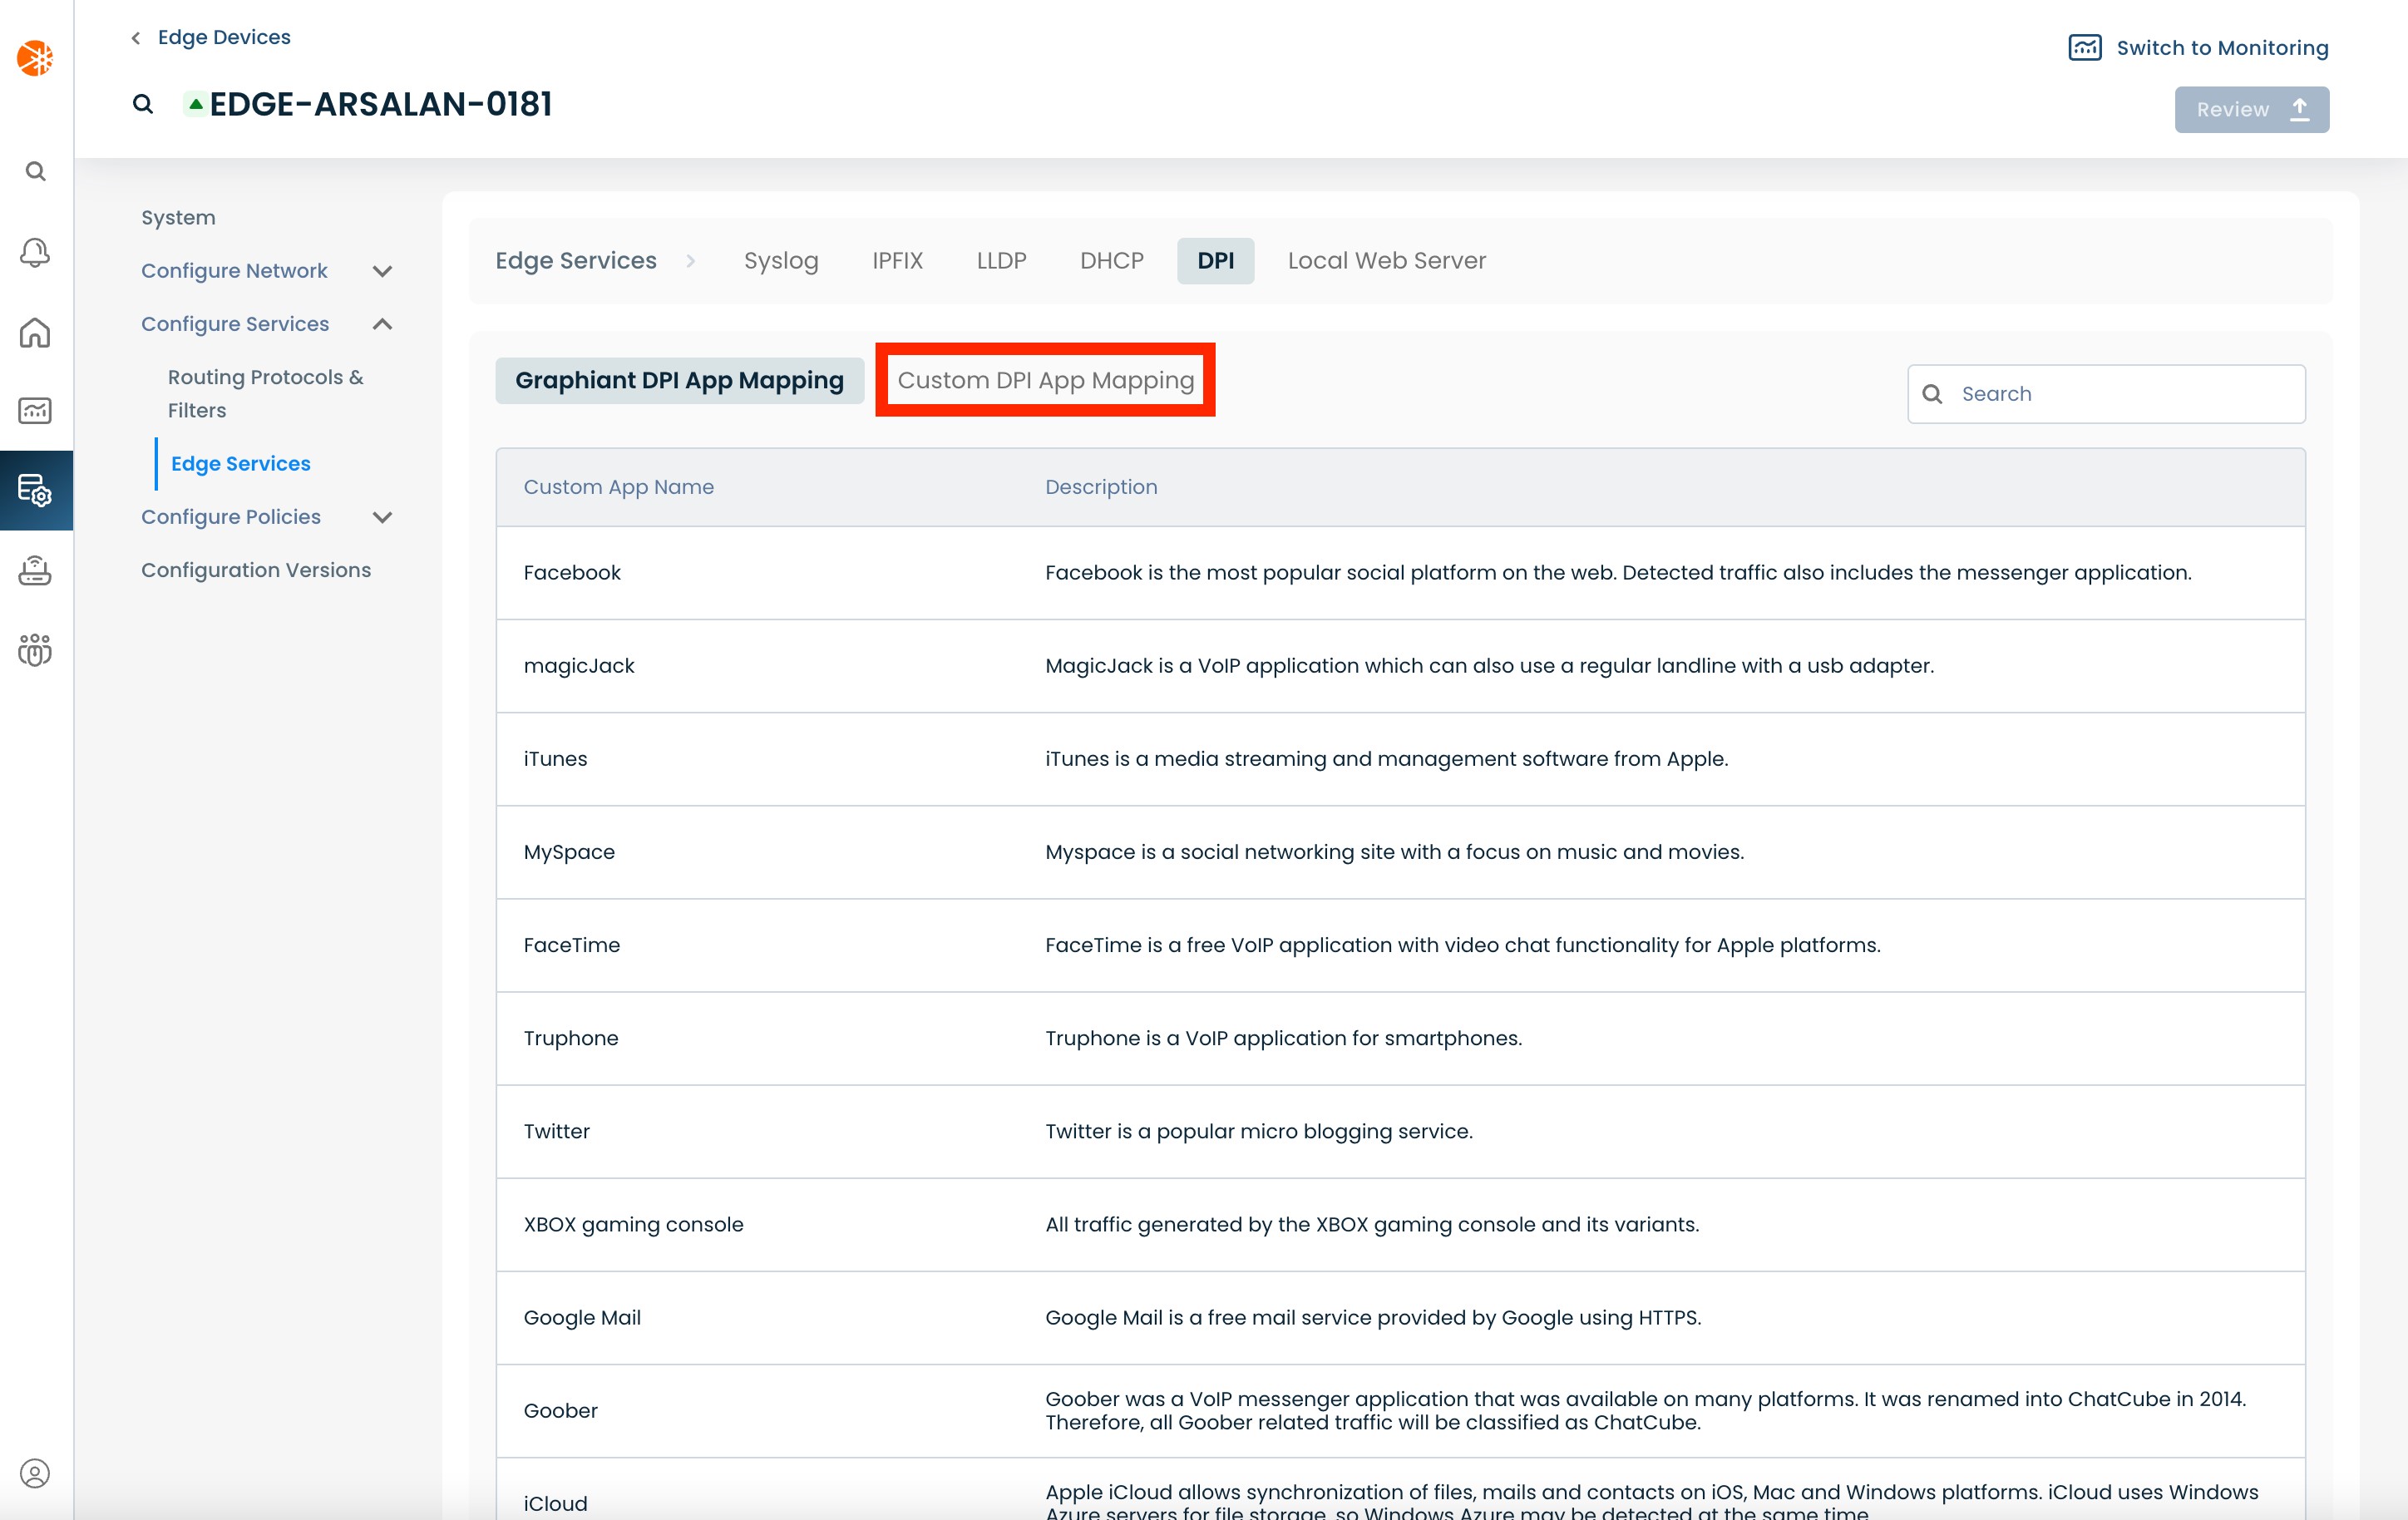
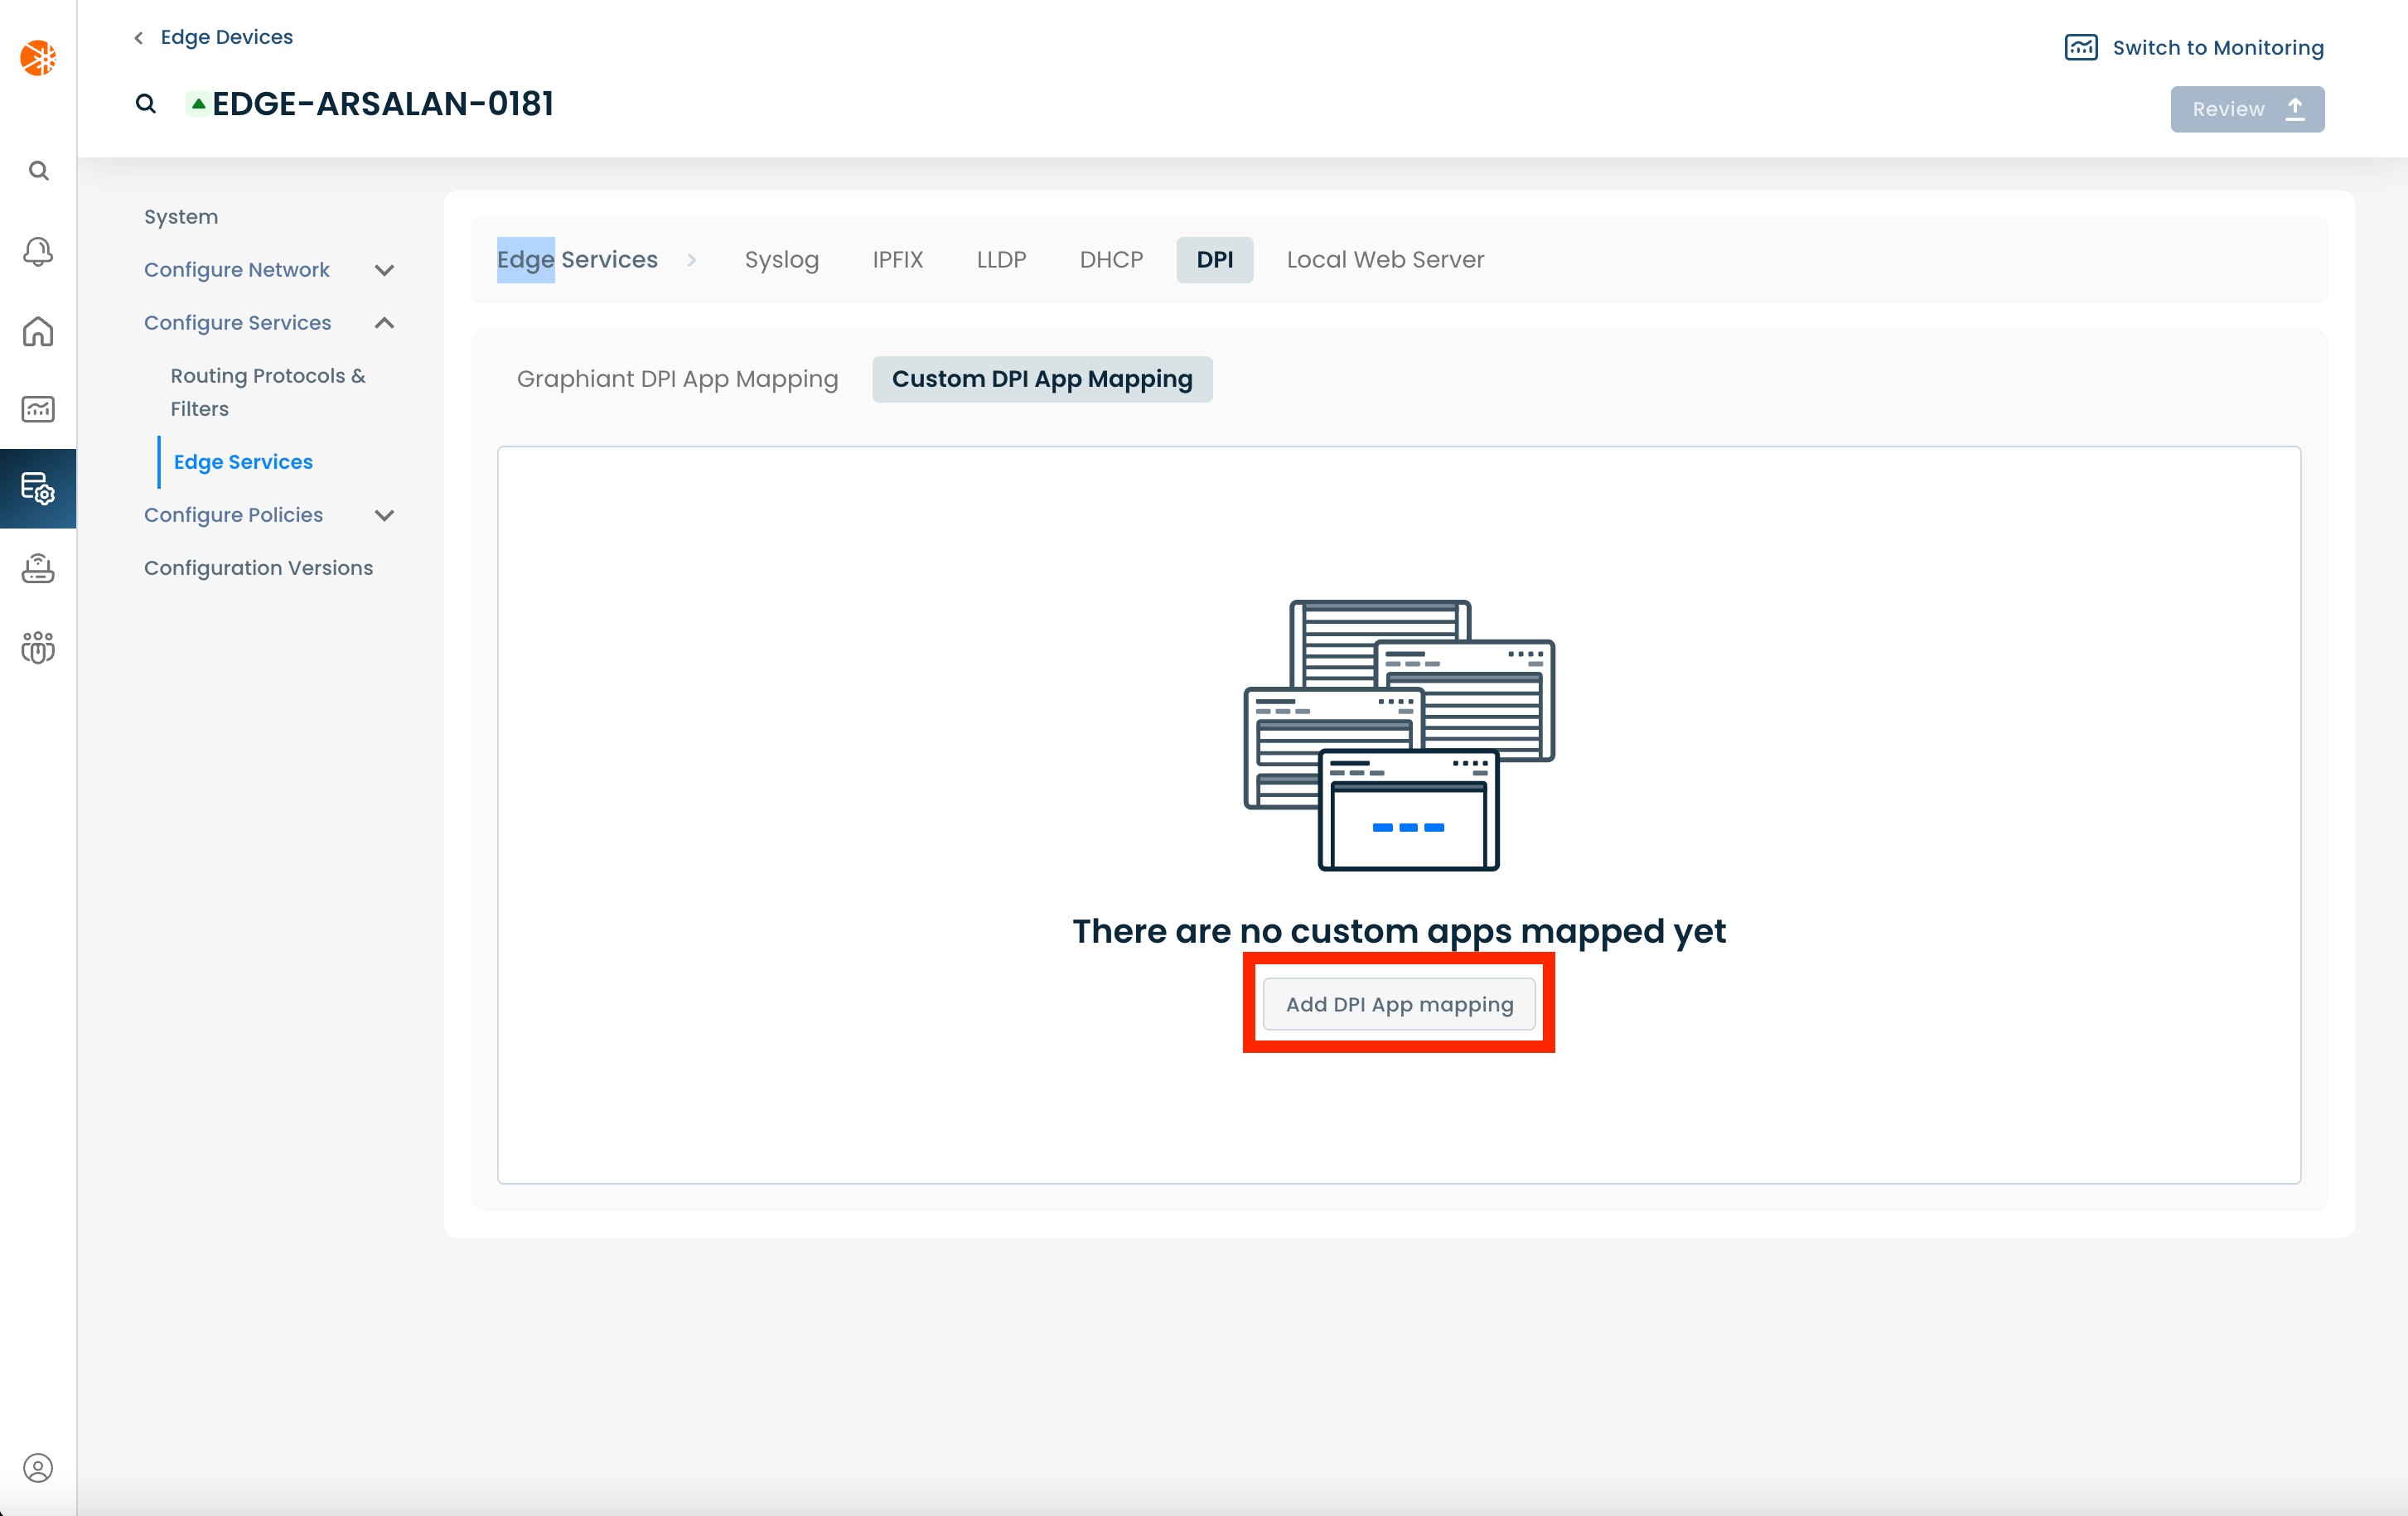
On the DPI page, click the Custom DPI App Mapping tab.
You're now ready to start configuring custom applications.
Step 2: Configuring Custom Applications in the Graphiant Portal
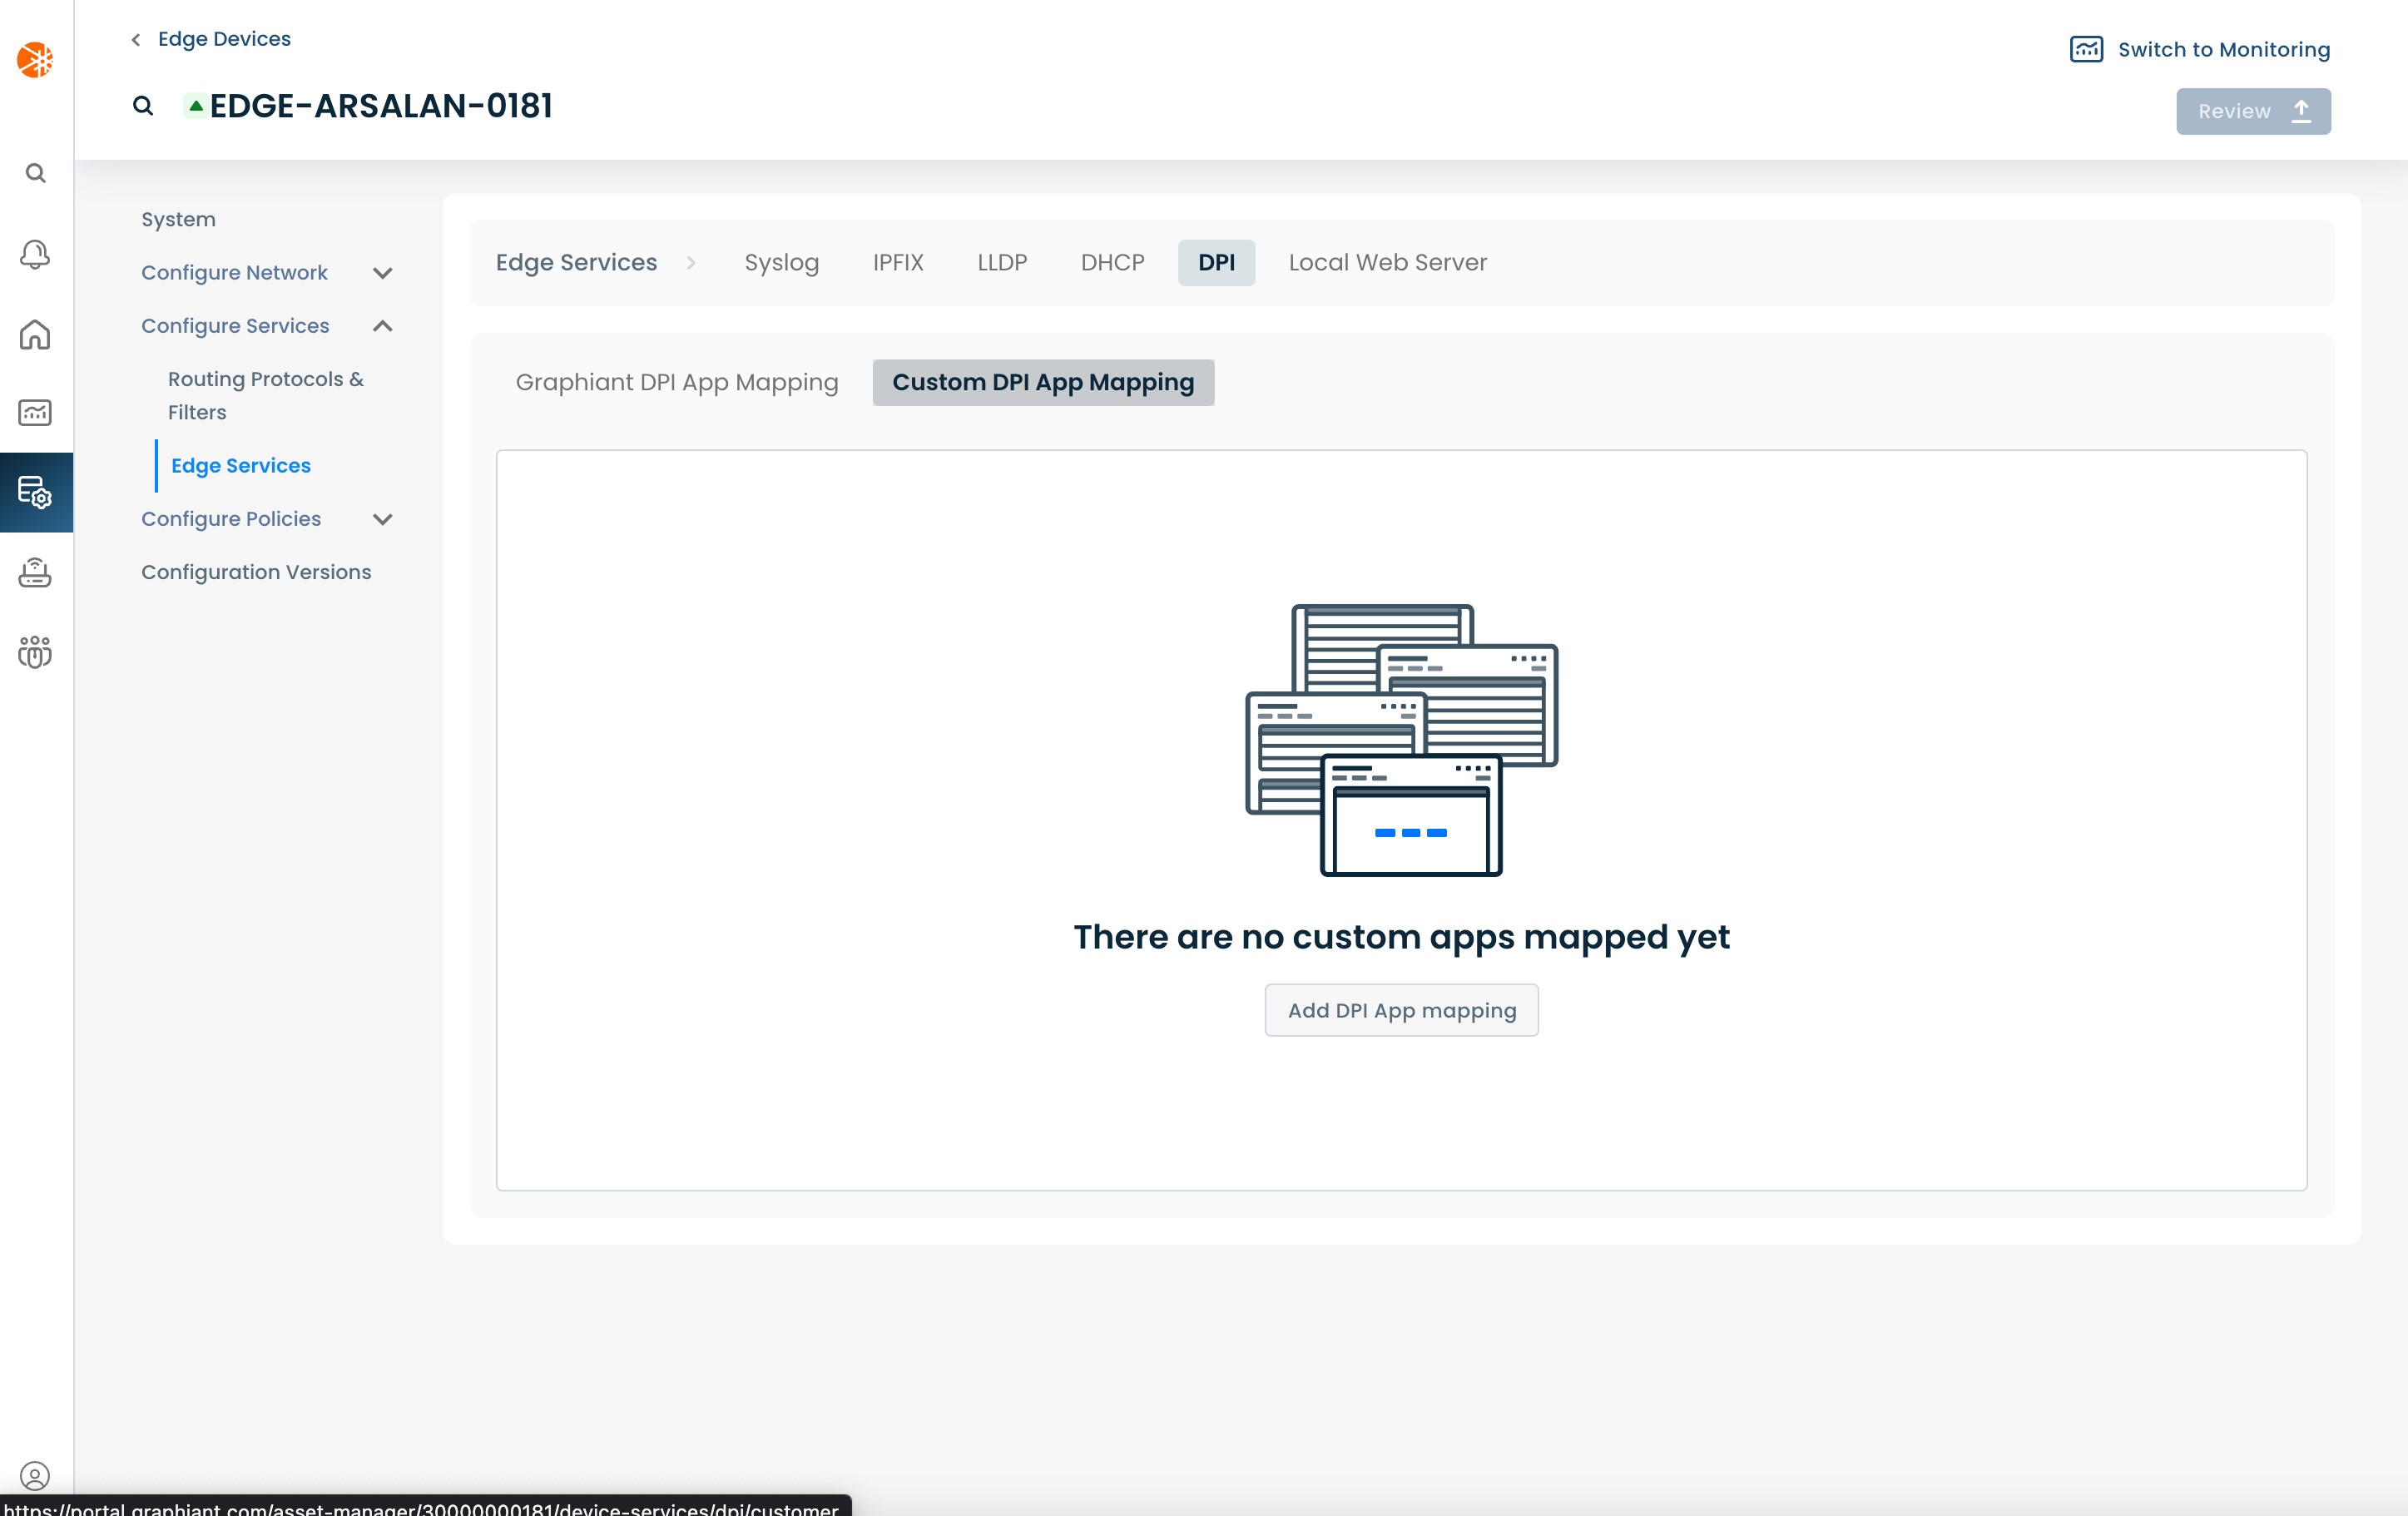
On the 'Custom DPI App Mapping' page, click 'Add DPI App mapping' to create a new Custom Application mapping.
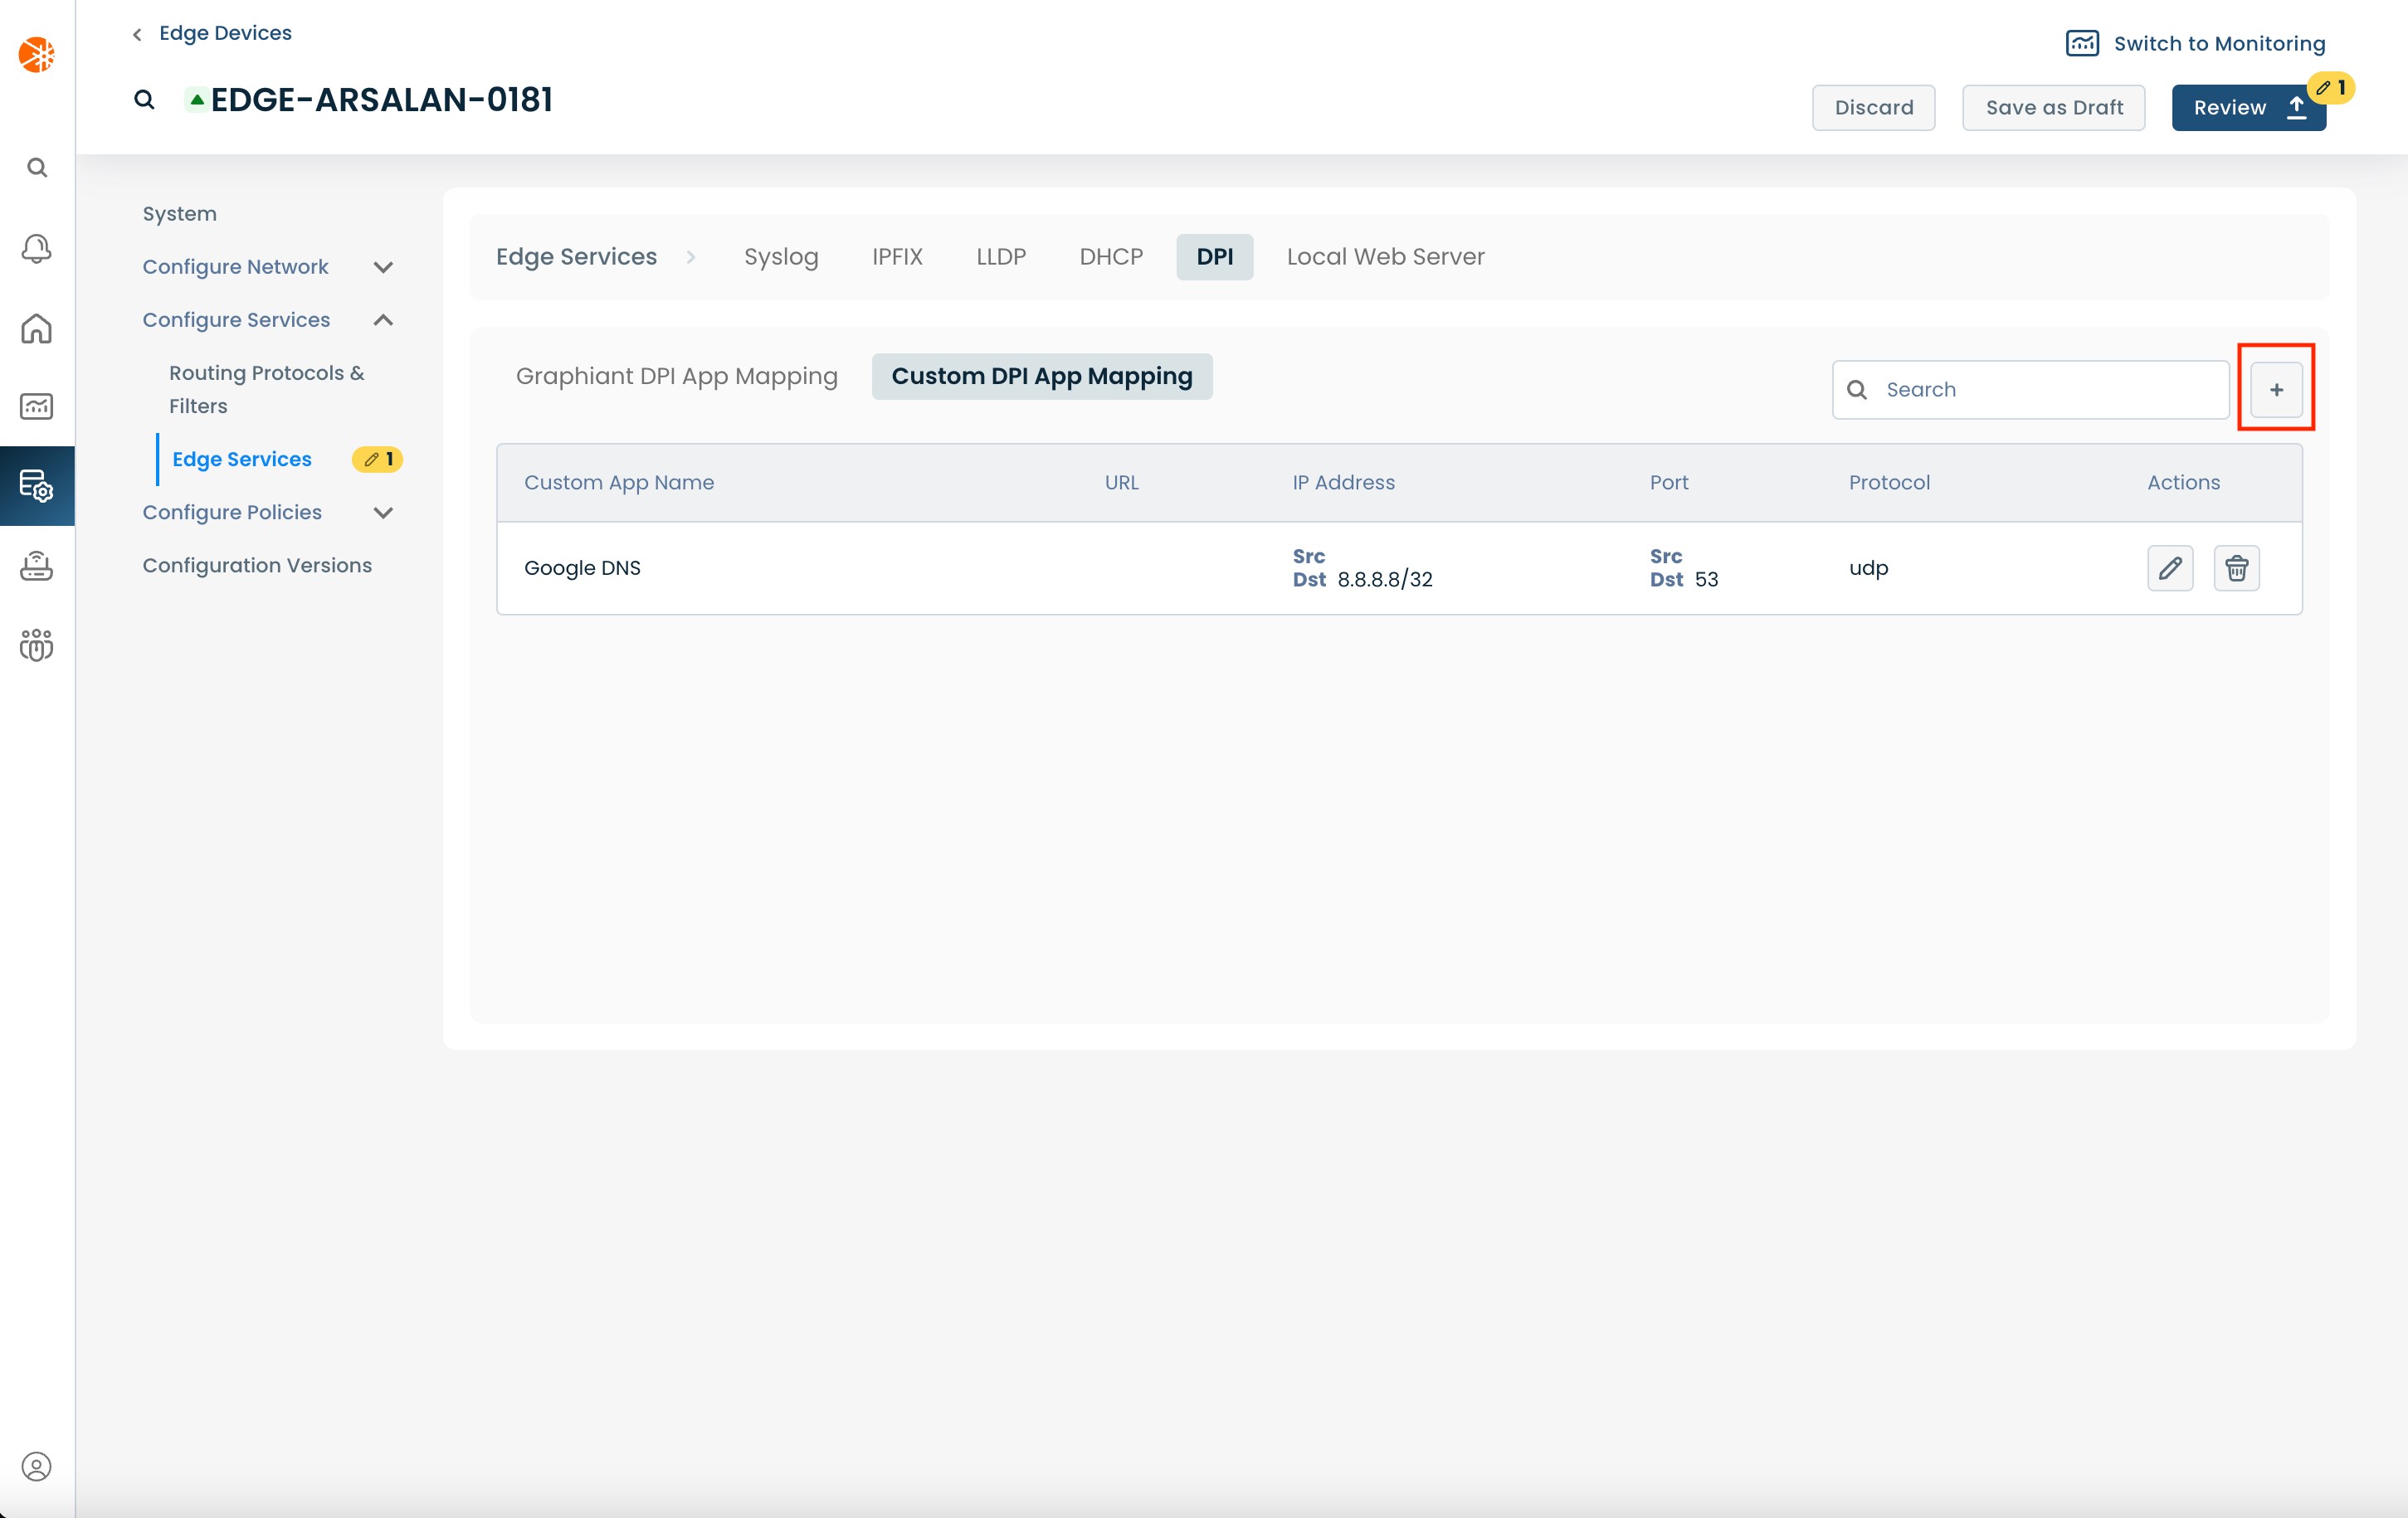
If you have existing Custom Applications you can click the (+) button to create a new mapping.
This will bring up a modal that you can use to add the mapping. The modal has the following fields:
Custom App Name: User defined name to use for the custom application. This is the name that will be shown in the monitoring views as well as the policy views.
Address Type: The type of destination address to use for mapping the custom application
IP: Use a single destination IP prefix for mapping the application.
List: Use a list of destination IP prefixes for mapping the application.
Destination IP Prefix/List: The destination IP Prefix/List to use for mapping the application; the type of input depends on the 'Address Type' selected.
Protocol: The protocol to use for mapping the application (can be: Any, UDP, TCP or ICMP)
Port Type: The type of destination port to use for mapping the custom application
Port: Use a single destination Port for mapping the application
List: Use a list of destination Ports for mapping the application.
Destination Port / Port List: If UDP or TCP are chosen as the Protocol, you can also provide a destination Port / Port List to use for mapping the application; the type of input depends on the 'Port Type' selected.
Advanced Rules: This section provides some optional additional criteria that can be used for mapping the application.
Address Type: The type of source address to use for mapping the custom application
IP: Use a single source IP prefix for mapping the application
List: Use a list of source IP prefixes for mapping the application.
Source IP Prefix/List: The source IP Prefix/List to use for mapping the application; the type of input depends on the 'Address Type' selected.
Port Type: The type of source port to use for mapping the custom application
Port: Use a single source Port for mapping the application
List: Use a list of source Ports for mapping the application.
Source Port / Port List: If UDP or TCP are chosen as the Protocol, you can also provide a source Port / Port List to use for mapping the application; the type of input depends on the 'Port Type' selected.
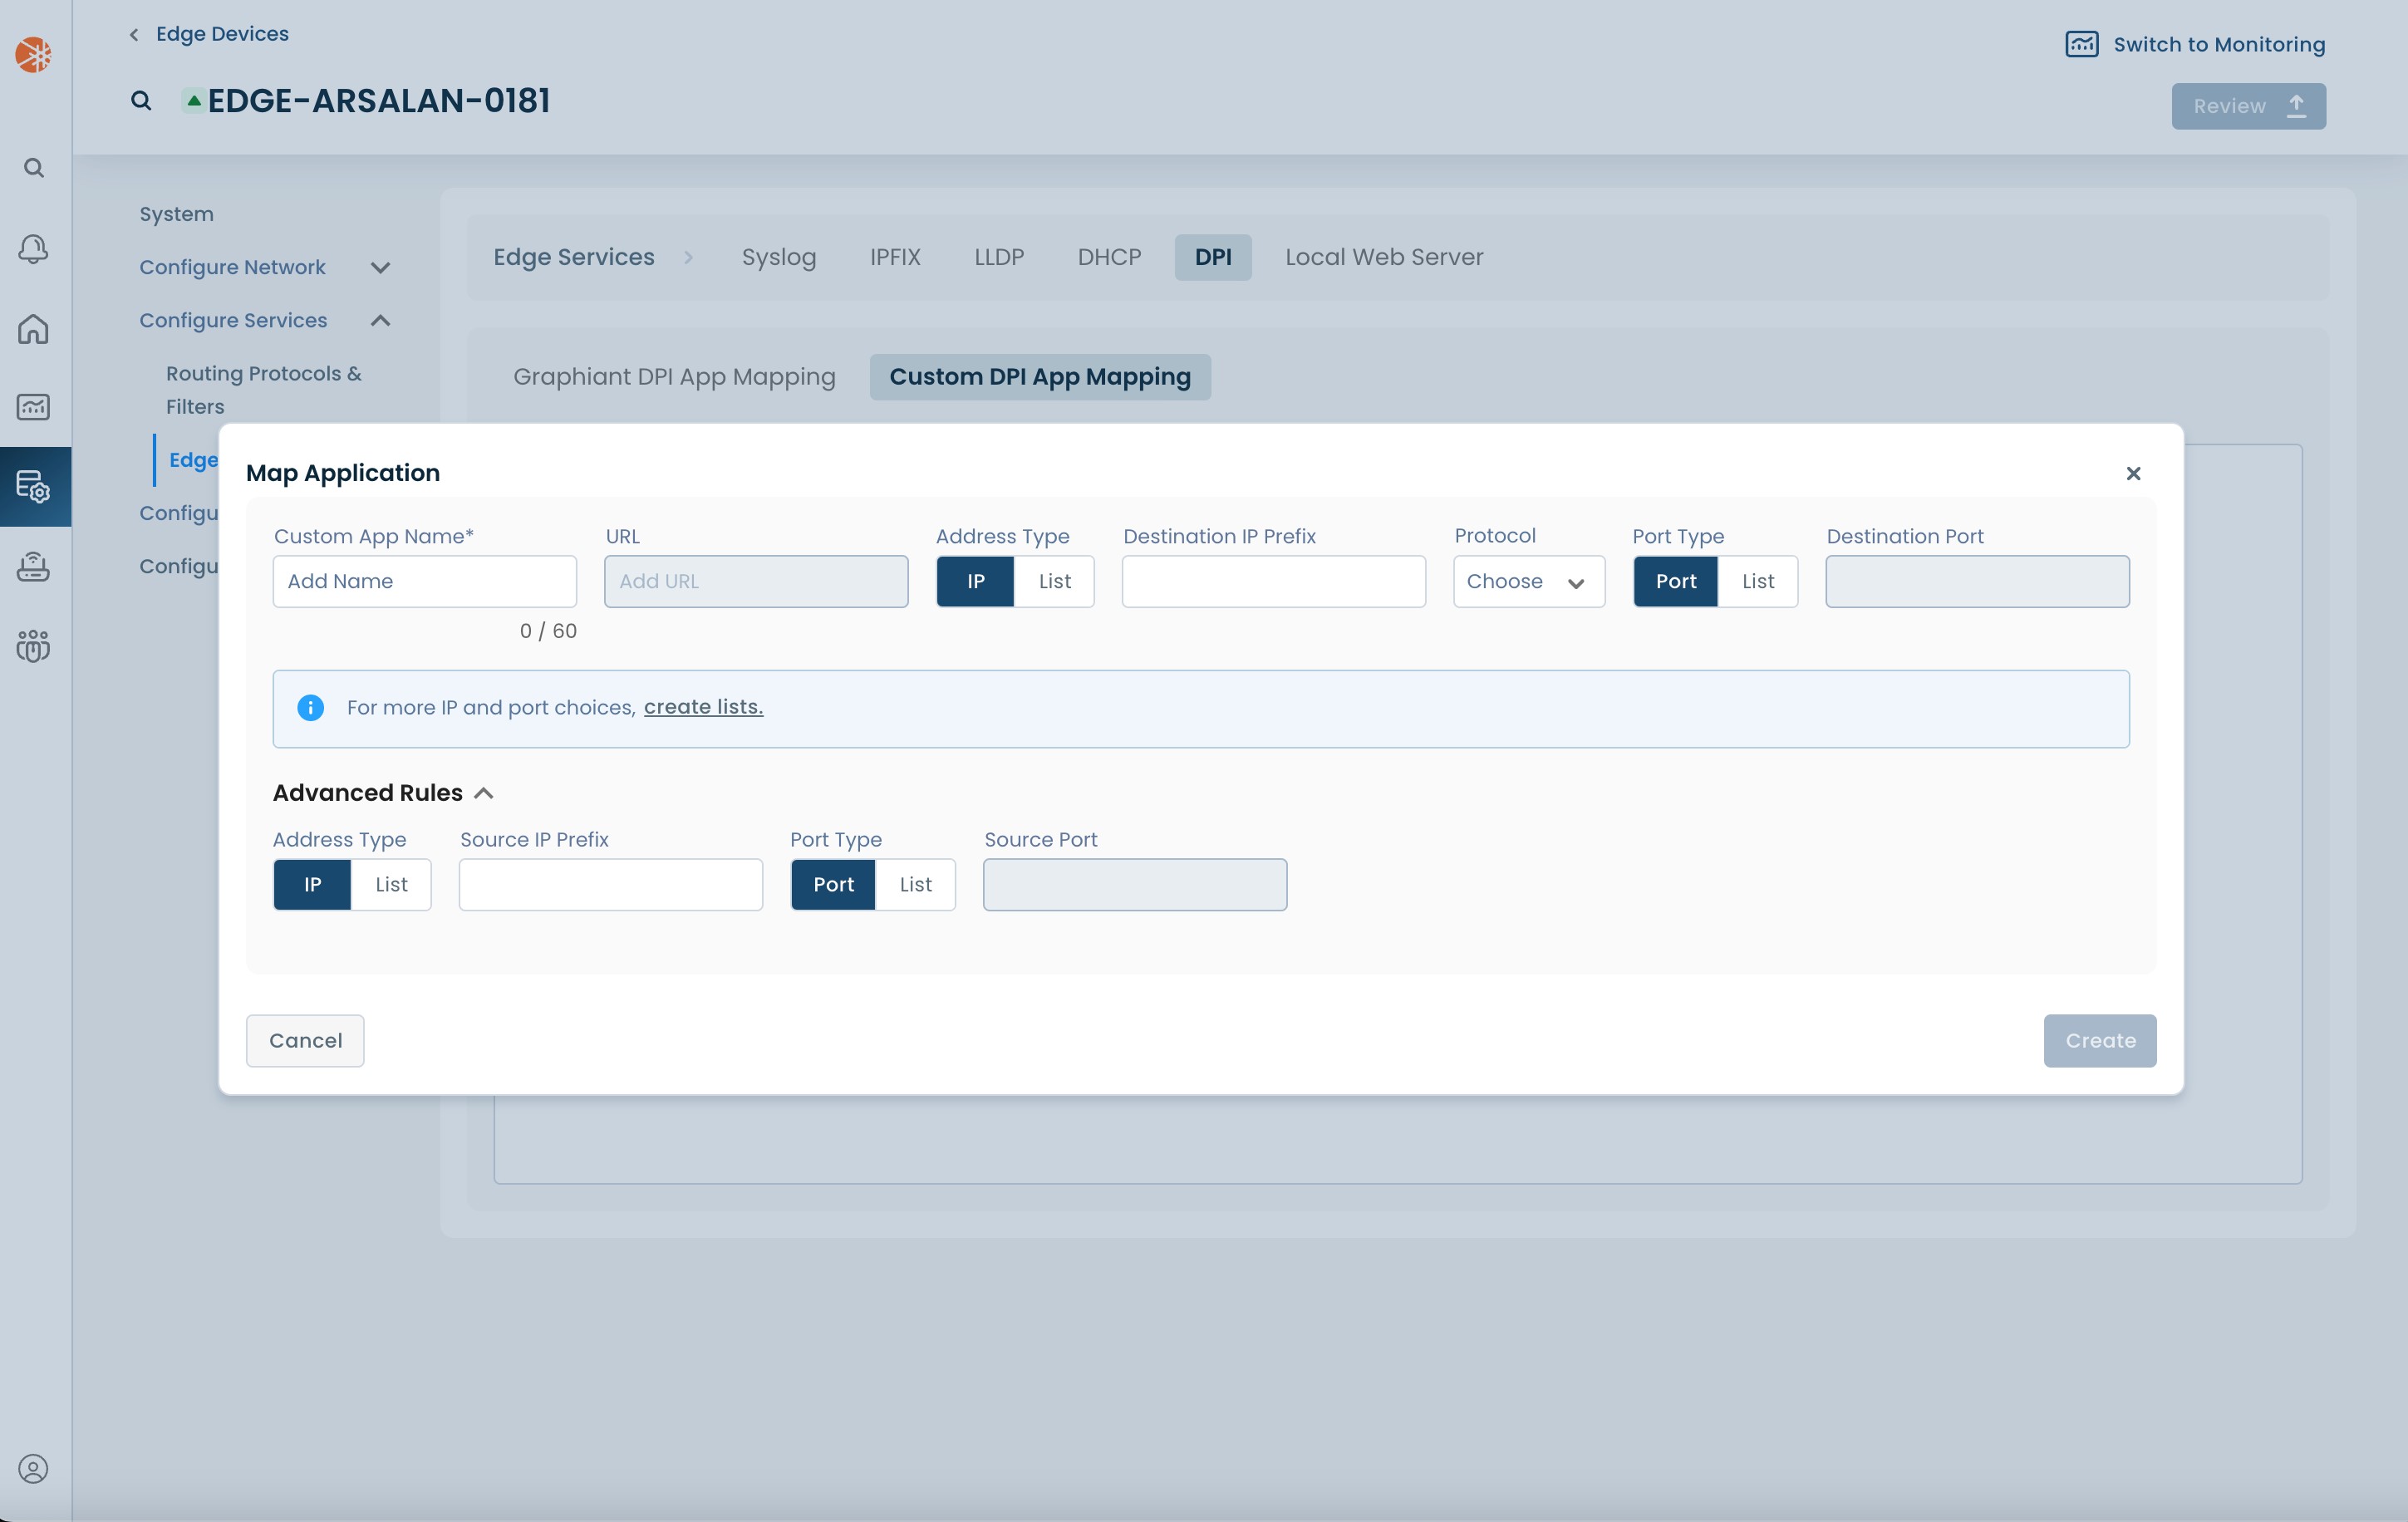
Once all the required values are provided, click 'Create' to create the Custom Application mapping.
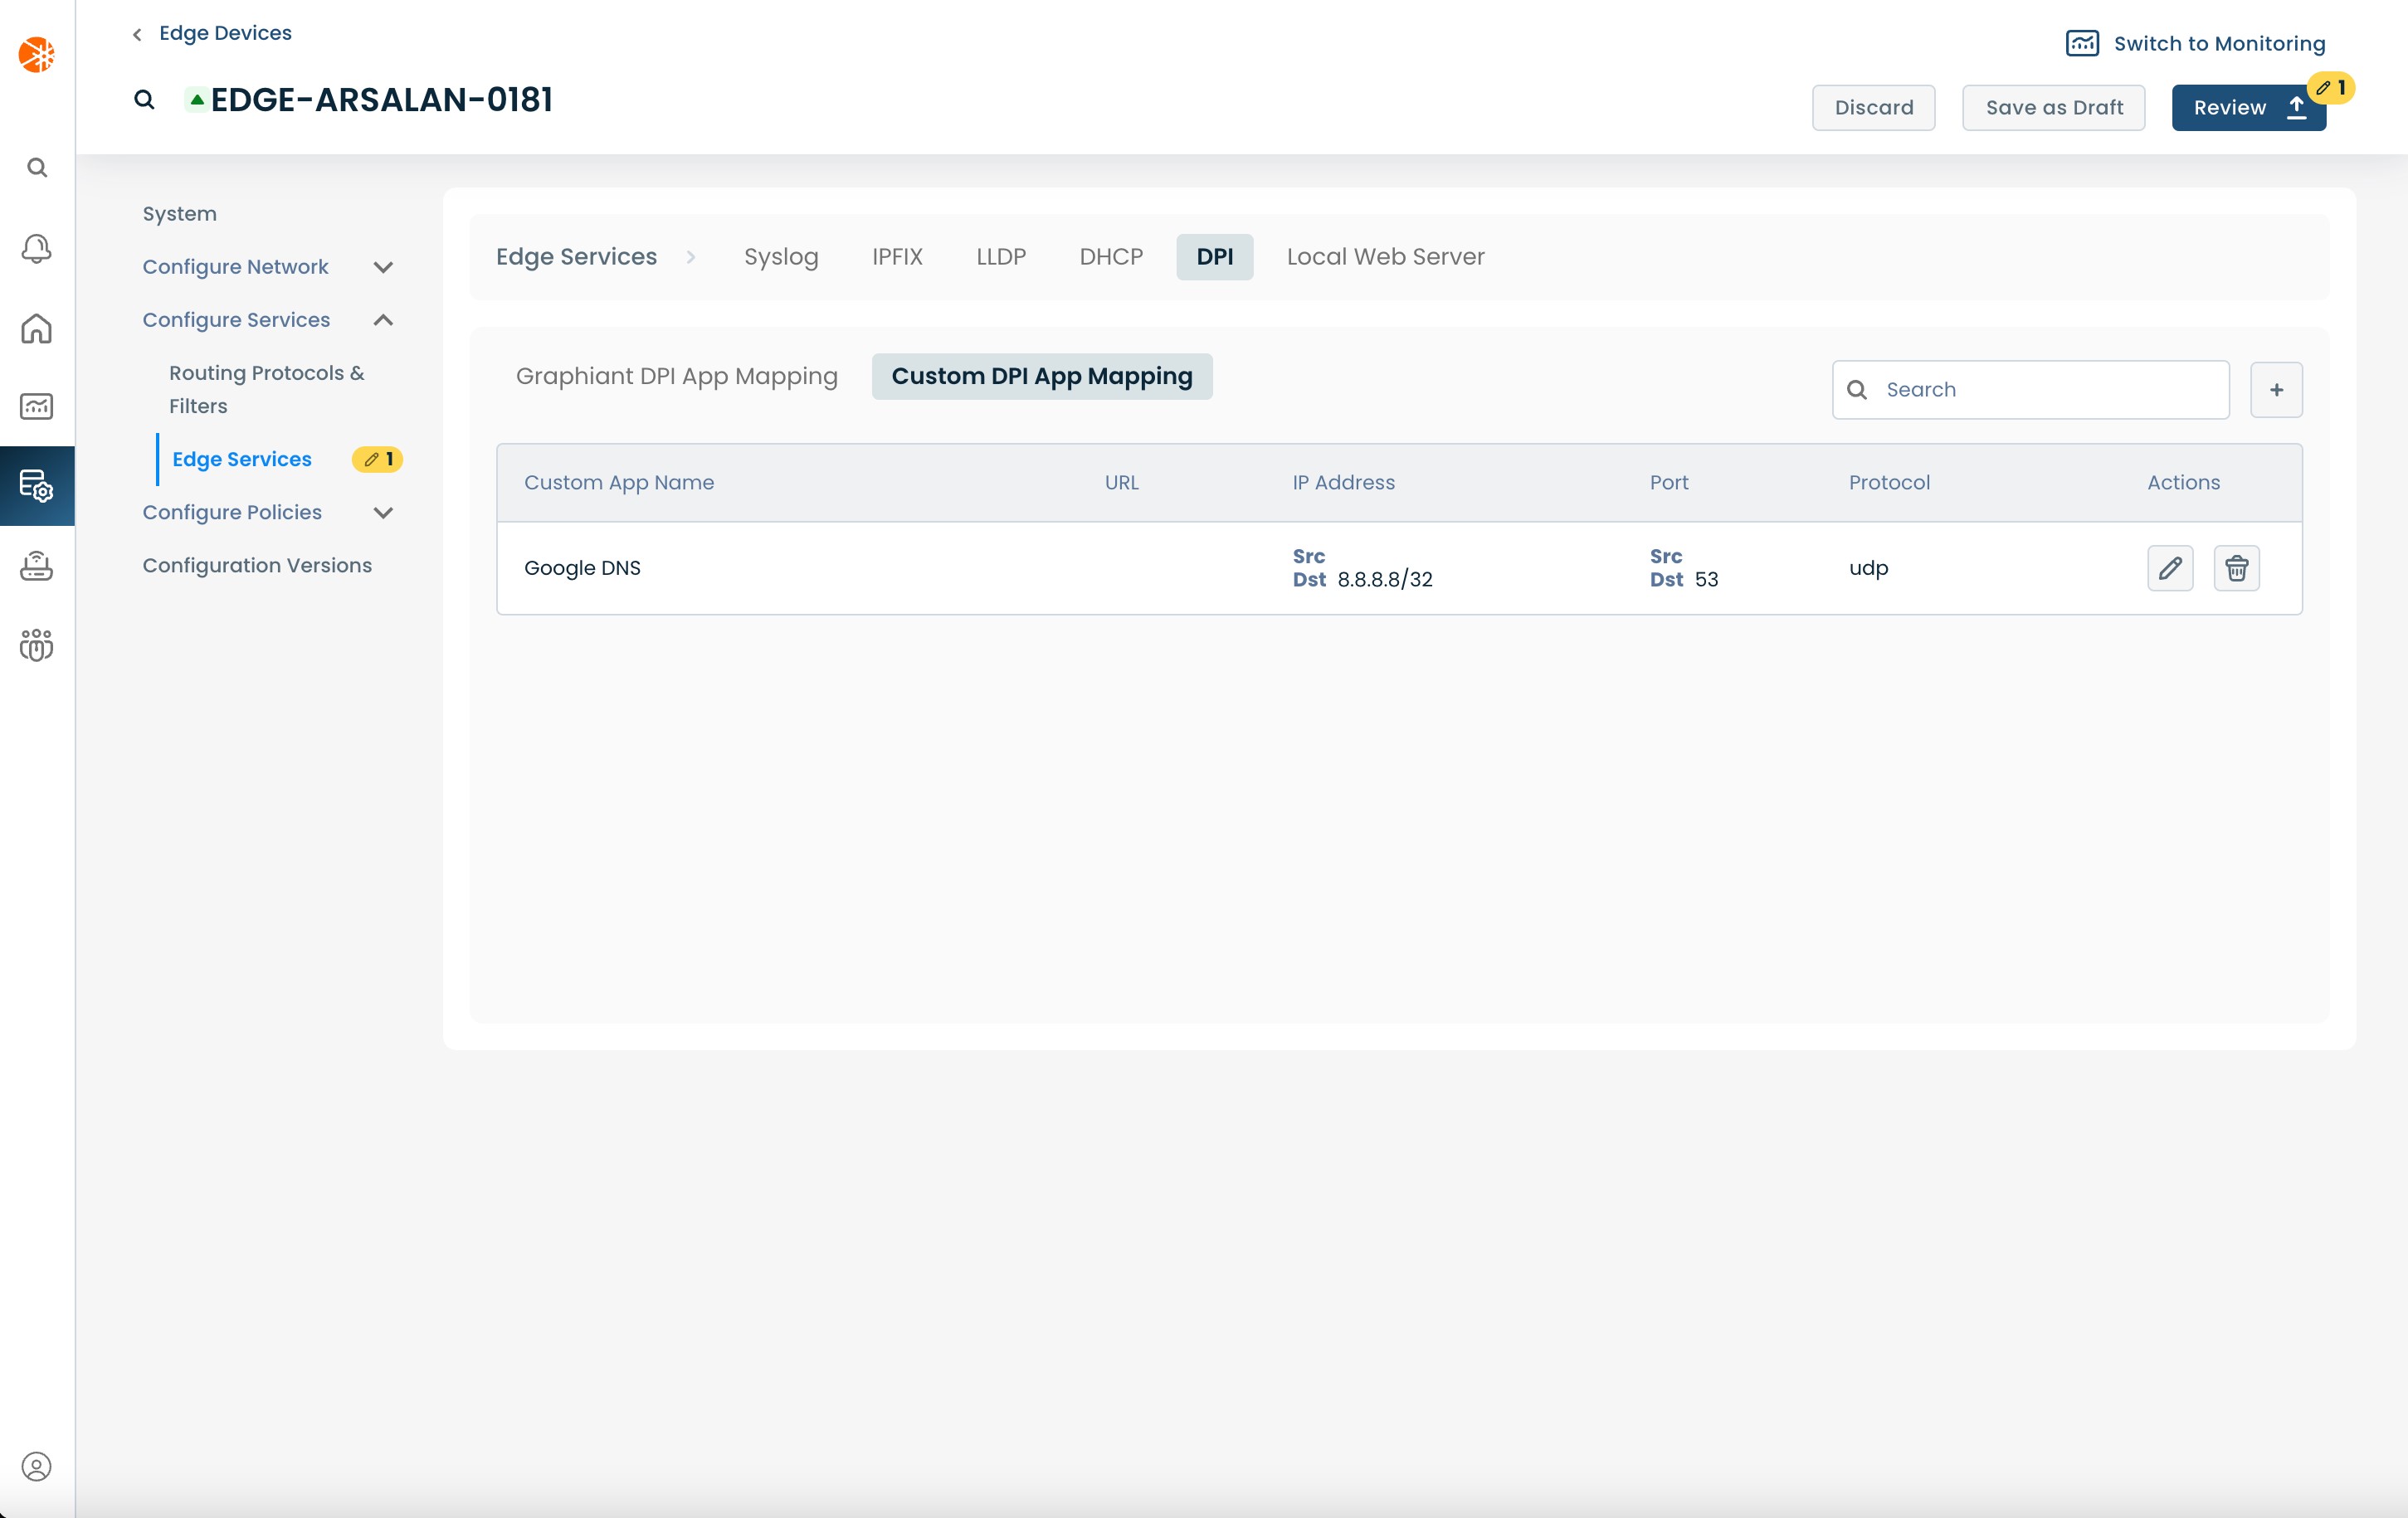
Step 3: Review & Apply
Once the the Custom Application is created you will need to review and approve all the changes made.

On the top right hand corner, choose from the following options:
‘Discard’ to discard changes made
‘Save as Draft’ to save changes made to be implemented at a later time
‘Review’ to review and apply changes made for immediate deployment